Requirements
Here are the requirements for the culminating task.
These requirements are provided in the form of a fill-in-the-blanks template.
Exemplar
Mr. Gordon has authored a complete exemplar for the culminating task.
TIP
The best way to understand the requirements for the culminating task is by reviewing the exemplar.
Second exemplar
The first exemplar described above meets expectations. It was specifically designed to showcase a simple app.
Knowing that many students are interested in exceeding expectations (and making more interesting and useful apps that require a database) Mr. Gordon has chosen to author a second exemplar for the culminating task.
For this exemplar, Mr. Gordon is going to (mostly) adopt an “alter ego” – a student 🫠 Walter Gordon who is going to build out the Bone Appétit app that we used to learn how to make prototypes in Keynote earlier in the school year.
If you are interested in seeing, essentially, a live-streamed process of authoring a database-driven app from start to finish, you can review the Building Bone Appétit article.
Third exemplar
In the process of considering how to explain user authentication – adding Sign in with Google or something similar to an app – Mr. Gordon ended up writing… yes… another exemplar. 🫠
You can read about that here: Building Electric Ride
Here is how social-sign in with Google was added to this app: Adding Sign in with Google
The app is a used-car marketplace for electric vehicles.
Obtain the template
Please go to Notion and add a page based on the culminating task template:
Getting started
Where to start with coding an app from scratch can be a little daunting, at first.
Here are some suggestions about how to get rolling!
-
Either by selecting a choice from the app design journal entry you made earlier, or, by coming up with a new idea, fill in the purpose, audience, and beneficial effect responses in the Thinking section of your culminating task portfolio entry.
-
Then author your Keynote prototype, keeping in mind the principles of 60 Second Prototyping – prototypes need not be perfect – just complete enough to get feedback on your ideas and improve the plan for your app before you start coding.
-
Get feedback on your prototype as soon as you can. Your partner must provide their feedback in writing (hand-written) during class time. Feedback provided by your partner must be initialled by Mr. Gordon. Then take a photo of that feedback and include it in your culminating task portfolio entry.
TIP
Ideally, after revising your prototype, you might collect additional feedback – the more fully you have thought through your app idea, the better!
-
Begin authoring code by creating a new iOS project. Then a great place to start is by considering the data your app would need to store – just like what we did when modelling the data of a hockey card or a book listing. Look at your prototype, and identify what type of information the main screen needs to have. Place that in a structure. For example, Mr. Gordon’s main screen for the book review app, from his prototype, looked like this:
… and here is the commit Mr. Gordon made after deciding what information would need to go in hisReviewstructure, which represents a review of a single book.TIP
After you have designed a structure for the main data your app needs to hold, you will benefit from having some example data to work with. This is a great place to use a large language model! Here is an example of a chat one might have to create a few “book reviews” based on the model Mr. Gordon came up with.
-
Where you go next is up to you. Mr. Gordon chose to make his view model, with an array to hold the reviewed books, and then created his scrollable list. Alternatively, you could try first creating a “detail view” based on your prototype in Keynote, and then show one of the bits of example data you might have gotten earlier from a chat with a large language model.
-
Your app will need a way to “gain” data – this might be through the user actually creating the data themselves, or by your app pulling data from a remote web endpoint, or by showing data you pre-programmed into your app.
TIP
Remember to commit and push often – this forms the bulk of your grade in the Knowledge evaluation category (25% of the culminating task).
-
Finally, your app needs to persist data. At a minimum this will be done through saving information to a JSON file but to exceed expectations you could also use a database.
NOTE
Here is the complete list of commits Mr. Gordon used when creating his exemplar app.
Reviewing the order of the steps Mr. Gordon took to author his exemplar app might help you decide what order to implement ideas in your own app, however, the necessary steps might vary depending on what you need to do for your app.
As you work, don’t hesitate to ask questions! You can help out your friends, but remember, if you use code someone else wrote, or code that was co-created with a large language model, be sure to cite that you did so. Images, sounds, or animations you use should also be cited – the Creative Commons search portal is a great resource to find content that you can share, use, and remix into an app.
Recaps and resources
TIP
Mr. Gordon will be updating this section to provide additional resources over the coming weeks. If you have kept this page open in your web browser for a long time, please be sure to press Command-R to pick up the latest changes.
Tutorials Mr. Gordon has now completed are marked with a ✅.
Here is a list of currently planned mini-tutorials that will be added to what is already available below:
- How to display symbolic mathematics in an app ✅
- Using log messages to more easily debug logical errors ✅
- Ensuring all users of an app see up-to-date information ✅
- Creating local notifications on an iOS device ✅
- Grouping an array to create a dictionary ✅
- Retrieving complex data from endpoints ✅
- Showing a map with annotations ✅ (by Paul Hudson)
- Showing a map and the user’s location ✅ (by Paul Hudson)
- Playing audio files ✅
- Drag gestures (how to swipe left or right)
- Showing a slide-up sheet ✅
- Working with dates and times ✅
User interfaces
Whether as a recap or a resource for new techniques you might find useful, Paul Hudson has authored a nice summary of how to build layouts, or user interfaces, using SwiftUI:
As well, remember that you have a visual guide to using nearly every unique feature of the SwiftUI framework – SwiftUI Views Mastery – this should already be on your computer:
For example, many students are building apps that work with dates – this will be a useful control:
To customize a user interface further, we can define and use custom shapes.
It is also possible to create custom colour sets in Xcode to use within an app.
When used sparingly, third-party pre-built animations can be a useful addition to an app.
You can obtain commonly used symbols using the SF Symbols app or by using the Library feature in Xcode:
You can show a slide-up sheet when adding new data to a list of existing data.
Describing data
We use variables or constants and three basic data types to build custom structures that model something from our world.
Stored properties hold data that must be provided when an instance of a structure is created.
Computed properties within a structure provide new information created by using the data held within stored properties, often using operators and potentially mathematics functions to perform some kind of calculation.
We use structures within the model layer in an app.
Lists of data
It is a common task in an app to organize many instances of the same type of data.
Many instances of the same type of data will be held within a list (also called an array).
We often create scrollable lists within an app, from which a user can navigate to a detail view.
When using instances of a data type in a scrolling list, be sure that the data type is made identifiable to avoid potential problems.
Obtaining data
Apps are nothing more than “input-process-output machines”.
One way that our apps can collect data is by providing user interface elements such as sliders or steppers that are in turn bound to a stored property within a structure.
We apply the MVVM (model-view-view model) design pattern to make it easier to write more sophisticated apps that accept free-form input from a user.
Apps do not just obtain data from a user directly.
It’s very common for apps to obtain data from a third-party service, or web endpoint.
Persisting data
Once we have an app that does something useful for a user, it is natural that we’d want to persist that data – keep it around for future reference. If the user closes our app at some point, when they open it again, they expect their data to still be there.
One way to persist data is to save it in a JSON-encoded text file located on the user’s device.
Another way to is use a database.
When information that we want to persist for a user never needs to be seen or shared by anyone else, we could use the SwiftData framework.
When information will need to be shared or seen by others, we will need to keep that information in a cloud-hosted database.
Databases
Based on the (excellent) prototypes students in our class have produced, many students are planning to integrate a database into their app to persist data.
Here is a summary of existing and new tutorials to support those students who wish to exceed grade-level expectations by integrating a database into their culminating task app.
First, the following tutorial series introduces and demonstrates a lot of techniques, using a database with a single table, to implement a to-do list app:
- To-do List App
- To-do List App, Pt. 2
- To-do List App, Pt. 3
- To-do List App, Pt. 4
- To-do List App, Pt. 5
- To-do List App, Pt. 6
- To-do List App, Pt. 7
- To-do List App, Pt. 8
- To-do List App, Pt. 9
Next, while a cloud-hosted database is useful for an app that requires only a single table, databases really show their power when we create databases with multiple tables that describe relationships.
Read this lesson:
… then try defining an ER diagram that describes relationships between entities that would need to exist for your app.
TIP
Mr. Gordon is quite willing to be a sounding board as you work through the creation of your app’s ER diagram. He can also assist you with getting a database created and populated with the example data you will have after reading the lesson above.
Once you have a database that has multiple tables connected by relationships, you will need to know how to read information from those tables.
Here is a lesson that explains the theory of how to join tables, using an existing database schema:
You can check your work for the exercises connected to joining tables here.
Once you understand the theory of how and why we care about joining tables, you can continue to the lessons below.
When using a database with tables connected by relationships, you will necessarily need to join those tables in a query. These lessons describe how to do that and how to build the related user interfaces:
The following lesson explains how, in a larger app with many views, you can use something called the publisher-subscriber messaging pattern to ensure that data within your app always stays up-to-date with what is in your database:
Publisher-Subscriber Messaging Pattern
TIP
A sub-topic of the lesson above – adding log messages – might be helpful too if you are trying to debug logical errors within your app.
Debugging
When building larger applications, adding log messages to your app is essential to help debug logical errors – that is, errors that occur when your app actually compiles and runs – but does not do exactly what you want it to.
Read more about how to write and use log messages here.
Dates and times
TIP
For a variety of reasons, working with dates and times is challenging, but… the good news is that Apple developers have done the hard work for us. Our job is just to know what built-in features of Swift and SwiftUI to use to handle dates. For more on this, read the section below.
The Date data type is used in Swift to store dates and times. In Supabase, dates and times should always be stored in a column of type timestamptz.
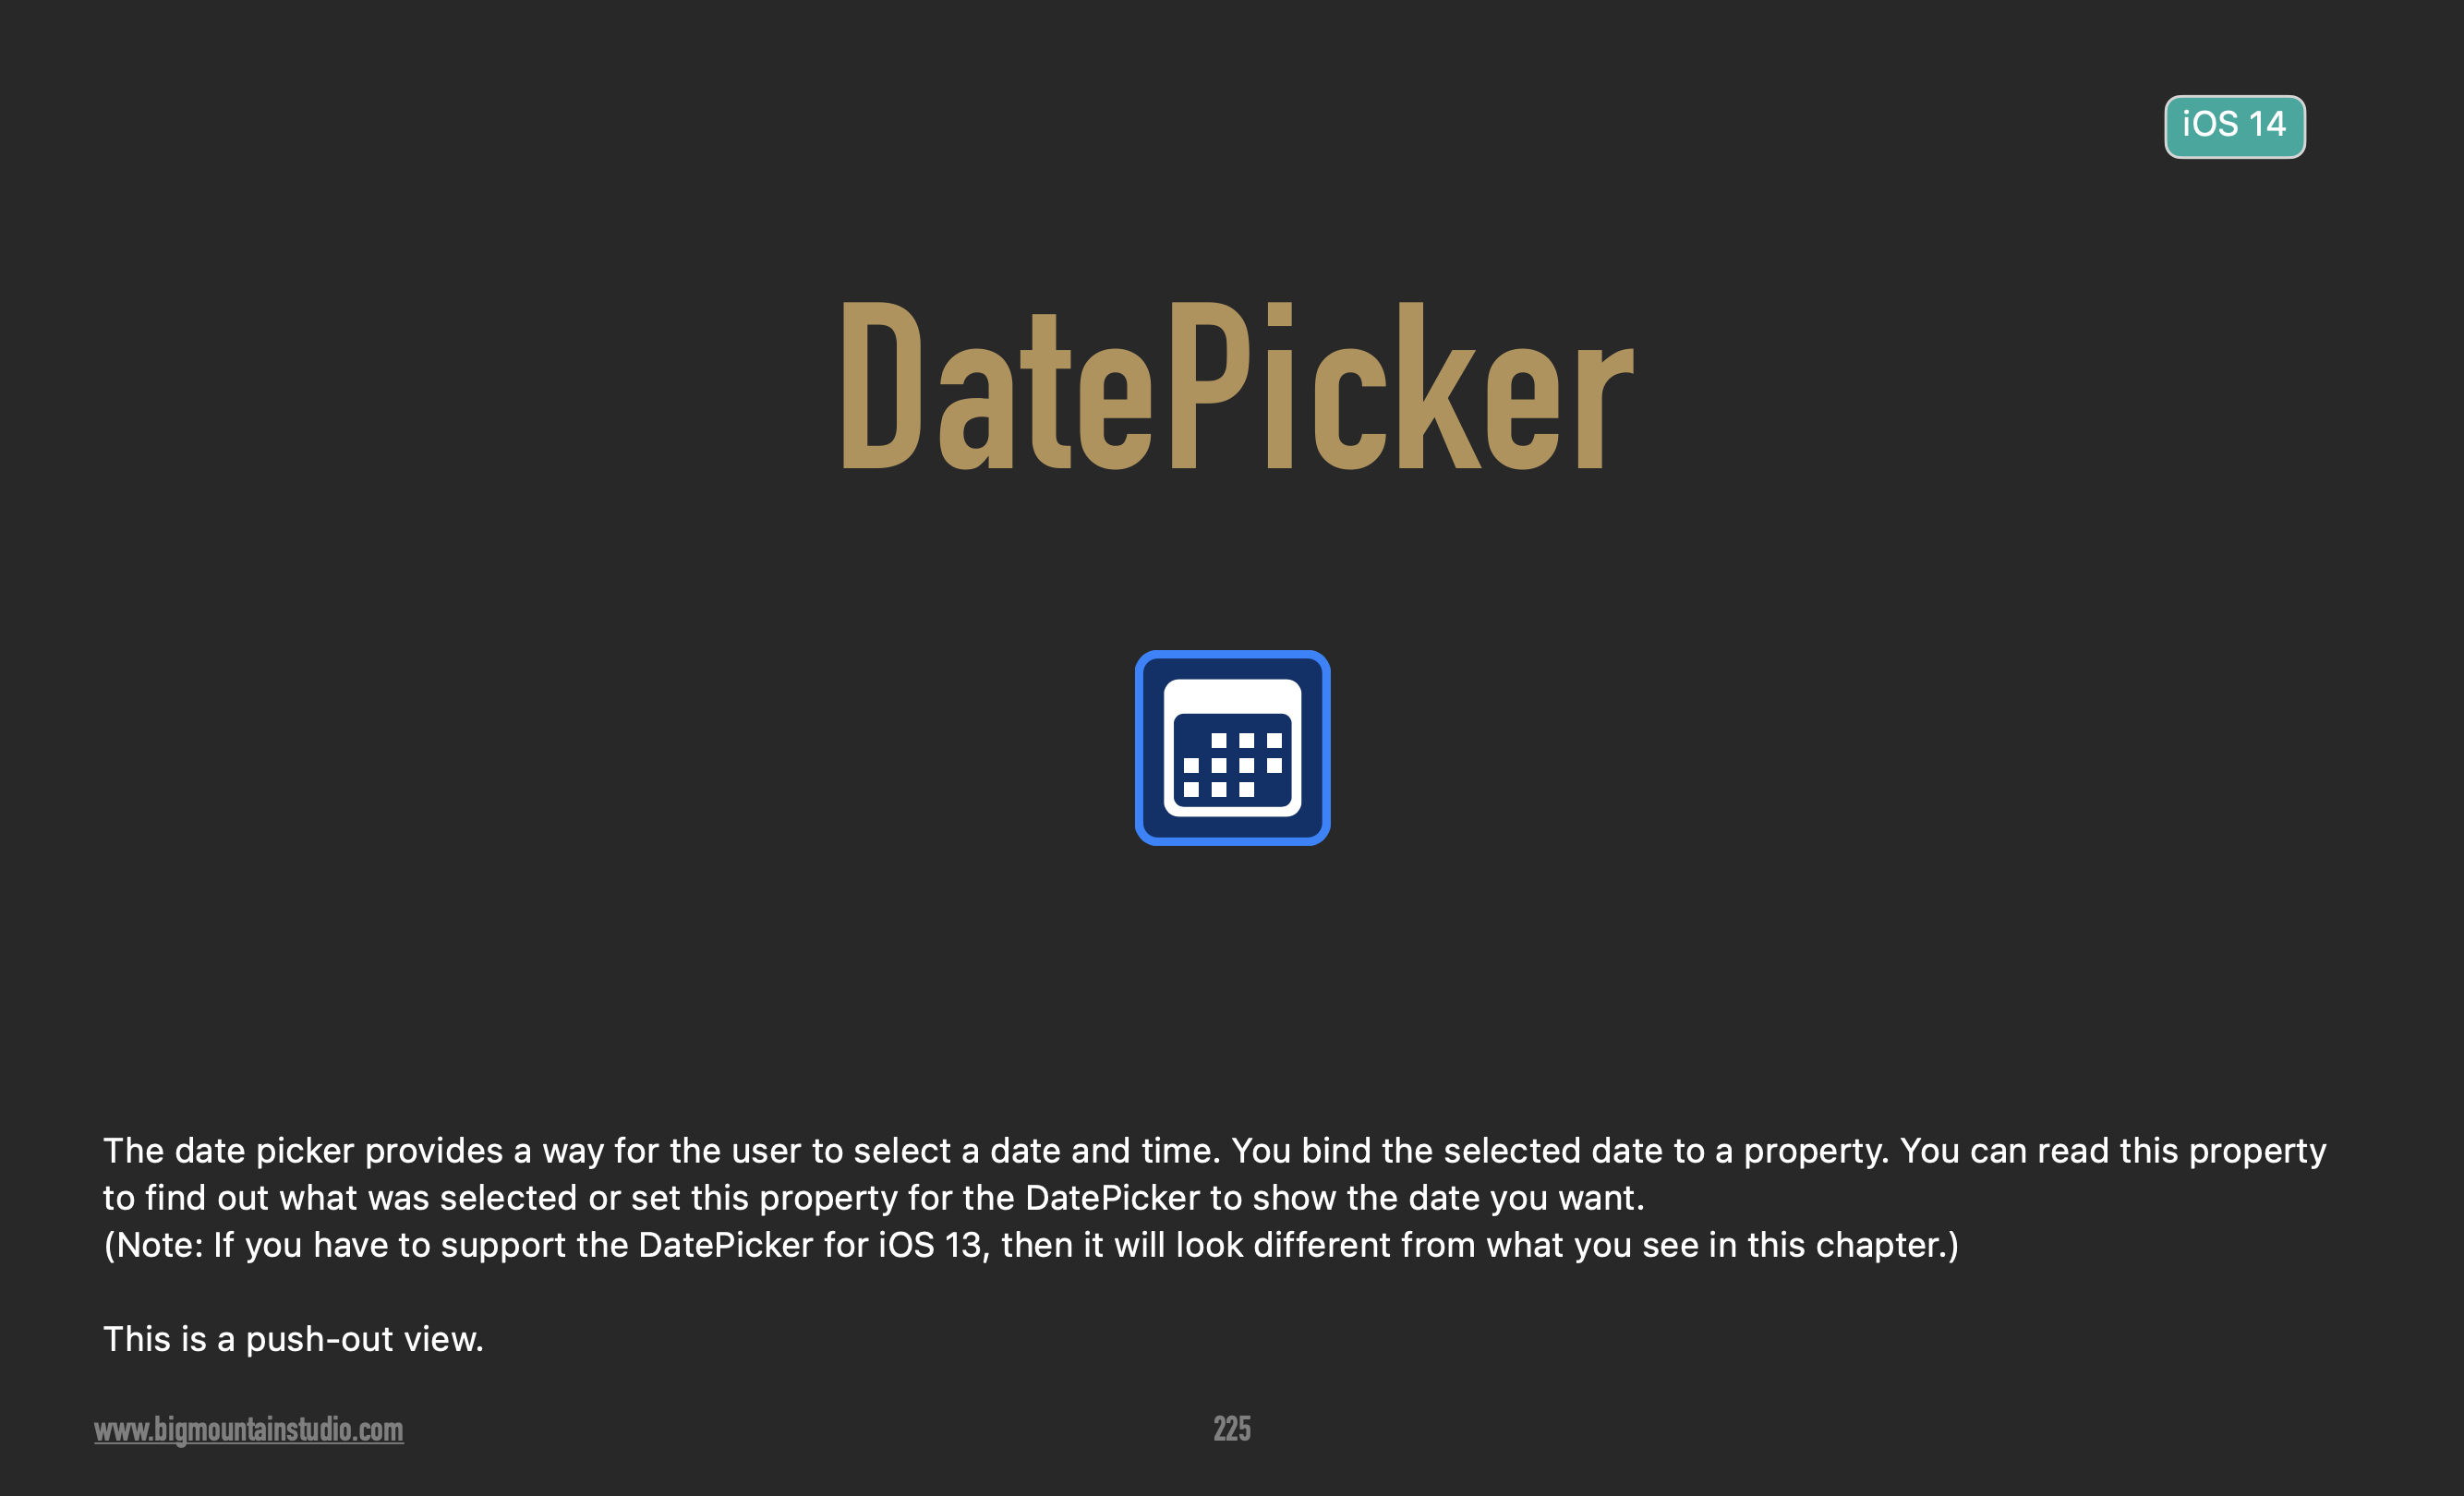
Do your users need to select a date or time in your app? You should consult the DatePicker section of SwiftUI Views Mastery, from pages 225 through 231 – anything you need in a user interface related to selecting a date or a time is described here:
Paul Hudson is a prolific author of Swift and SwiftUI tutorials. Here are several that will be useful to you when working with dates and times:
- Working with
DatePicker - How to compare two dates to see if they are similar
- How to tell if a given date is within a range of dates
- How to show relative dates, such as “3 minutes ago” or “5 days ago”
- How to create dates at particular times of day, show only certain components of a date, or how to format dates for presentation to users
Source control
You may find it necessary to go back to old versions of your code; this article describes a series of options if you find yourself in that situation.