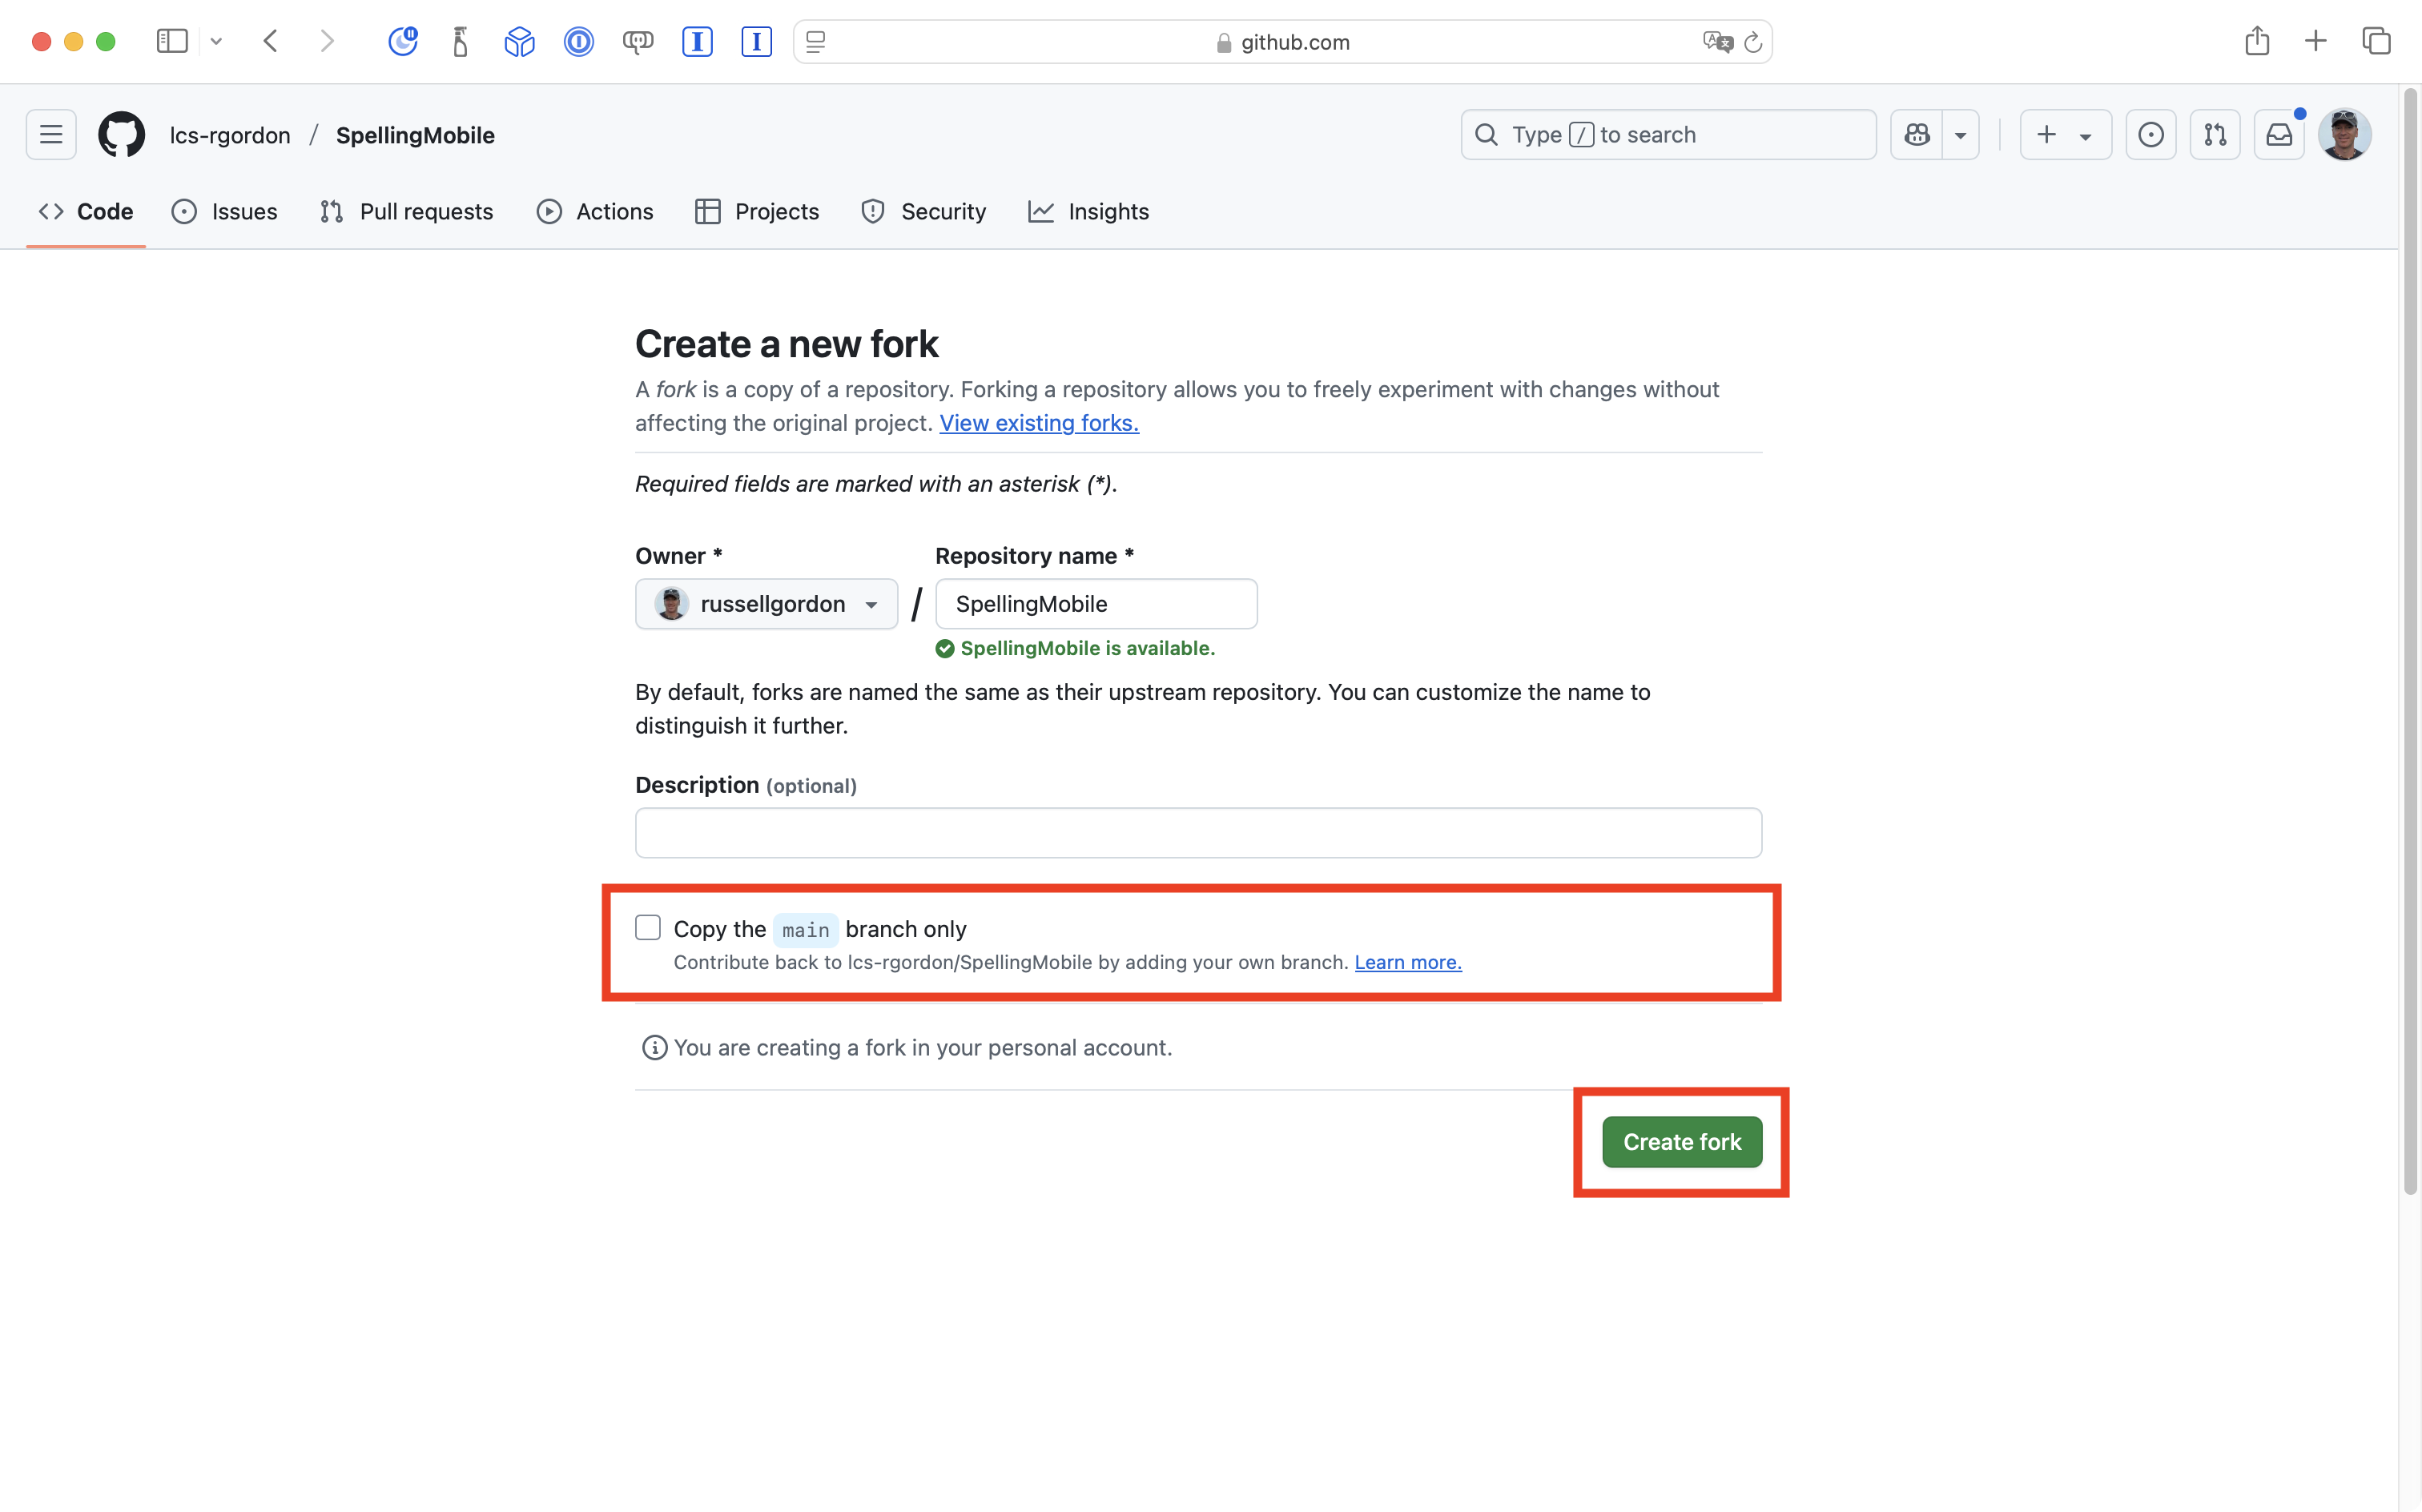
As shown in the screenshot above, be sure that you un-check the option to copy the main branch only. Then, press the green Create fork button.
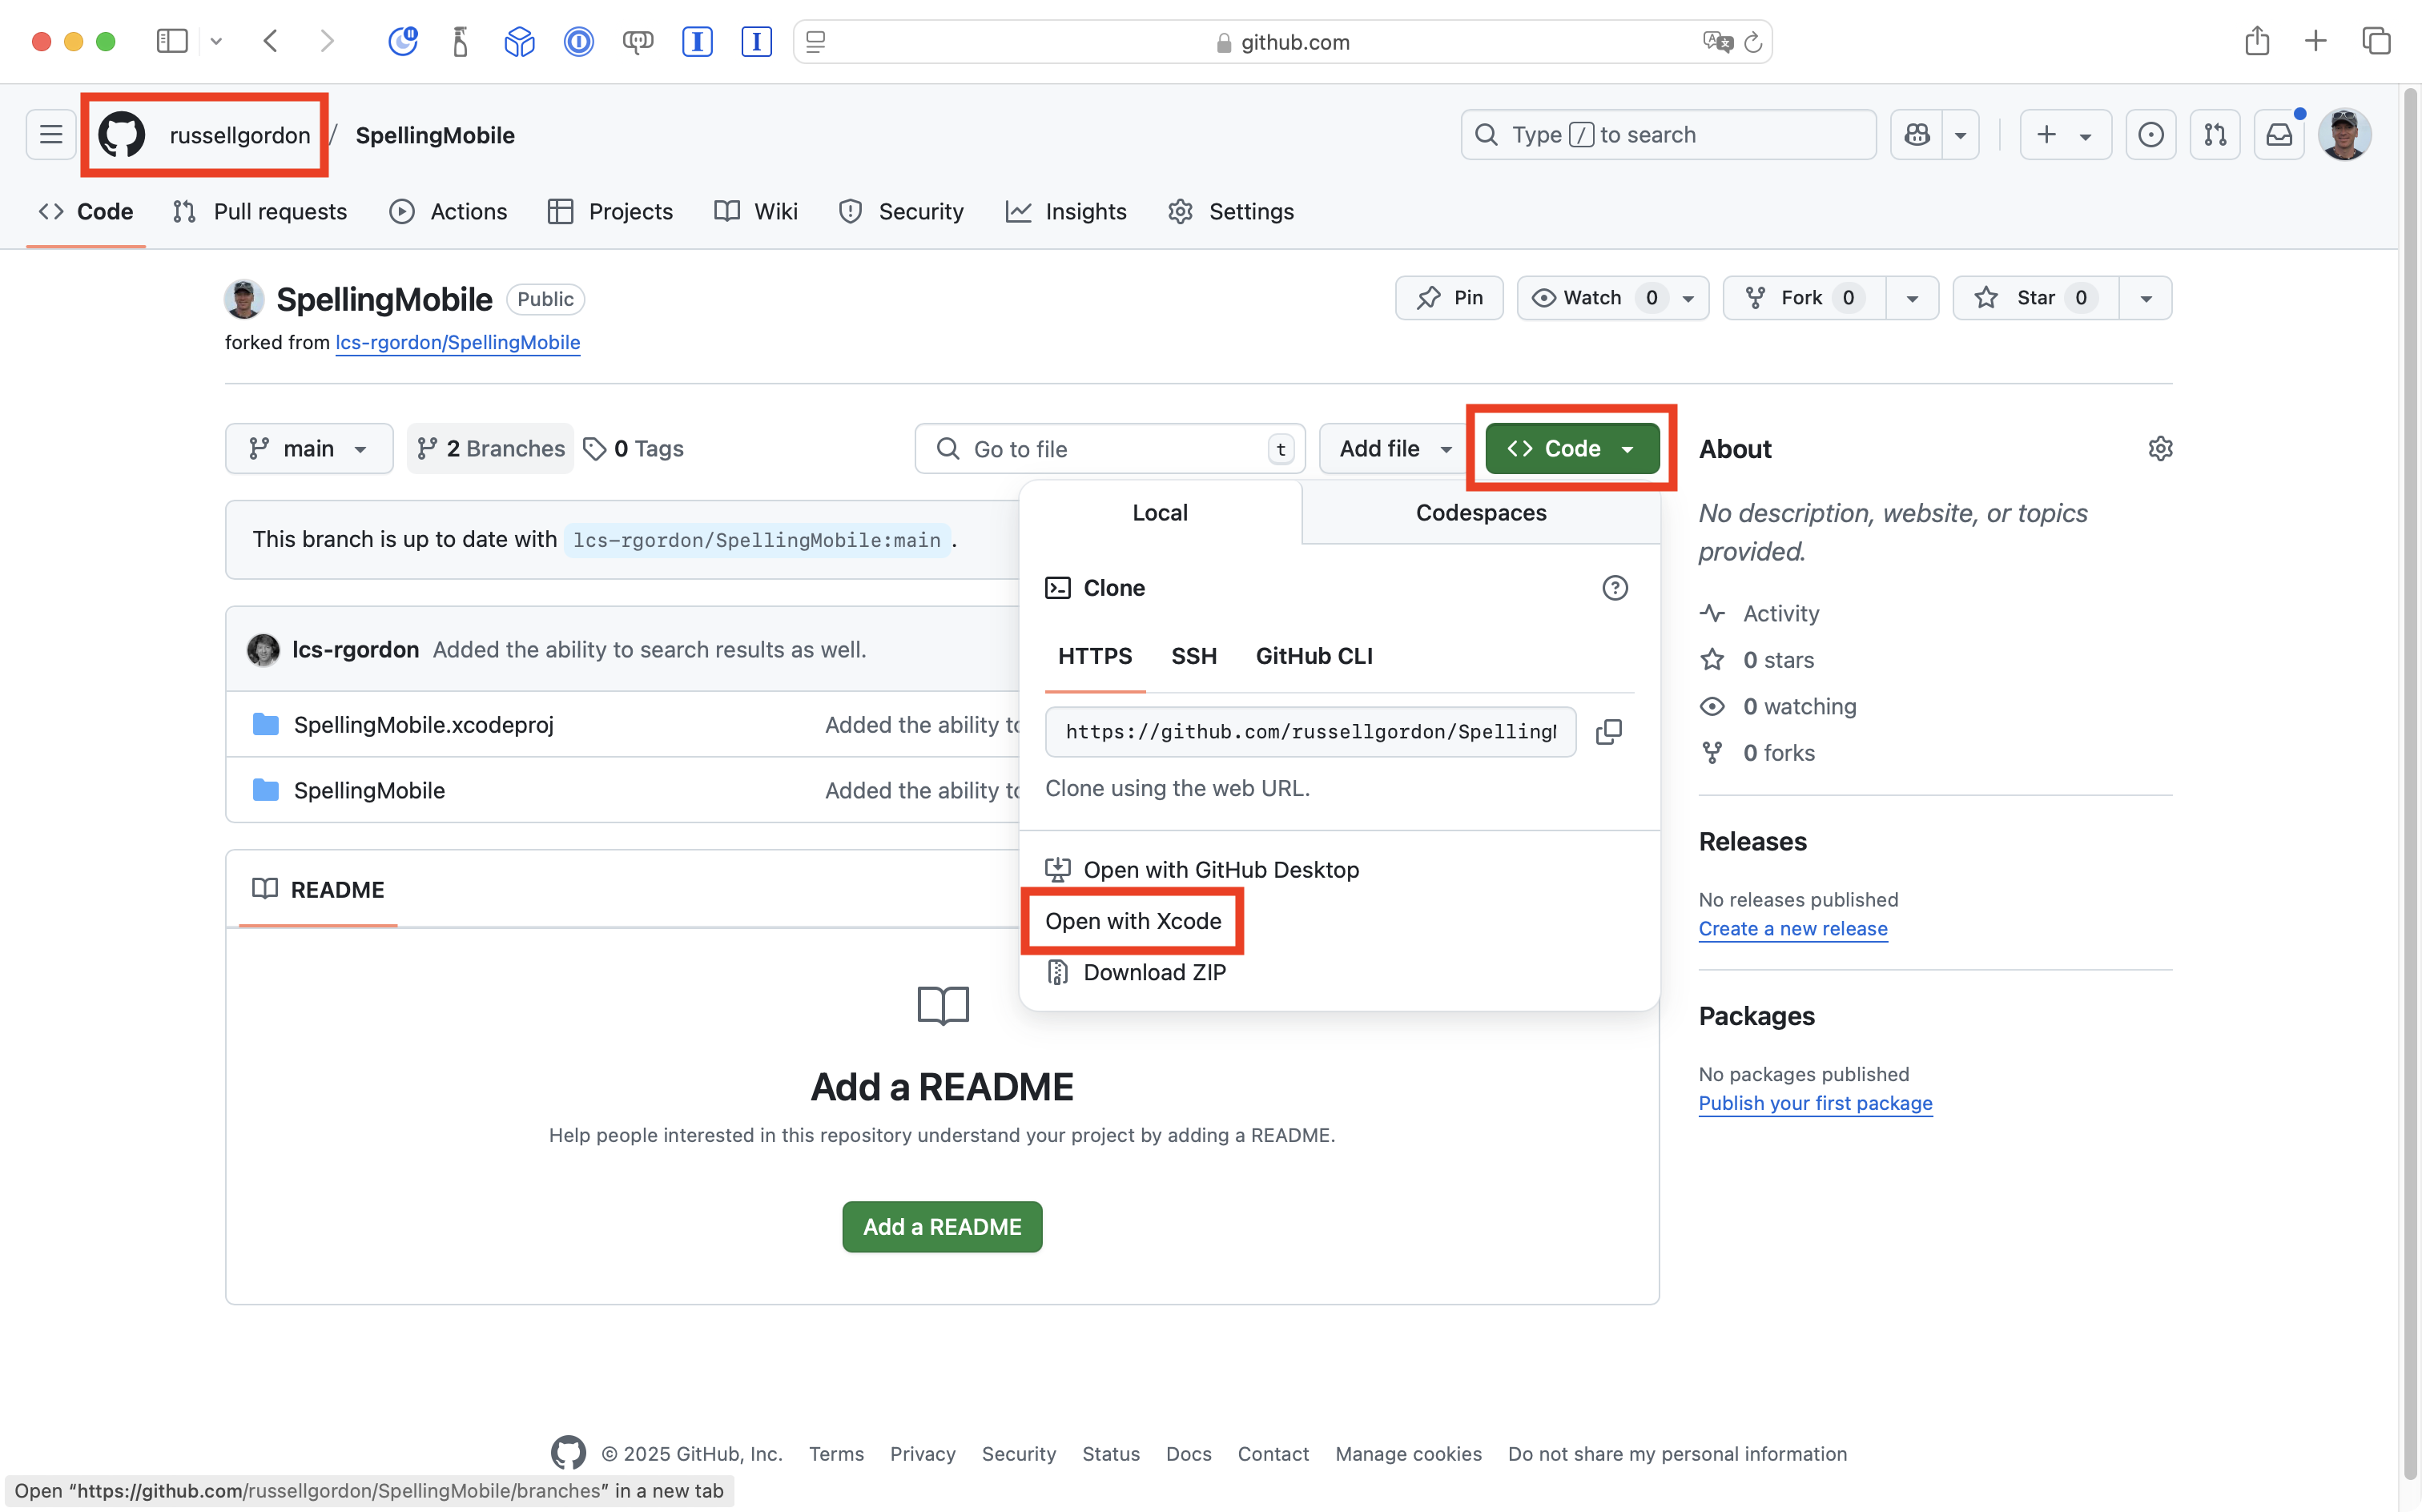
You’ll know the fork succeeded when you see your own GitHub username in the top-left corner:
To clone the project into Xcode, press the green Code button, and choose Open with Xcode.
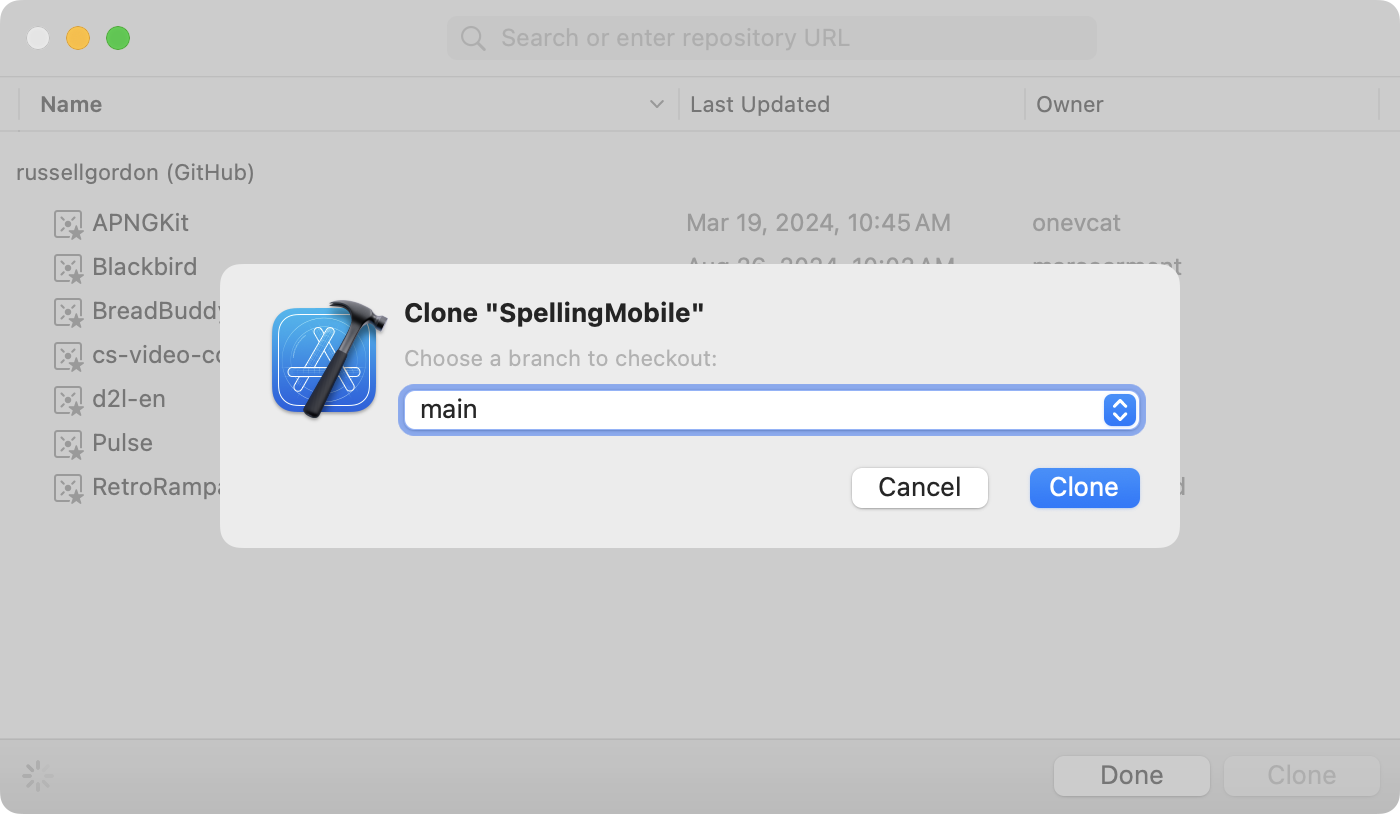
After doing that, you will see the following in Xcode:
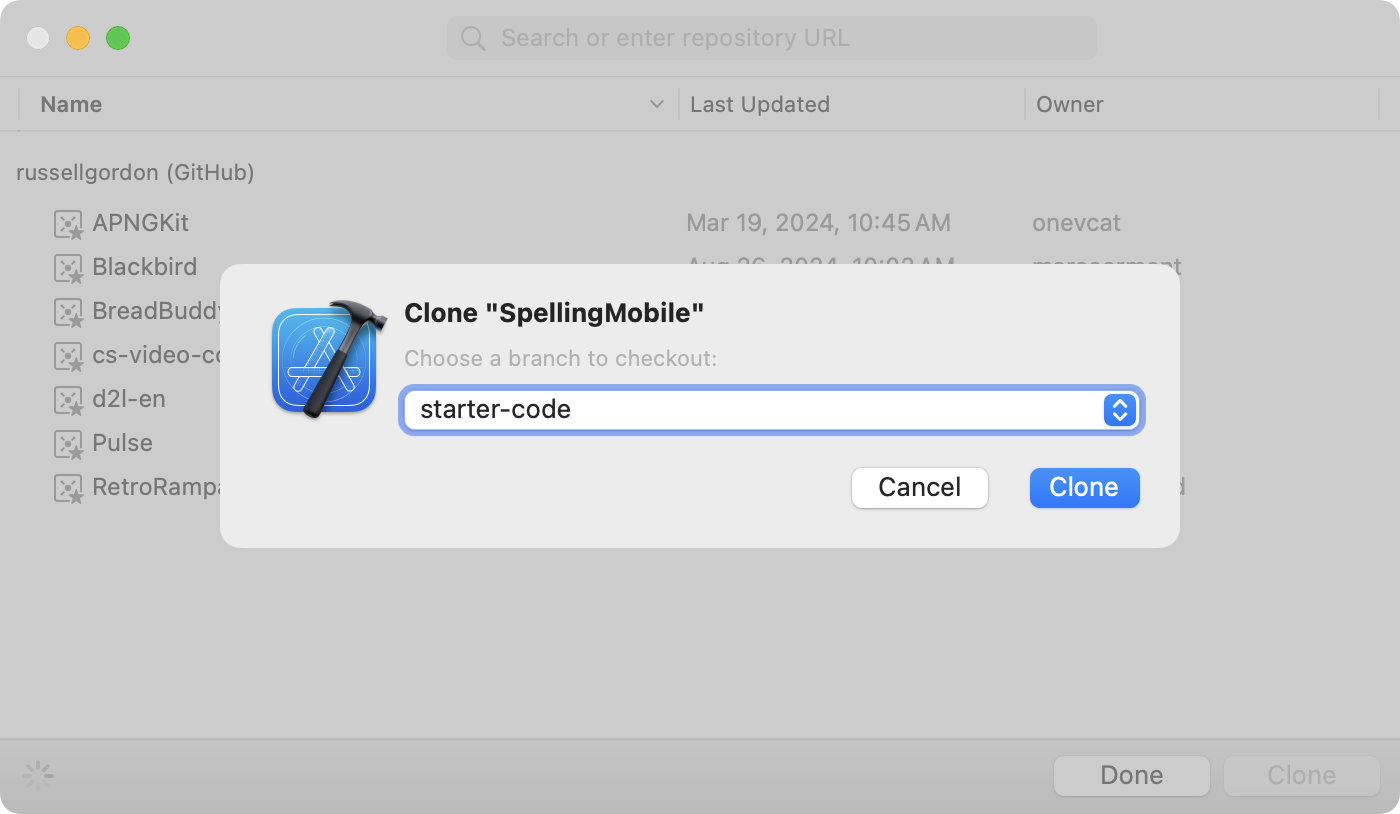
Be sure to change the drop-down menu from main to the starter-code option instead:
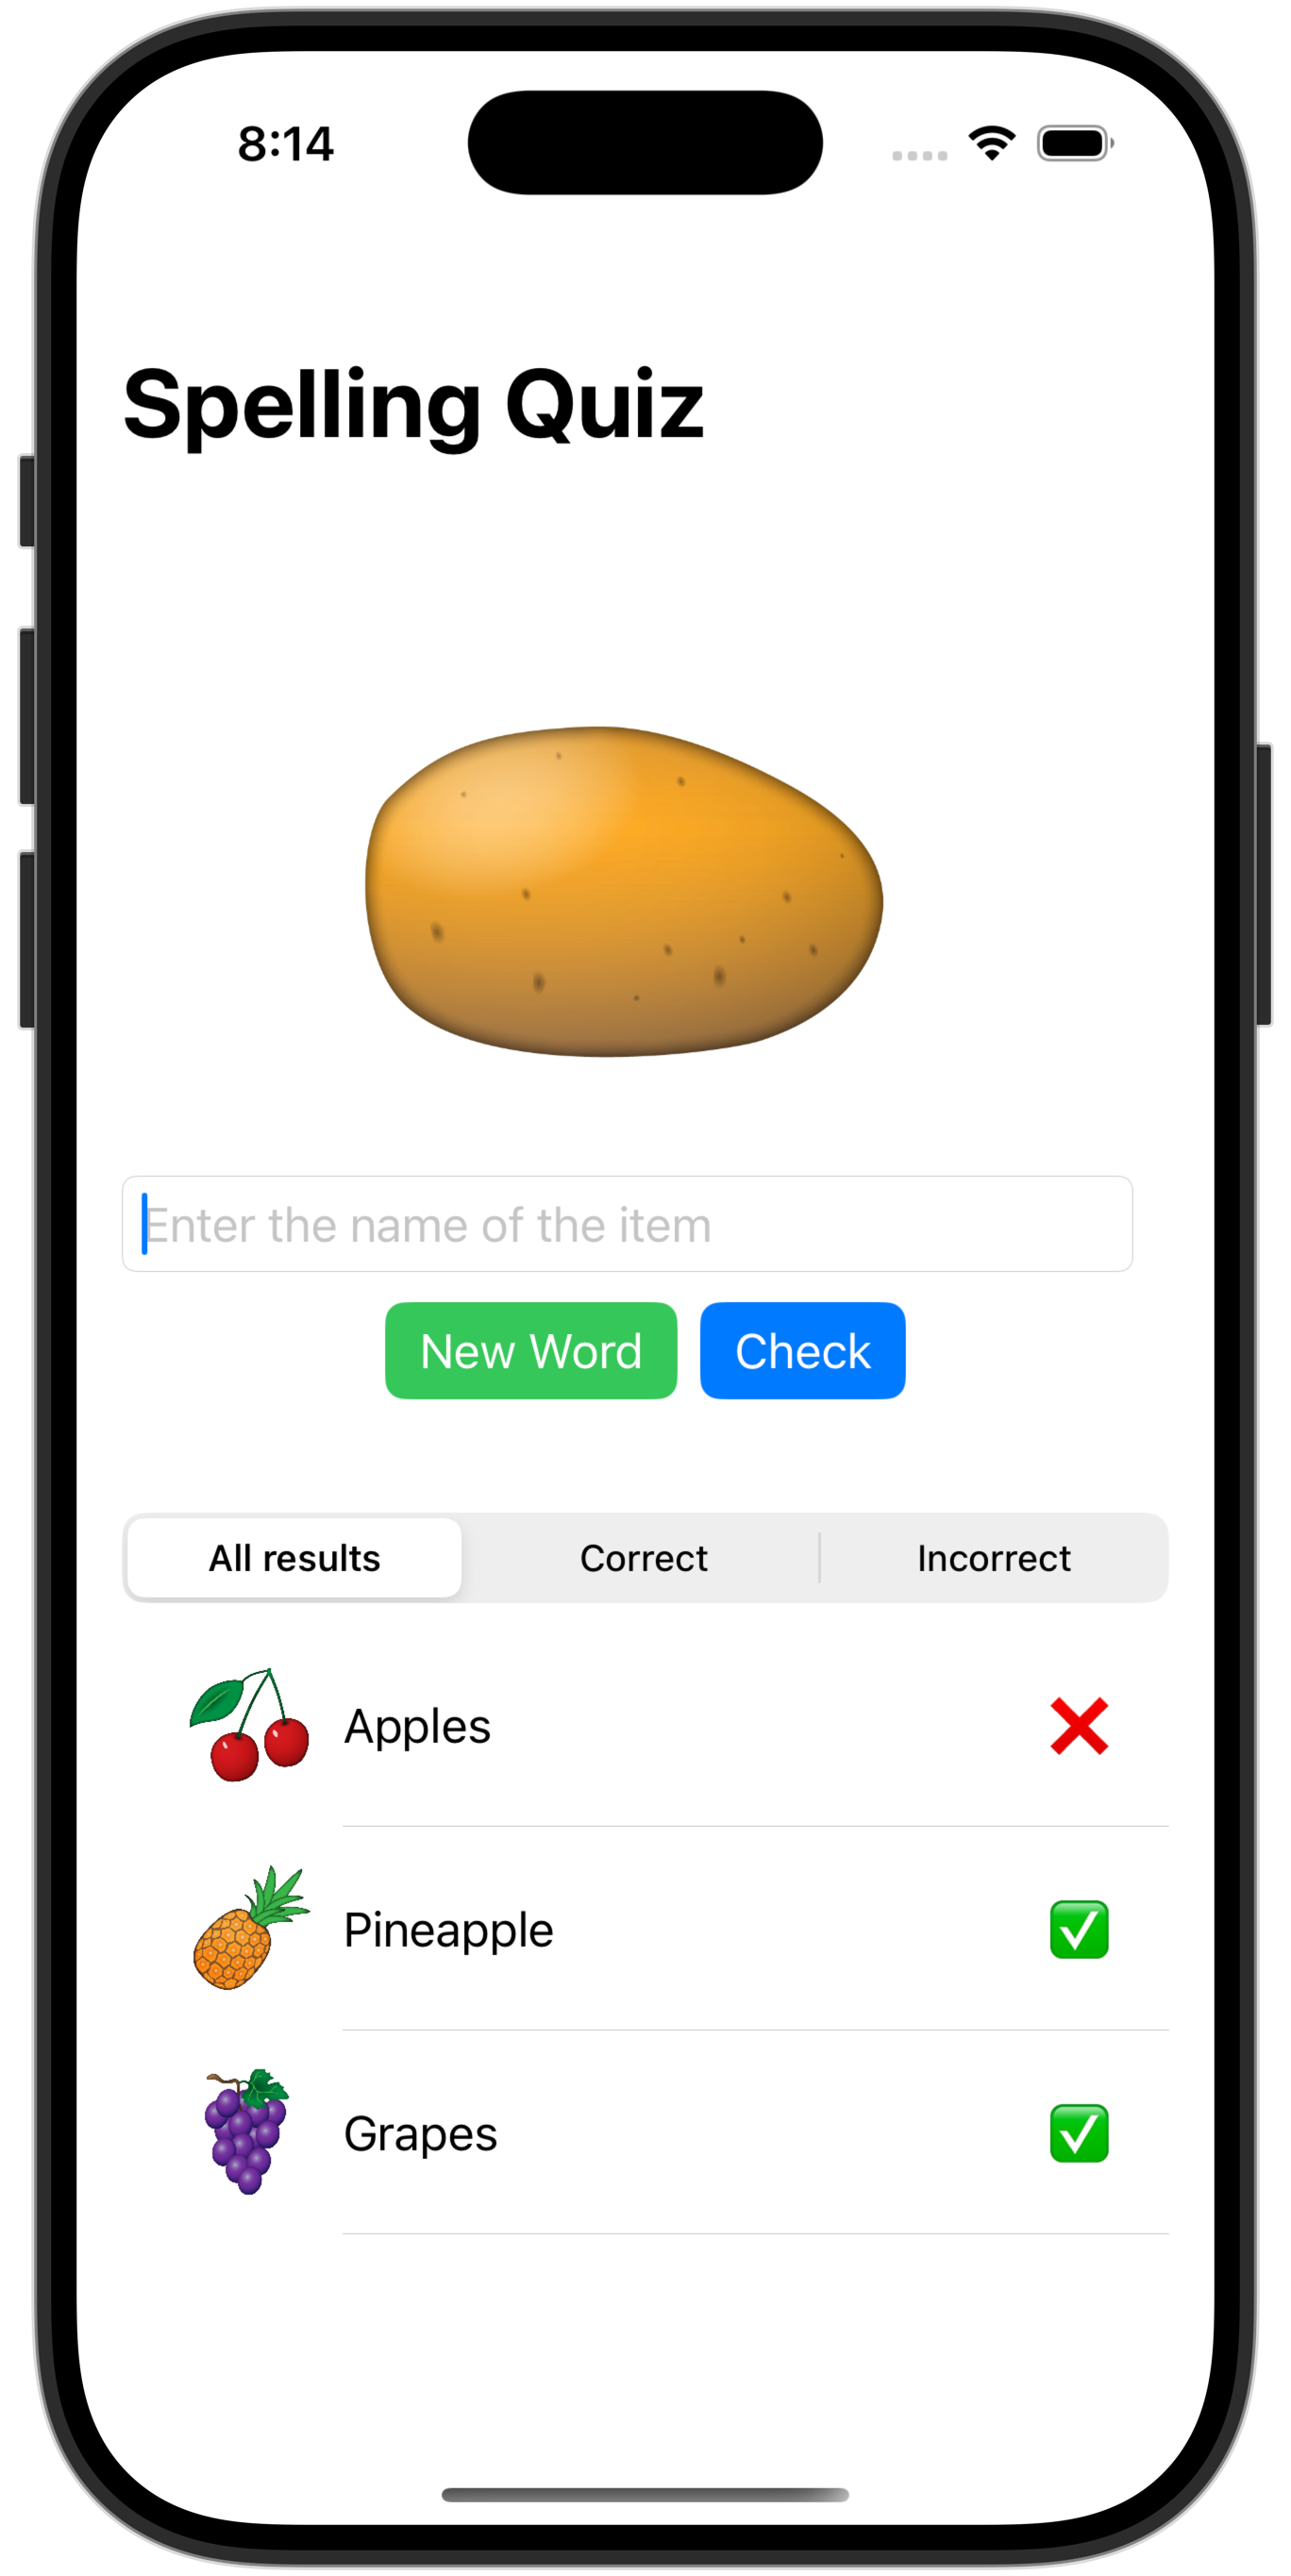
Once the project has been cloned and is open in Xcode, play the game with a partner by running it in the Simulator, or, by previewing the QuizView structure.
Consider
What are some possible beneficial effects of this app?
What audience of users might this app target?
Filtering and searching
With Mr. Gordon, we will work together in class to understand, using cards, what it means to filter and search a list.
Remember, when writing an algorithm (a recipe), we have three programming concepts to work with:
sequence
selection
iteration
Exercises
In class, you have just learned how to filter the list of outcomes in this game.
Fix the buttons
Do you notice anything about the buttons in this game that feels incorrect?
Use boolean variable(s) in the view model, and the .disabled view modifier on the buttons, to control when different buttons are enabled or disabled.
SOLUTION
As we play the game, we notice that the green New Word button is enabled when it shouldn’t be, which leads to incorrect results:
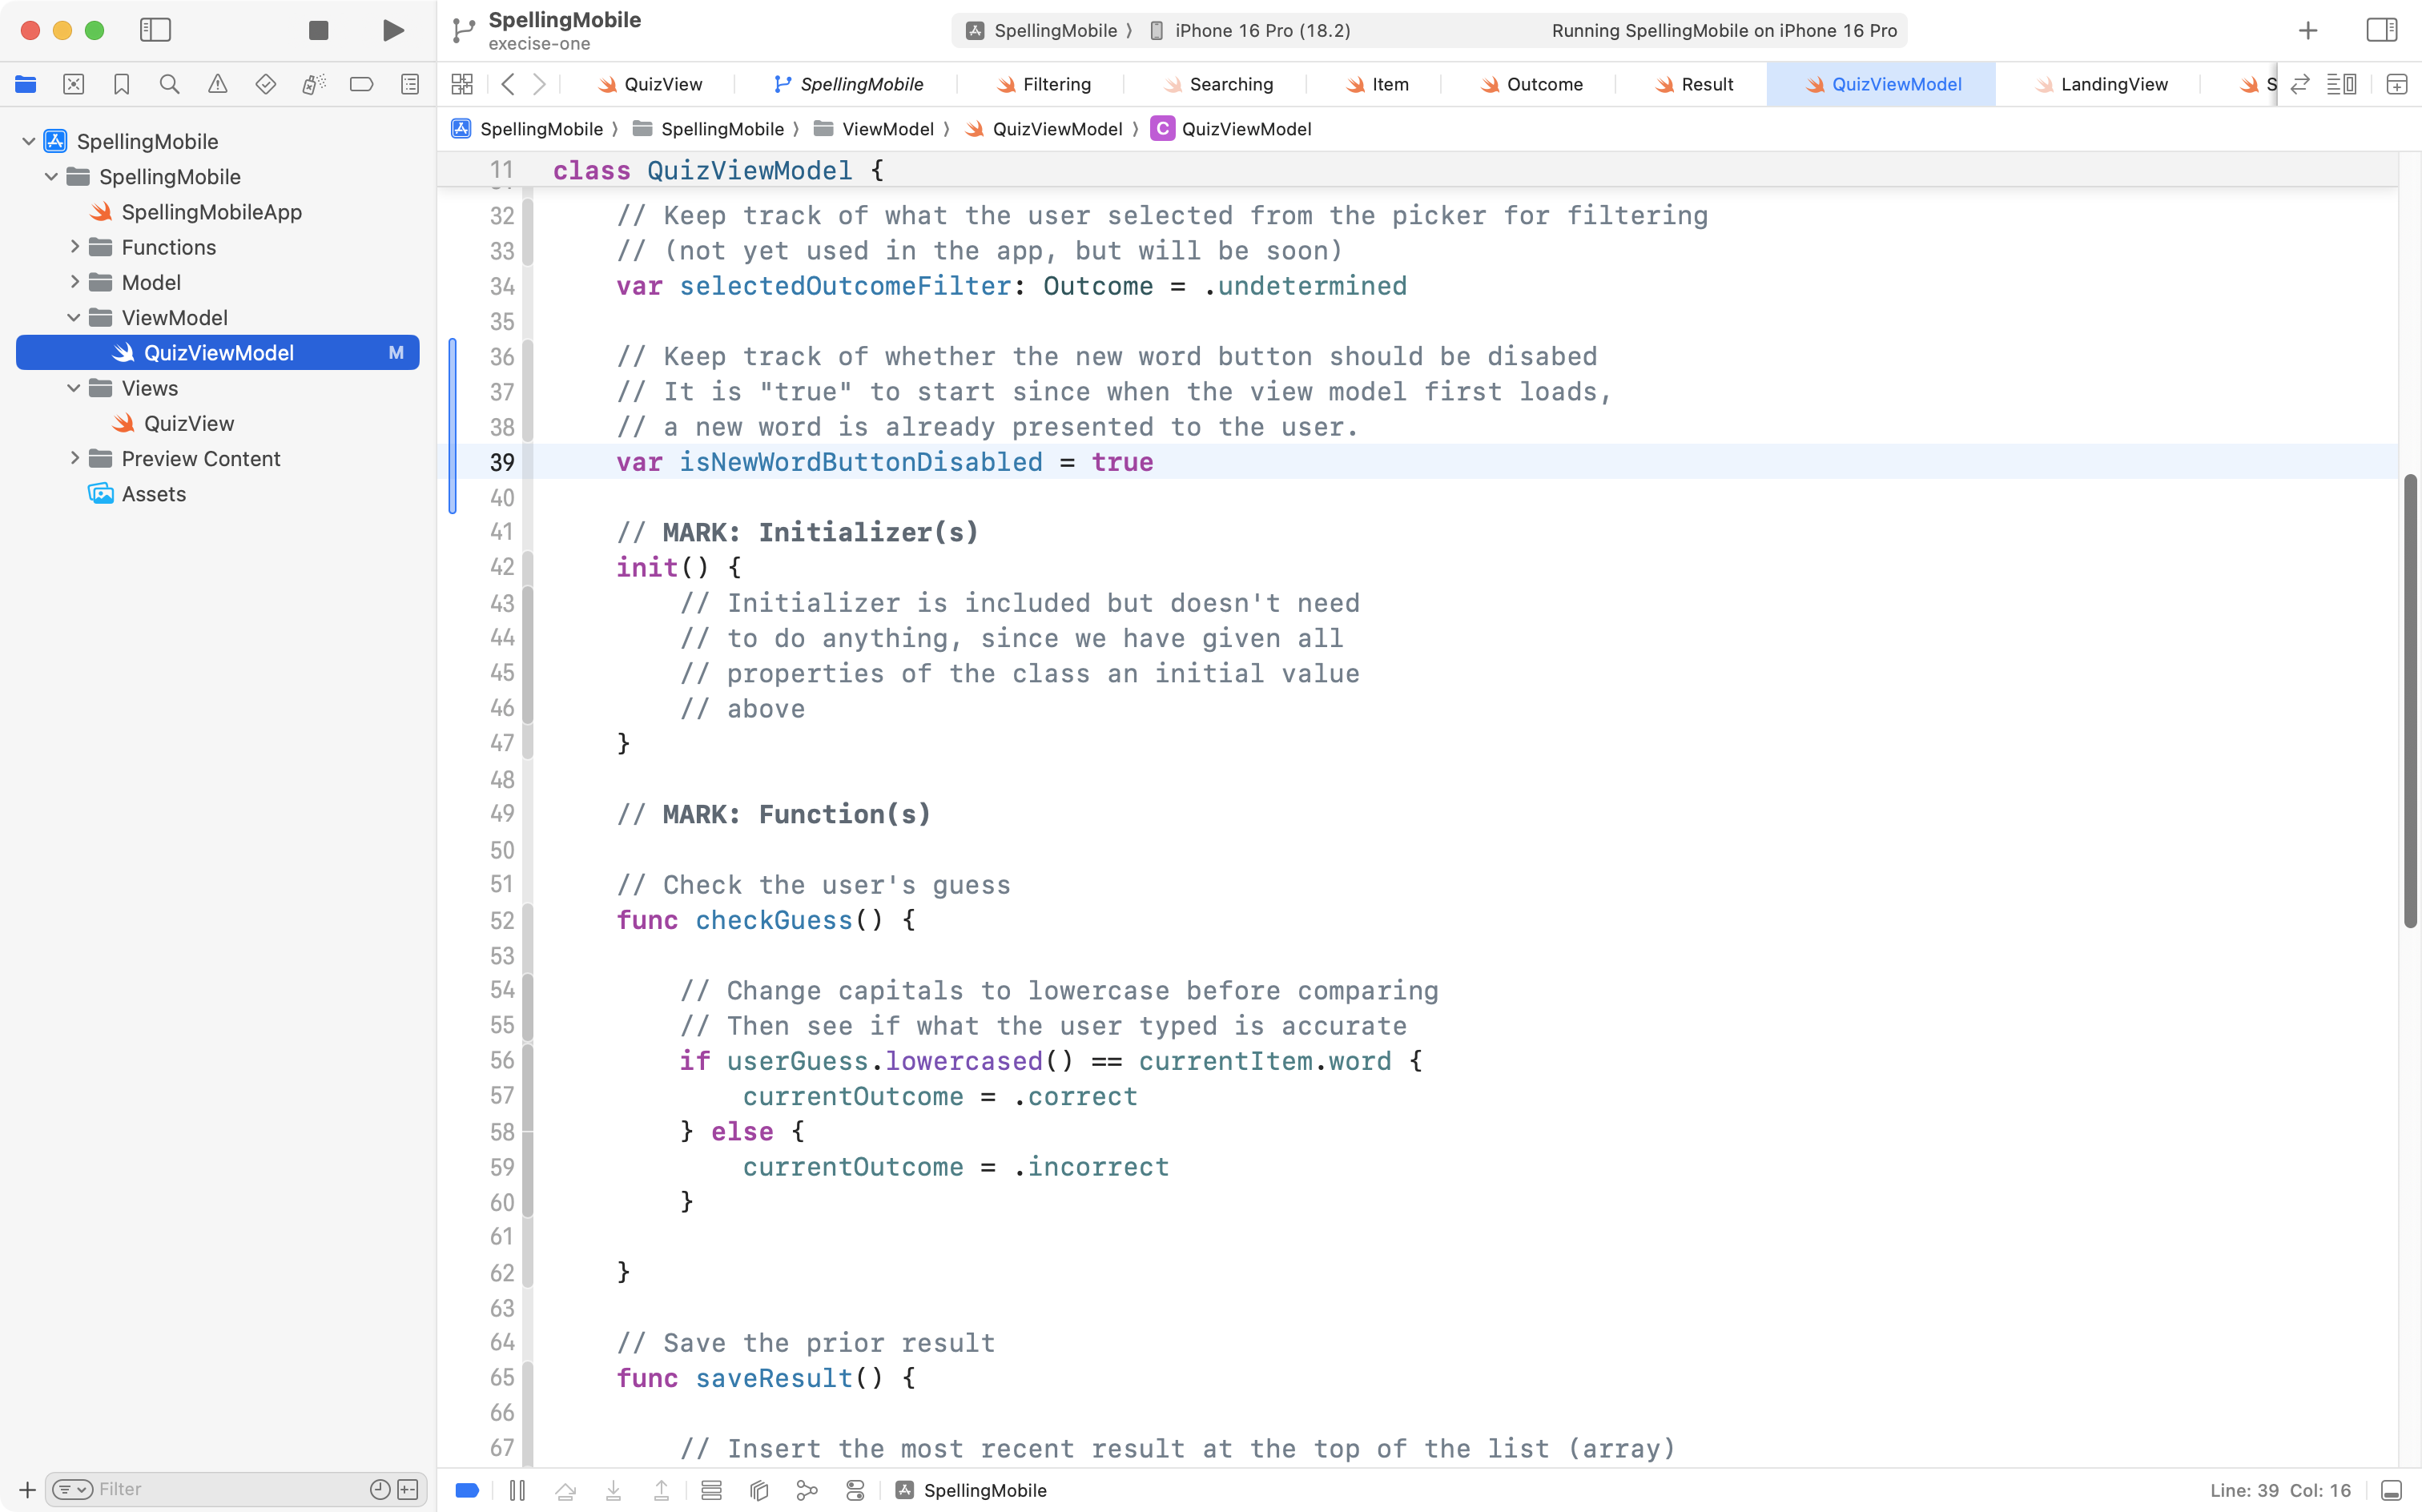
To solve this problem, we need to add state – that is, a new variable – to keep track of when this button should be enabled.
Where should this variable be declared, though? Remember the MVVM design pattern, and what each layer is meant to be used for:
flowchart LR

id1["<b>Model</b><br/>Describes data"] --> id2["<b>View Model</b><br/>Manages the state of data<br/>Contains business logic"]
id2 --> id3["<b>View(s)</b><br/>Presents data"]
id3 --> id2
The view model is meant to hold data, and the view presents that data.
So, we add the following stored property to our view model to keep track of when the New Word button should be disabled:
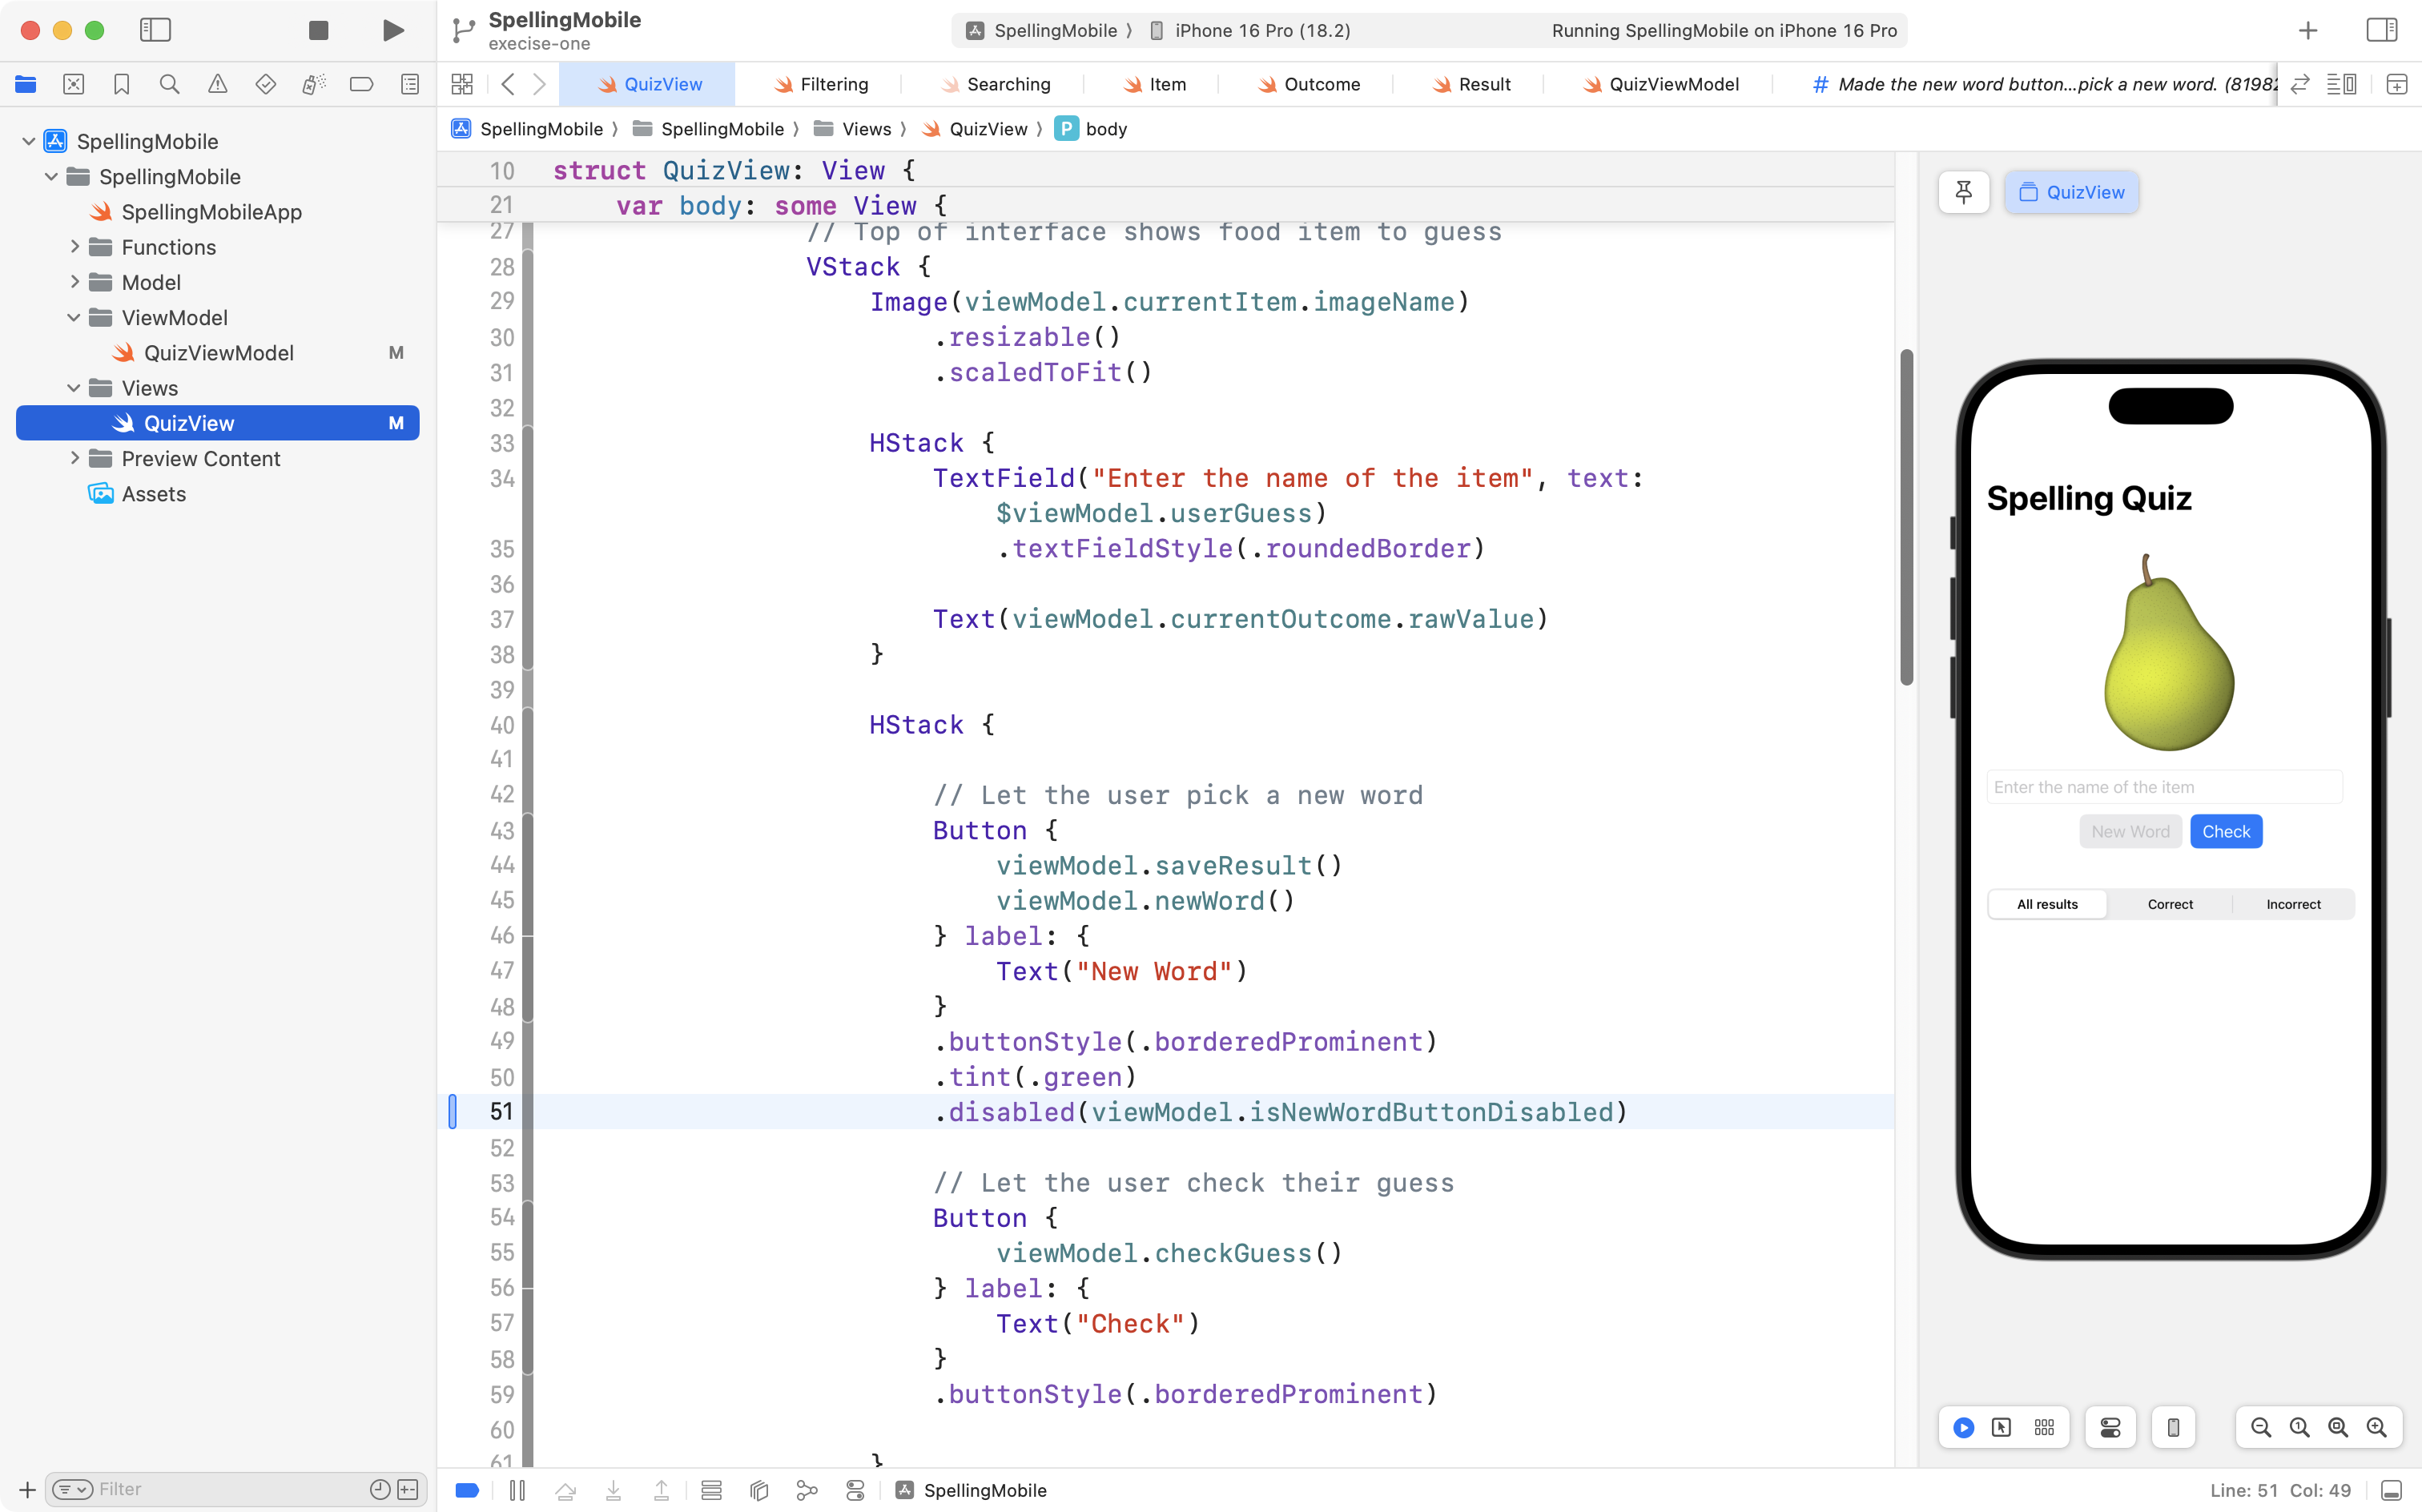
If we then immediately make use of the .disabled view modifier in the view, we see that the button is disabled, since we defaulted the isNewWordButtonDisabled stored property in the view model to true:
If we play the game at this point, there will be a problem, because we will never be able to select a new word!
So, we must change the state of isNewWordButtonDisabled at the appropriate time. Then, the user interface will update based on the state (true or false) of isNewWordButtonDisabled.
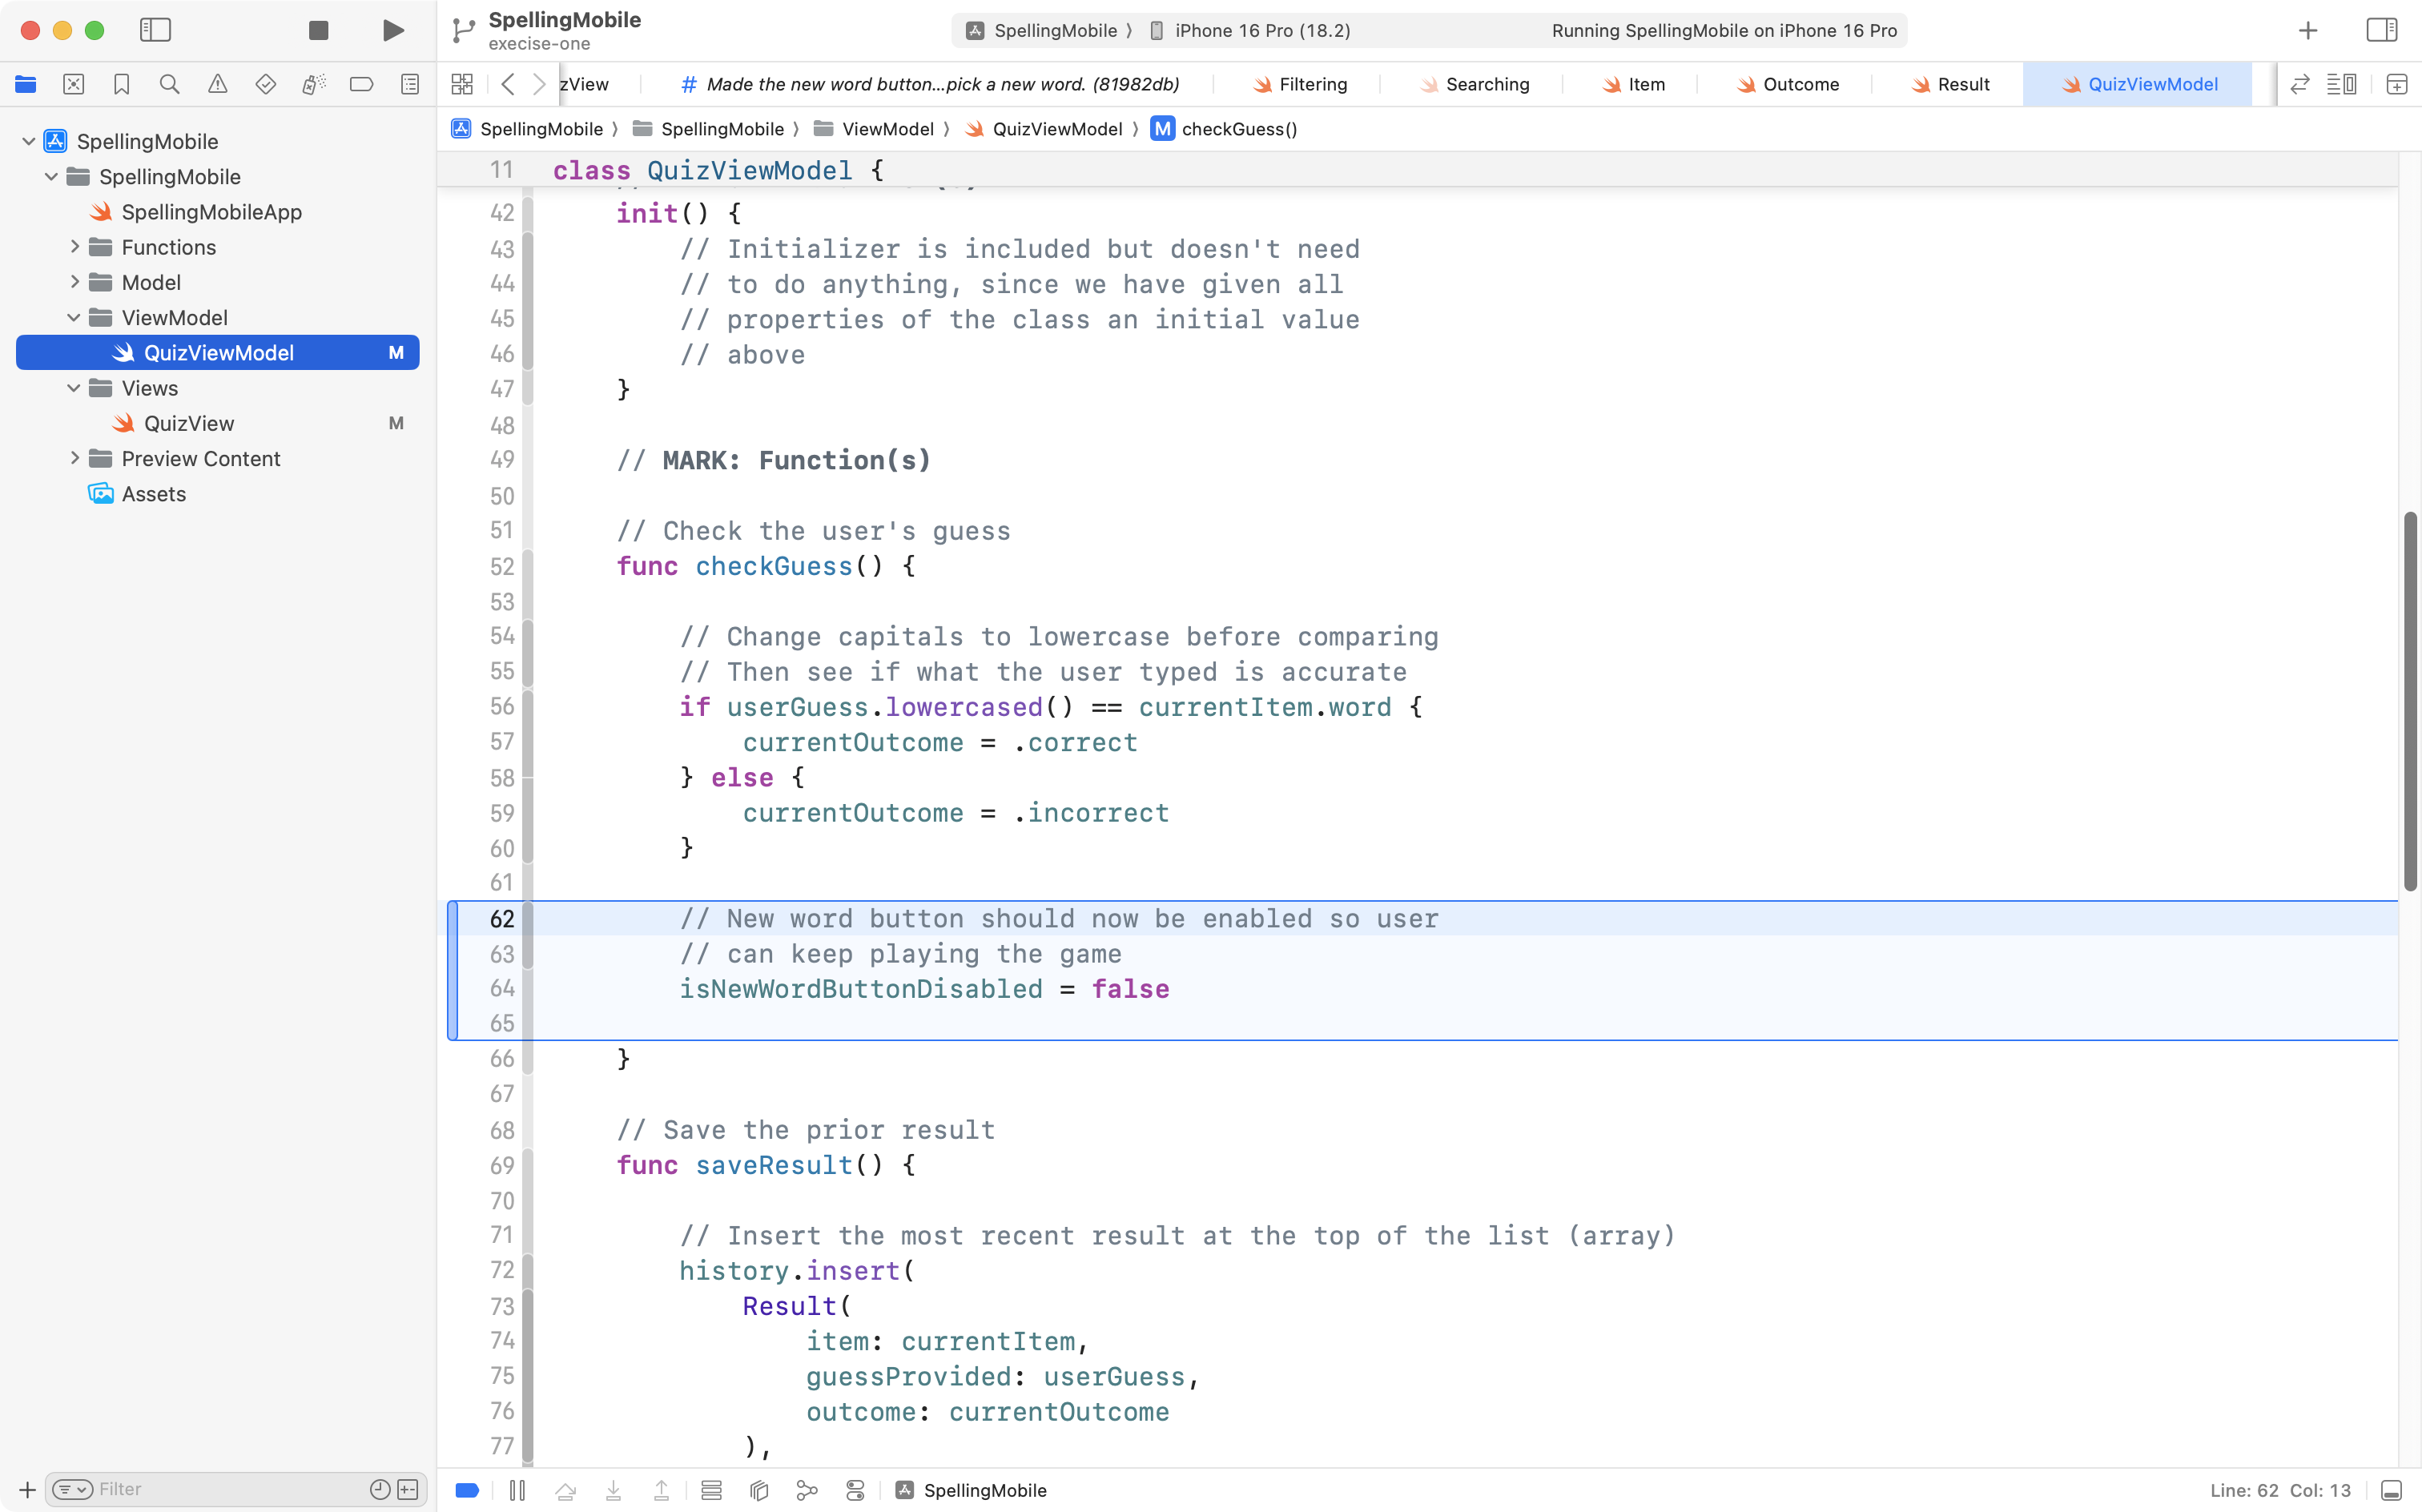
If we think about it, we realize that once the user has checked their guess on a given word, that they then need to be able to ask for a new word to keep playing the game. So, we can add this code to our view model function checkGuess:
Next, after a new word has been selected… the user should not immediately be able to select a new word. So, we make the button disabled again by adding this code to our view model function named newWord:
Now, when we try out the app, we will see that the button is available for use only at the appropriate times during game play:
Use tabs
The interface feels a bit crowded with the scrollable list right below the main user interface of the game.
You have previously learned how to share data between screens (views) in an app using the environment.
Use that same approach to put the array of previous results on one view within this app, and the main user interface of the quiz on its own view.
SOLUTION
We previously learned how to share data between tabs in the JokeFinder app.
Now, we will use the same approach to share data between tabs in this app. Here is the overview of what we will attempt to do:
flowchart LR
subgraph aep[" "]
	direction TB
	id1["<b>App Entry Point</b>"]
	id2[("<b>QuizViewModel</b><br/><em>Observable class</em>")]
end
subgraph ae["<b>App's Environment</b>"]
	direction LR
	id3["<b>QuizView</b>"]
	id4["<b>HistoryView</b>"]
end
id1-.creates instance of.->id2
aep-- inserted into -->ae
id3~~~id4
id3~~~|All subviews<br/>can access<br/>the view model<br/>via @Environment<br/>property wrapper|id3
This video shows you how to get started, and introduces the @Bindable property wrapper, which allows for a two-way, or read-write connection to the view model from the views that access it through the environment:
Now, conceptually, the app architecture is the same, but notice there is a two-way arrow or connection between the view model and views that access it through the environment:
flowchart LR
subgraph aep[" "]
	direction TB
	id1["<b>App Entry Point</b>"]
	id2[("<b>QuizViewModel</b><br/><em>Observable class</em>")]
end
subgraph ae["<b>App's Environment</b>"]
	direction LR
	id3["<b>QuizView</b>"]
	id4["<b>HistoryView</b>"]
end
id1-.creates instance of.->id2
aep<-- inserted into -->ae
id3~~~id4
id3~~~|<br/>View model access is<br/>read-write when @Bindable is used<br/> in combination with @Environment|id3
However, if you’d like, you can watch this short video below, where the complete solution to this exercise is shared:
Add search
Instead of filtering, what if the user could search the list of outcomes based on text they type in?
Write a function to allow for this. Use the .searchable view modifier on the scrollable list to allow the user to type in a search string.
TIP
Here is a super-basic example (deliberately implemented in a single view to keep the code concise) that illustrates how to add the .searchable view modifier to a list:
struct TinySeachExampleView: View { // MARK: Stored properties // The list of teachers to show @State var teachers = ["Braeckman", "Bemrose", "Harris", "Young"] // Holds the search string typed by the user @State var providedSearchText = "" // MARK: Computed properties // The user interface var body: some View { List( search(originalList: teachers, against: providedSearchText), id: \.self ) { teacher in Text(teacher) } .searchable(text: $providedSearchText) .navigationTitle("Teachers") } // MARK: Function(s) // When finished, would return an array that // only has names that contain the search string func search( originalList: [String], against searchText: String ) -> [String] { // When there is no search text, return the original array if searchText.isEmpty { return originalList } // Not actually searching anything yet; // just return a placeholder array // NOTE: Replace this code with something else return ["Need", "to", "actually", "implement", "the", "search", "algorithm"] }}#Preview { NavigationStack { TinySeachExampleView() }}
Consider copying the code above into a new project. Can you modify the search function so that it only returns names that contain the search text? Make use of the .contains function that is built-in to the String data type.
If you can get that working, then try implementing the same concept in the Spelling project from this class.
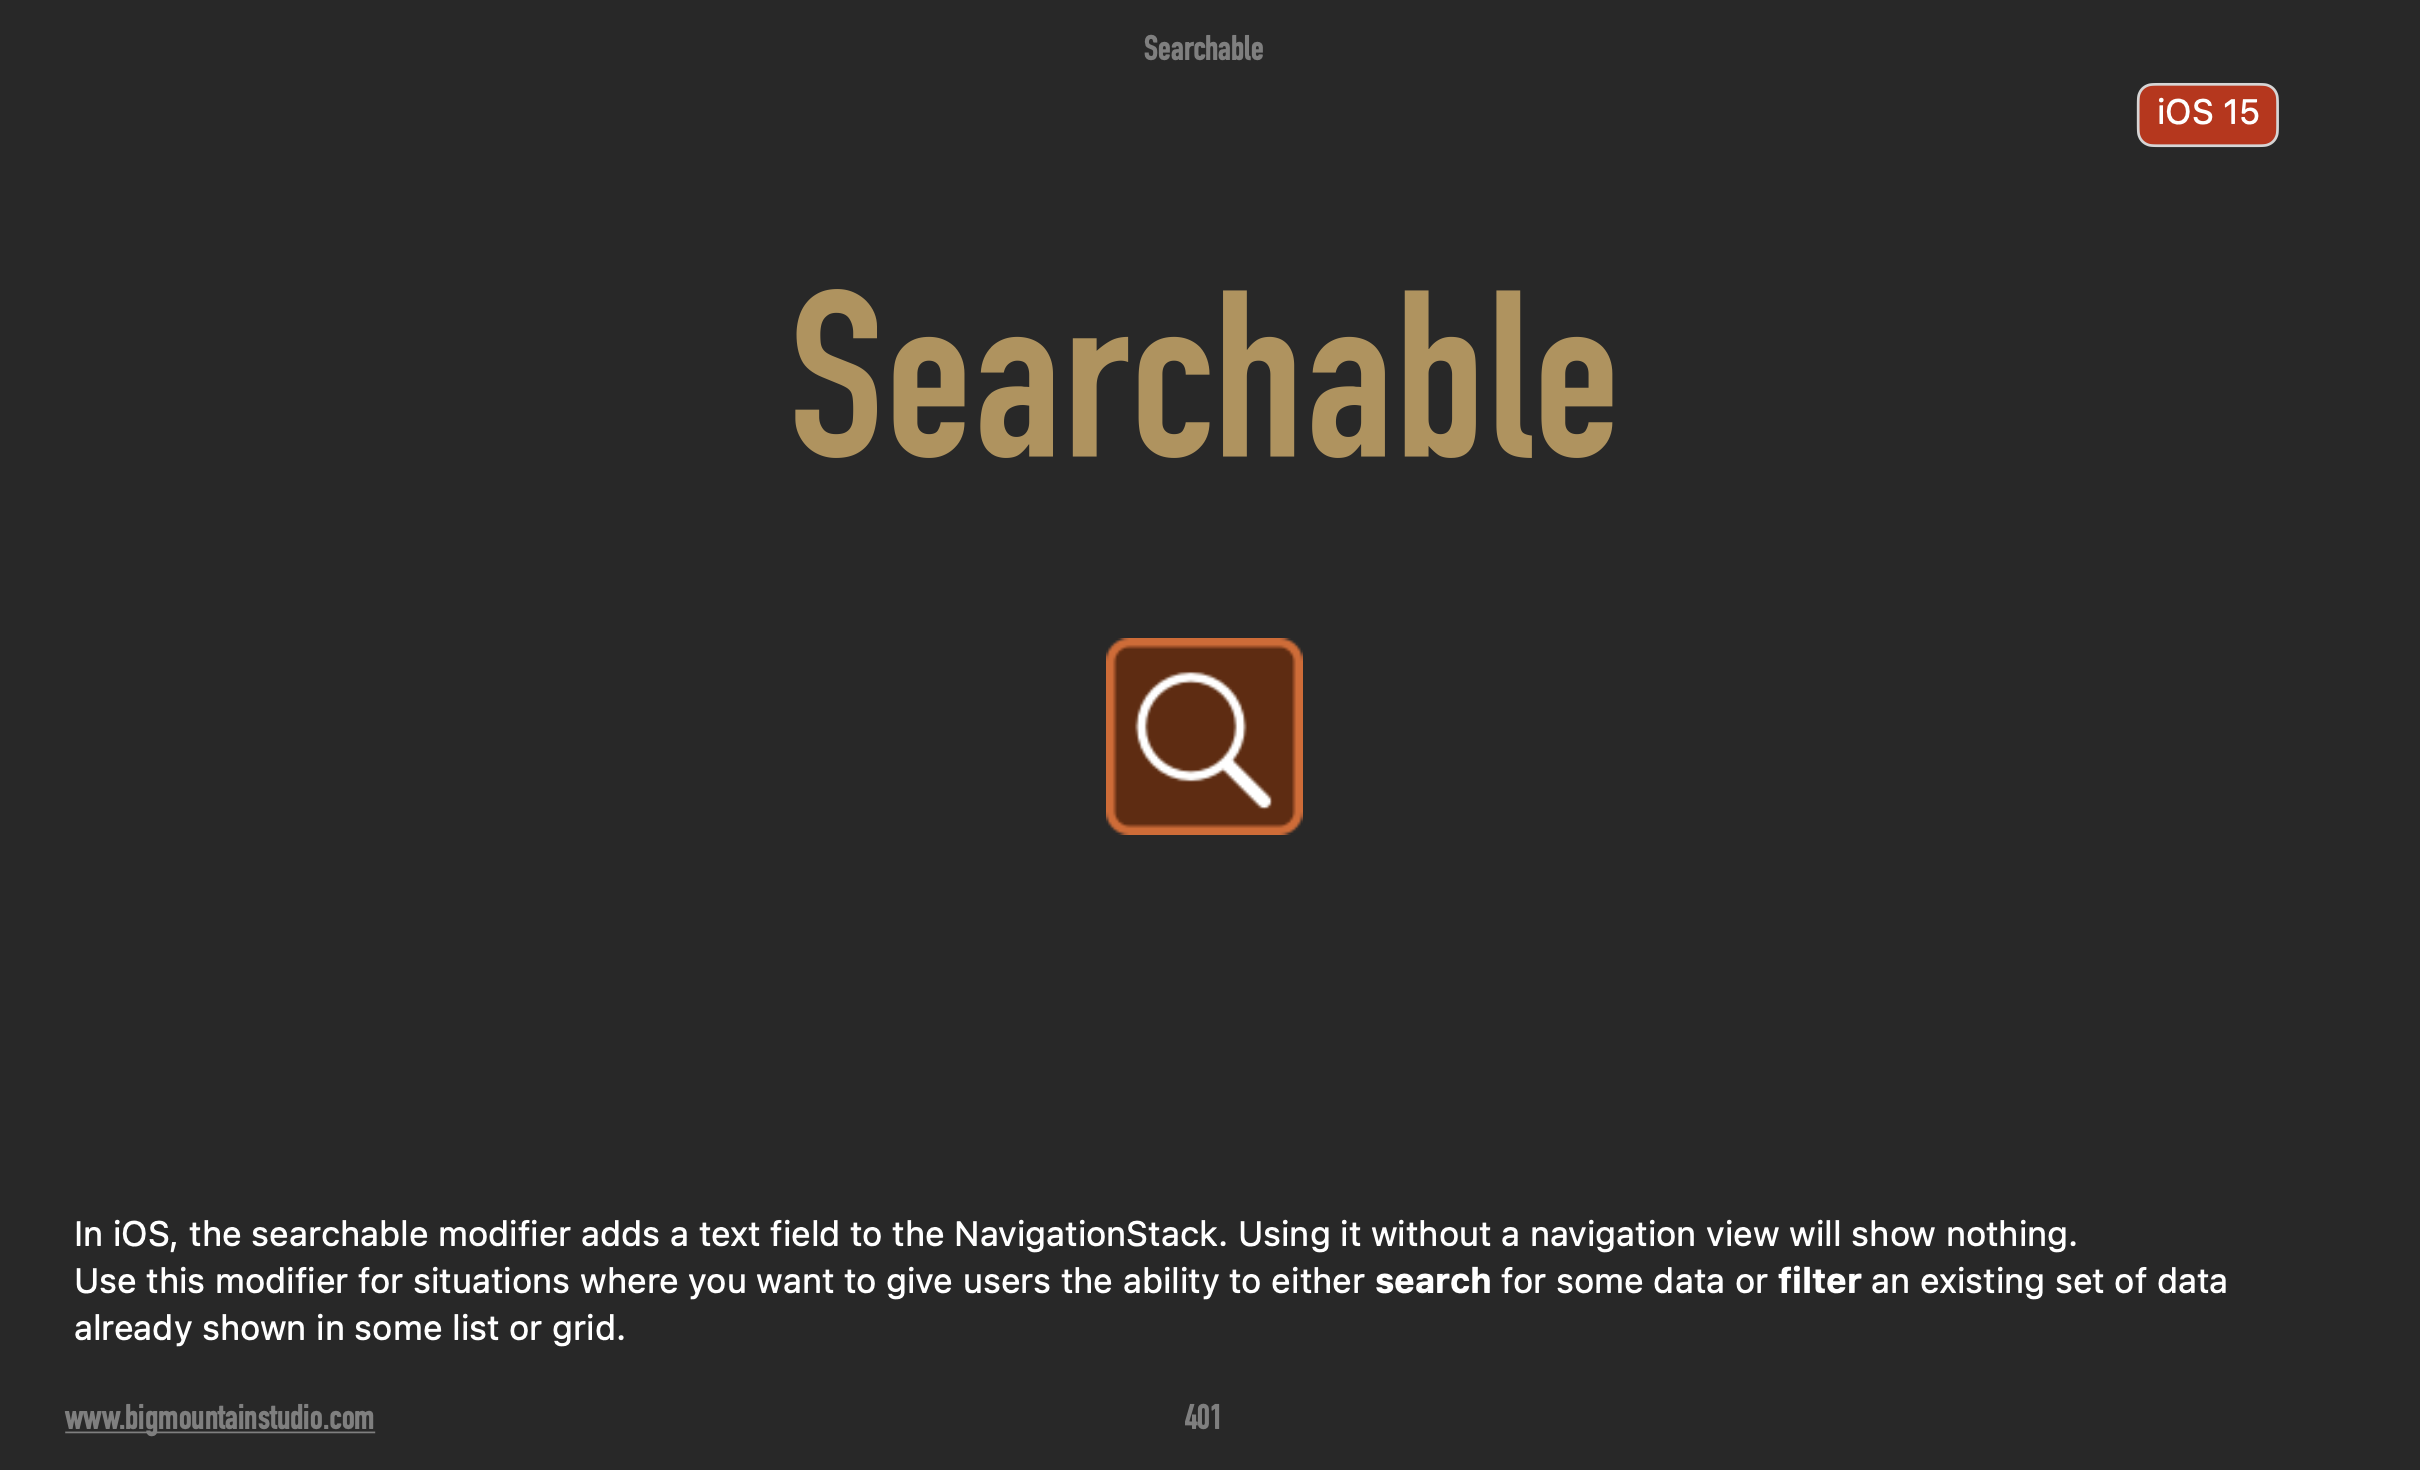
You can read about searching and filtering patterns in great detail beginning on page 401 of SwiftUI Views Mastery:
SOLUTION
In class we looked at how to search through and filter a list of food items using paper props.
We iterated over the list of items, meaning we looked at each item in the list, one after another.
Each item, while we were looking at it, was identified by the temporary label of foodItem.
For each item, we asked ourselves a question. For example: “Is this food item a healthy food item?” When the answer was yes, we copied that food item to a new list.
Finally, after iterating over the entire existing list, we had a new list that contained only the healthy food items. In code, we would return this list from a function.
Here is a short video where this same algorithm or sequence of steps is performed, but this time, to filter a list based on whether answers were correct or incorrect.
Please watch this video to familiarize yourself with the code:
To make a list searchable based on some provided text, we use an identical algorithm.
The only things that change are:
One of the inputs – instead of an outcome (undetermined, correct, or incorrect) – the function accepts a string to search for in the food item name.
The condition used to determine whether a given food item is copied from the original list into the filtered list.
In SwiftUI, we can use the .searchable view modifier to have a search field appear in the user interface. When text is entered in the search field, the .searchable view modifier will update a stored property. In turn, the view is refreshed, and we invoke the search function to obtain a filtered list that contains only what was typed in the search field.
Here is a brief video that explains how to implement this:
As needed, please do drop by Grove Time or ask questions through your portfolio on Notion to better understand how to implement searching and filtering of lists in your apps.