Discard changes
If we commit our work frequently, we can much more easily recover from situations where:
- our code has stopped working
- files or folders have gone missing
For example, consider this project:
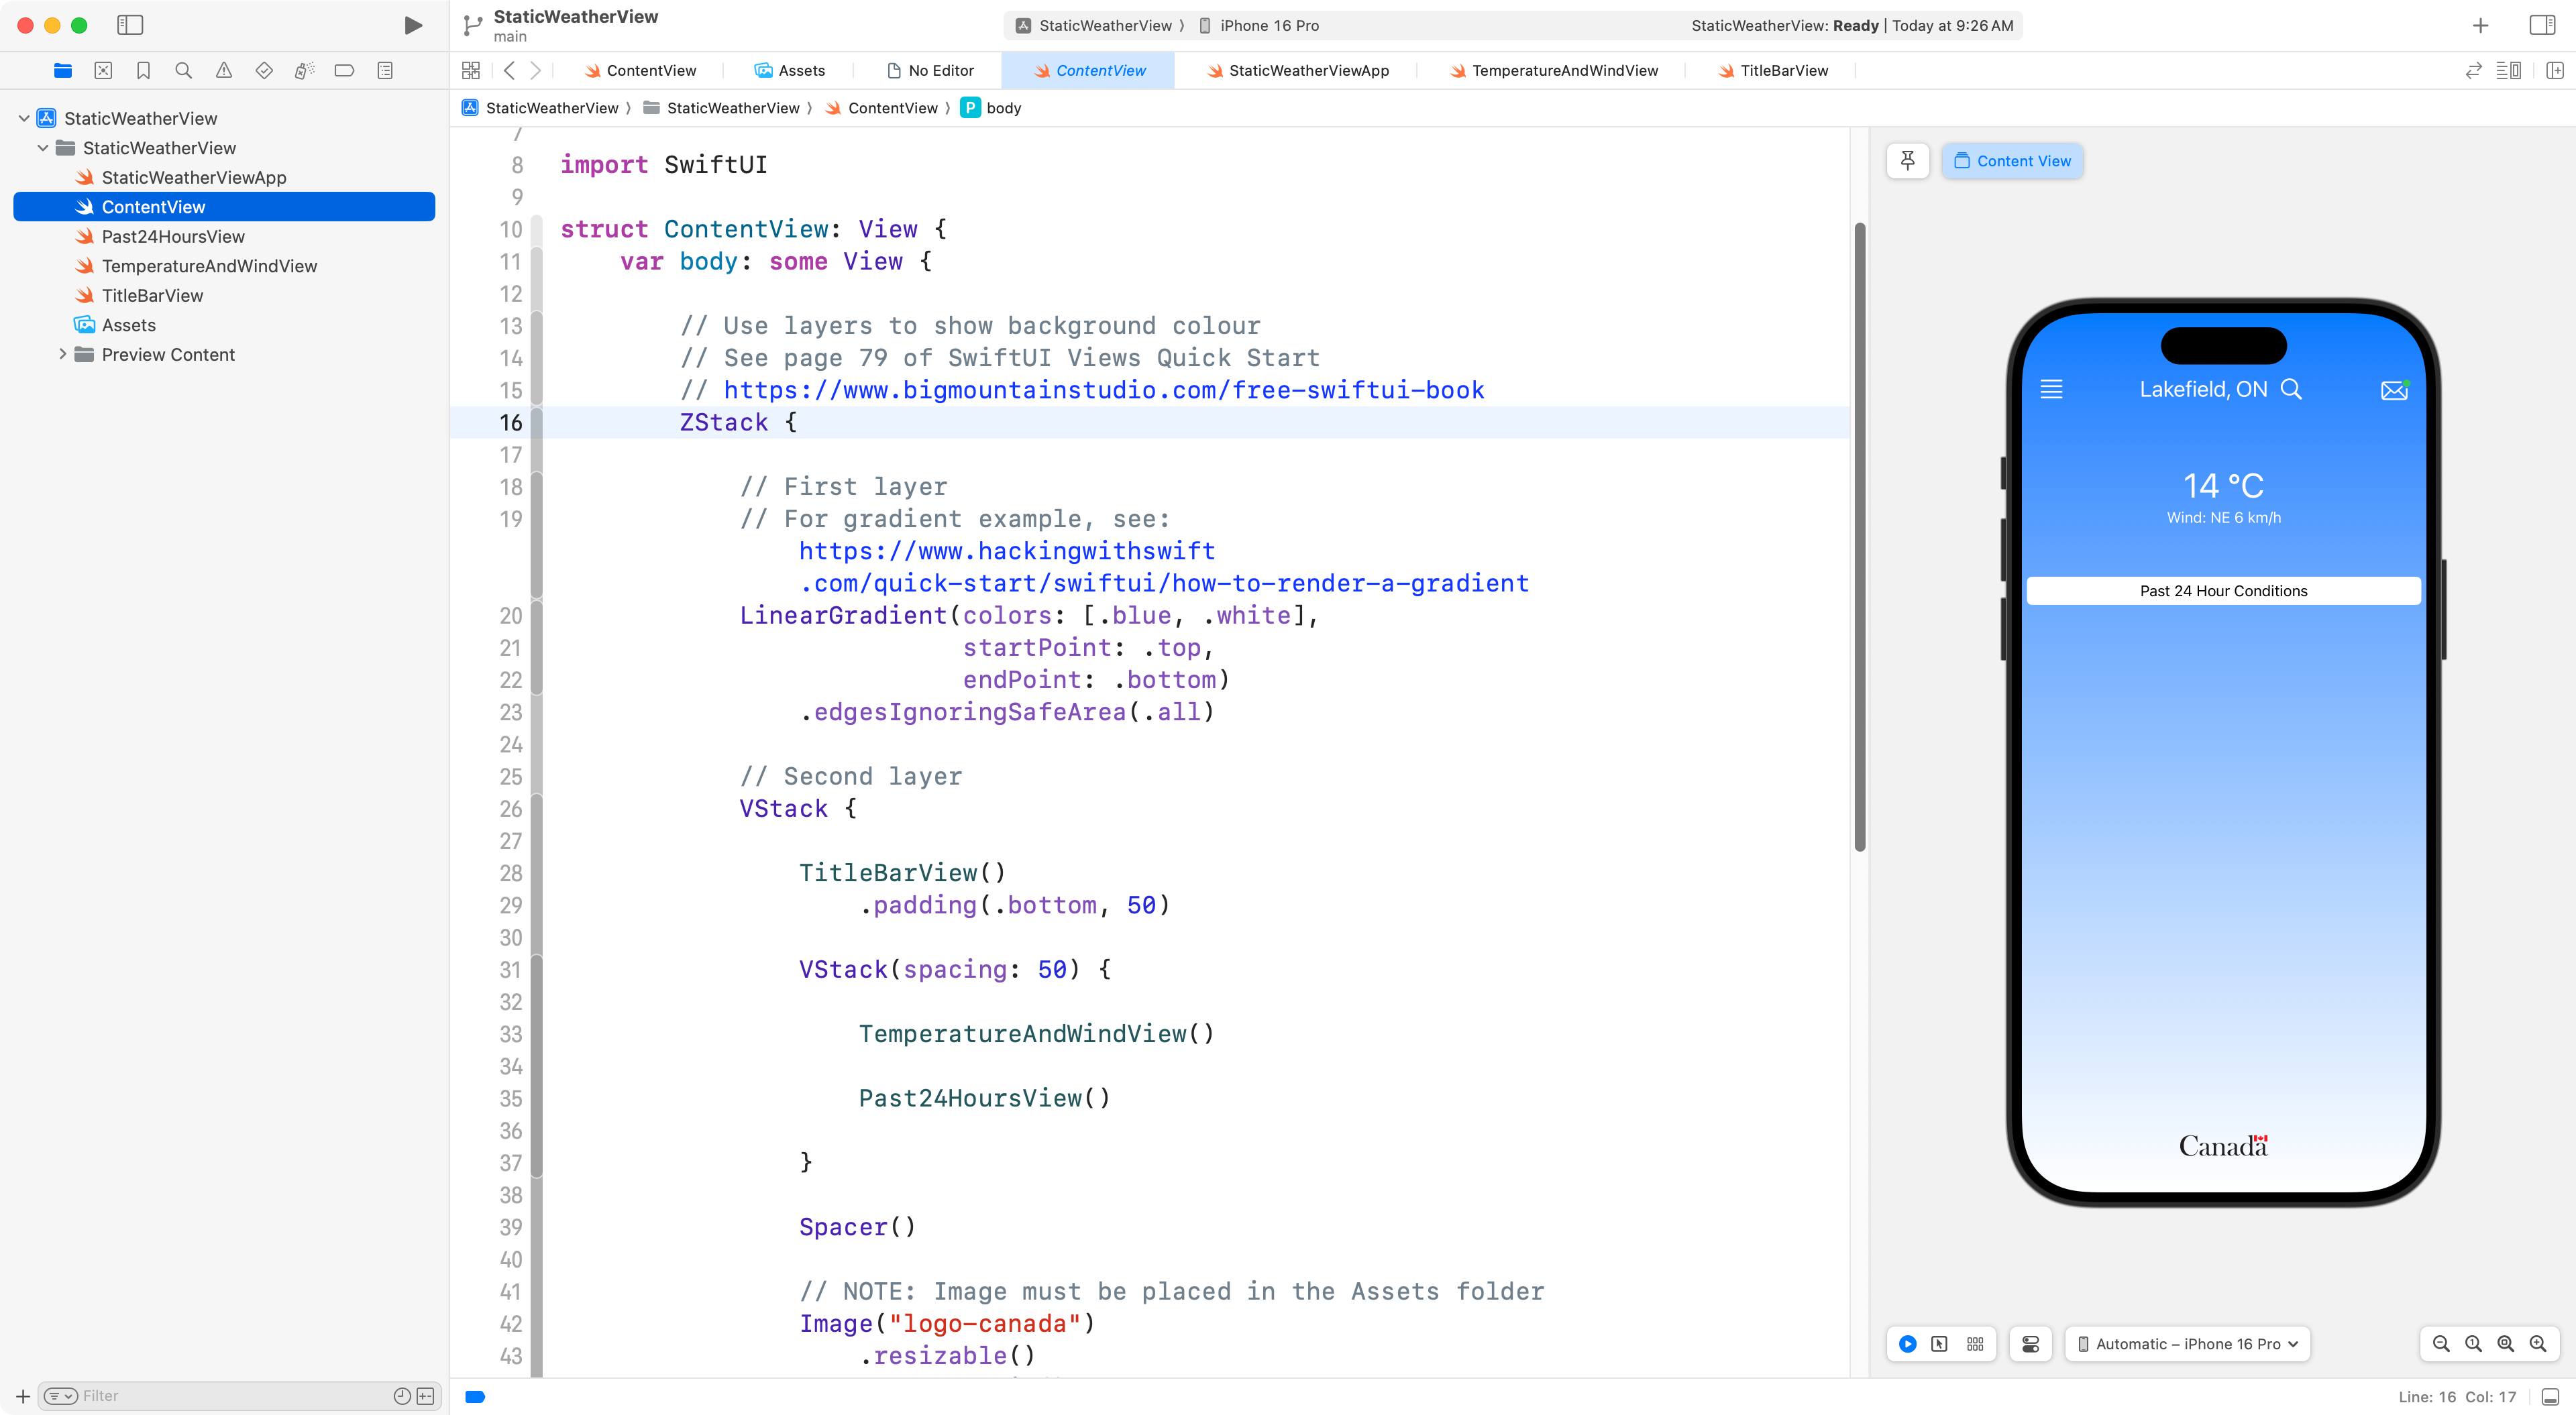
It is the start of a reproduction of the user interface of the Environment Canada weather prediction app.
Now, here, in this next screenshot, say that some of the files have been deleted somehow:
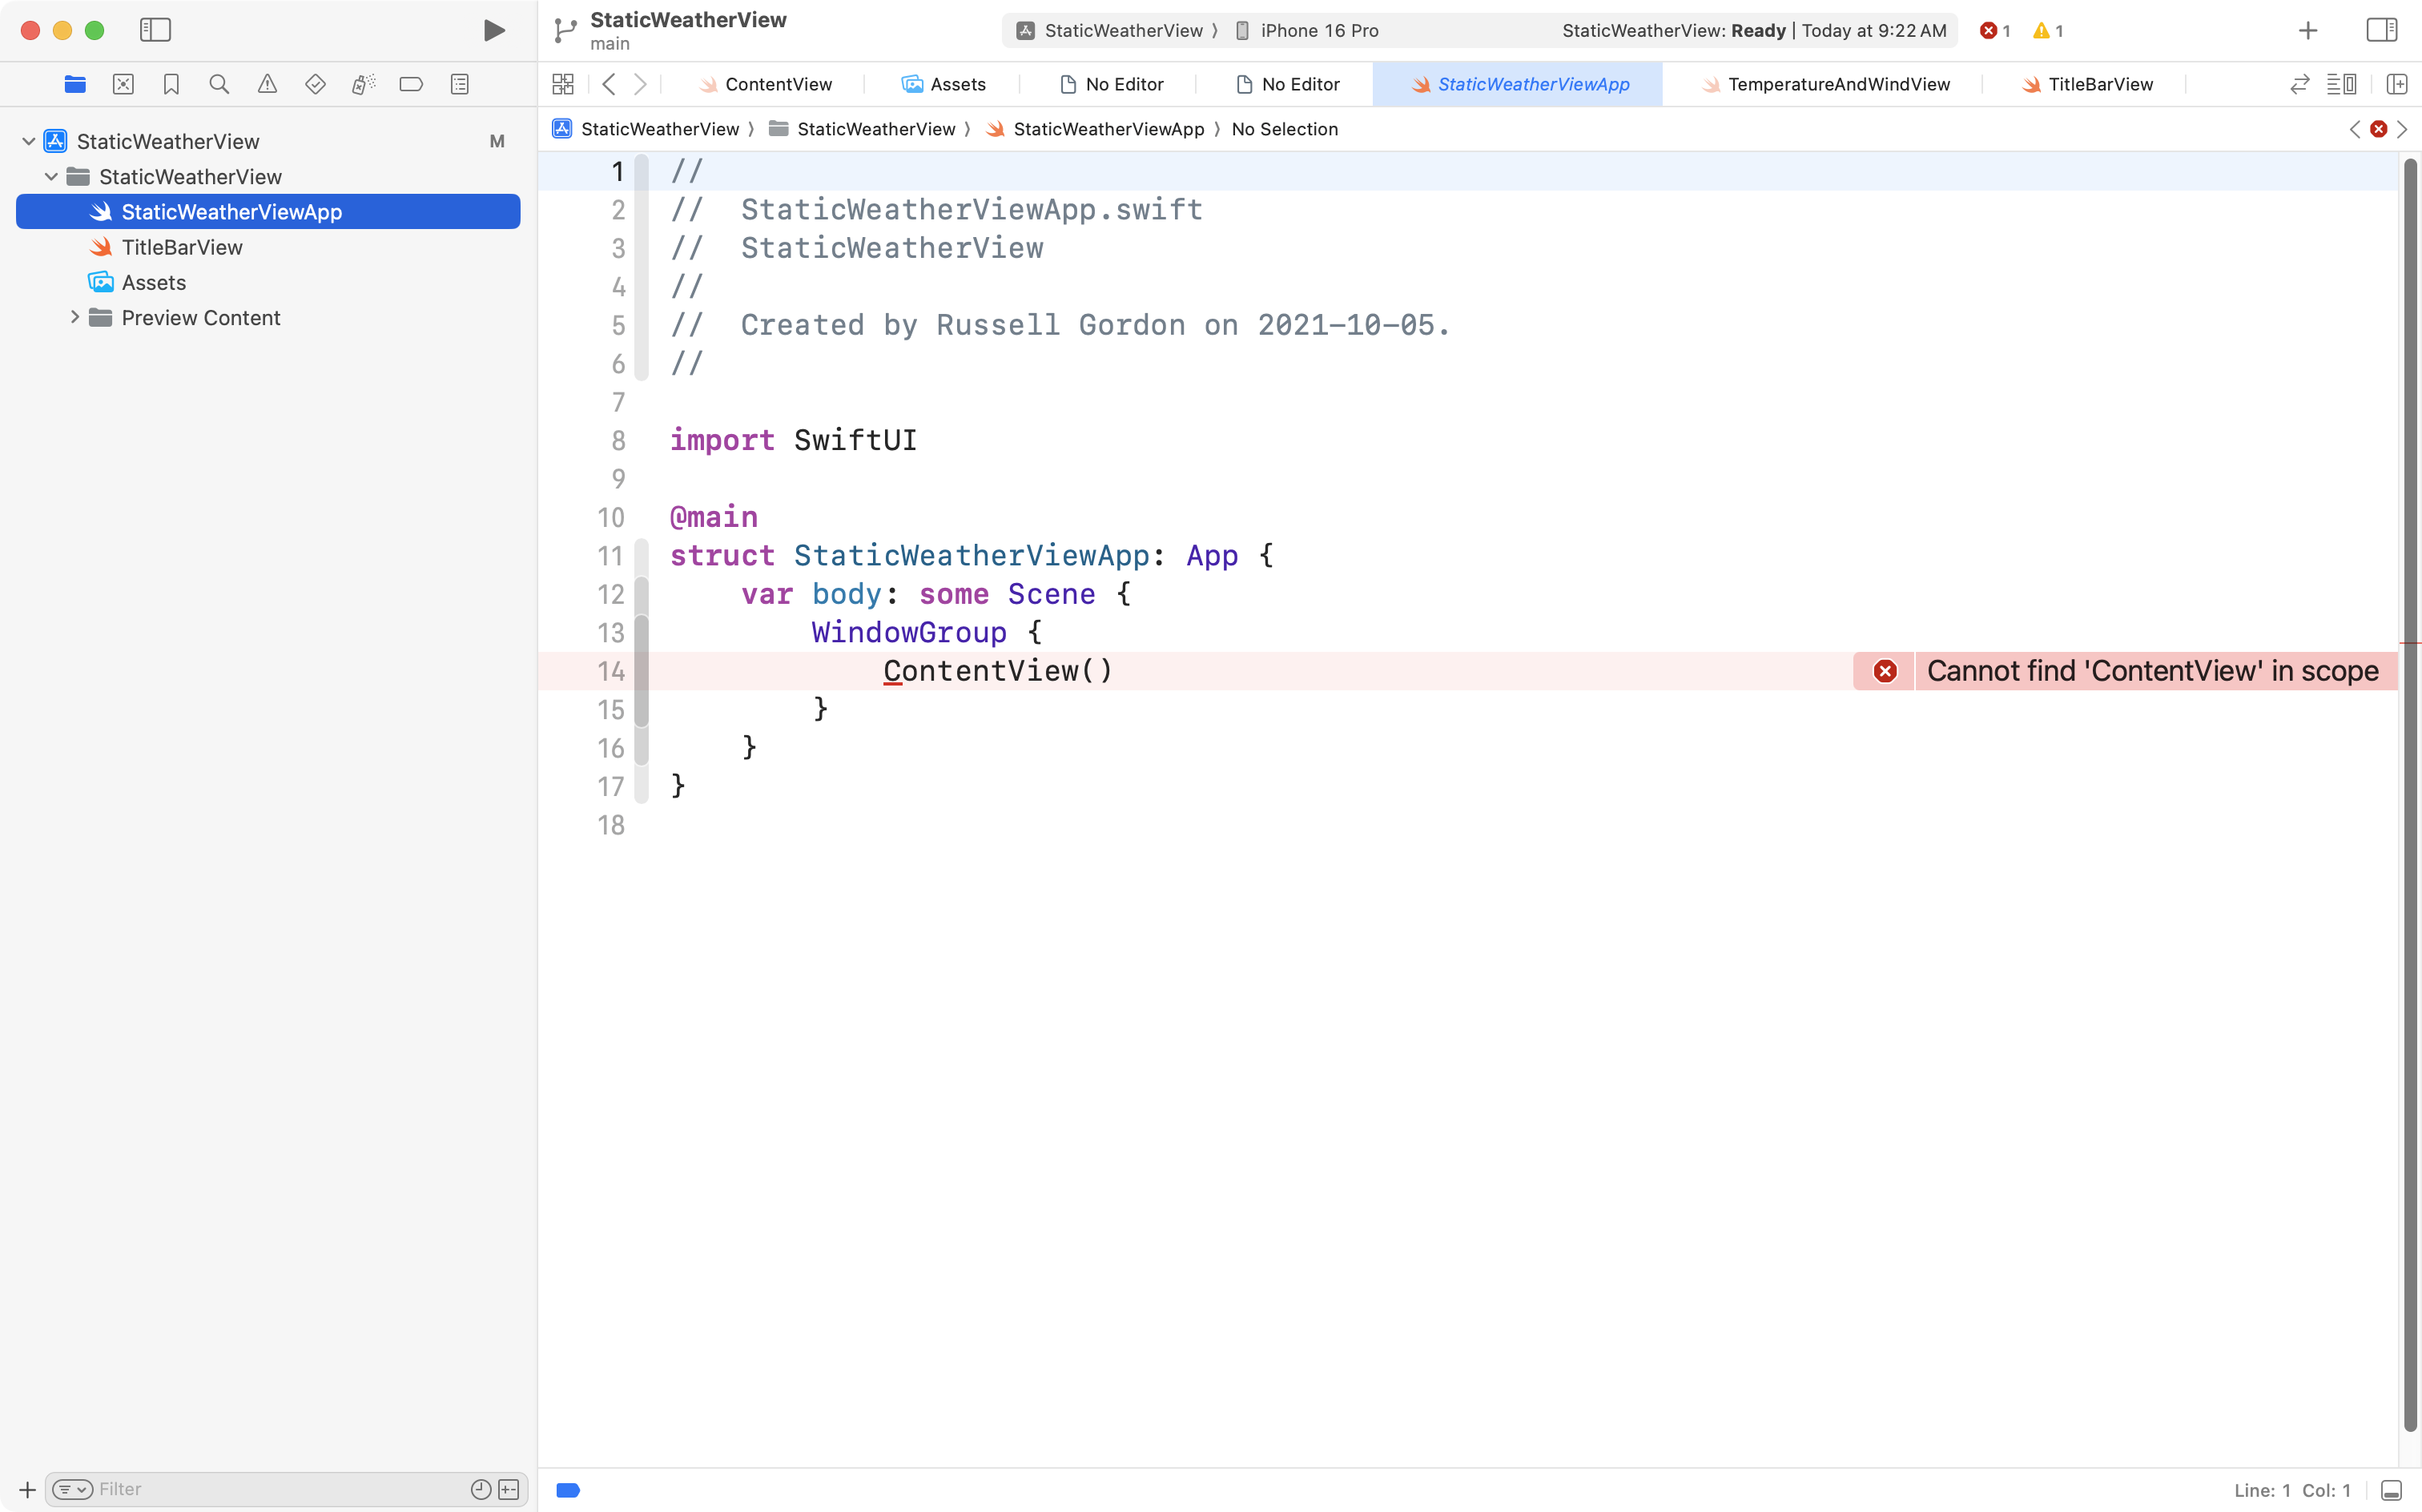
This will clearly create some problems, as shown.
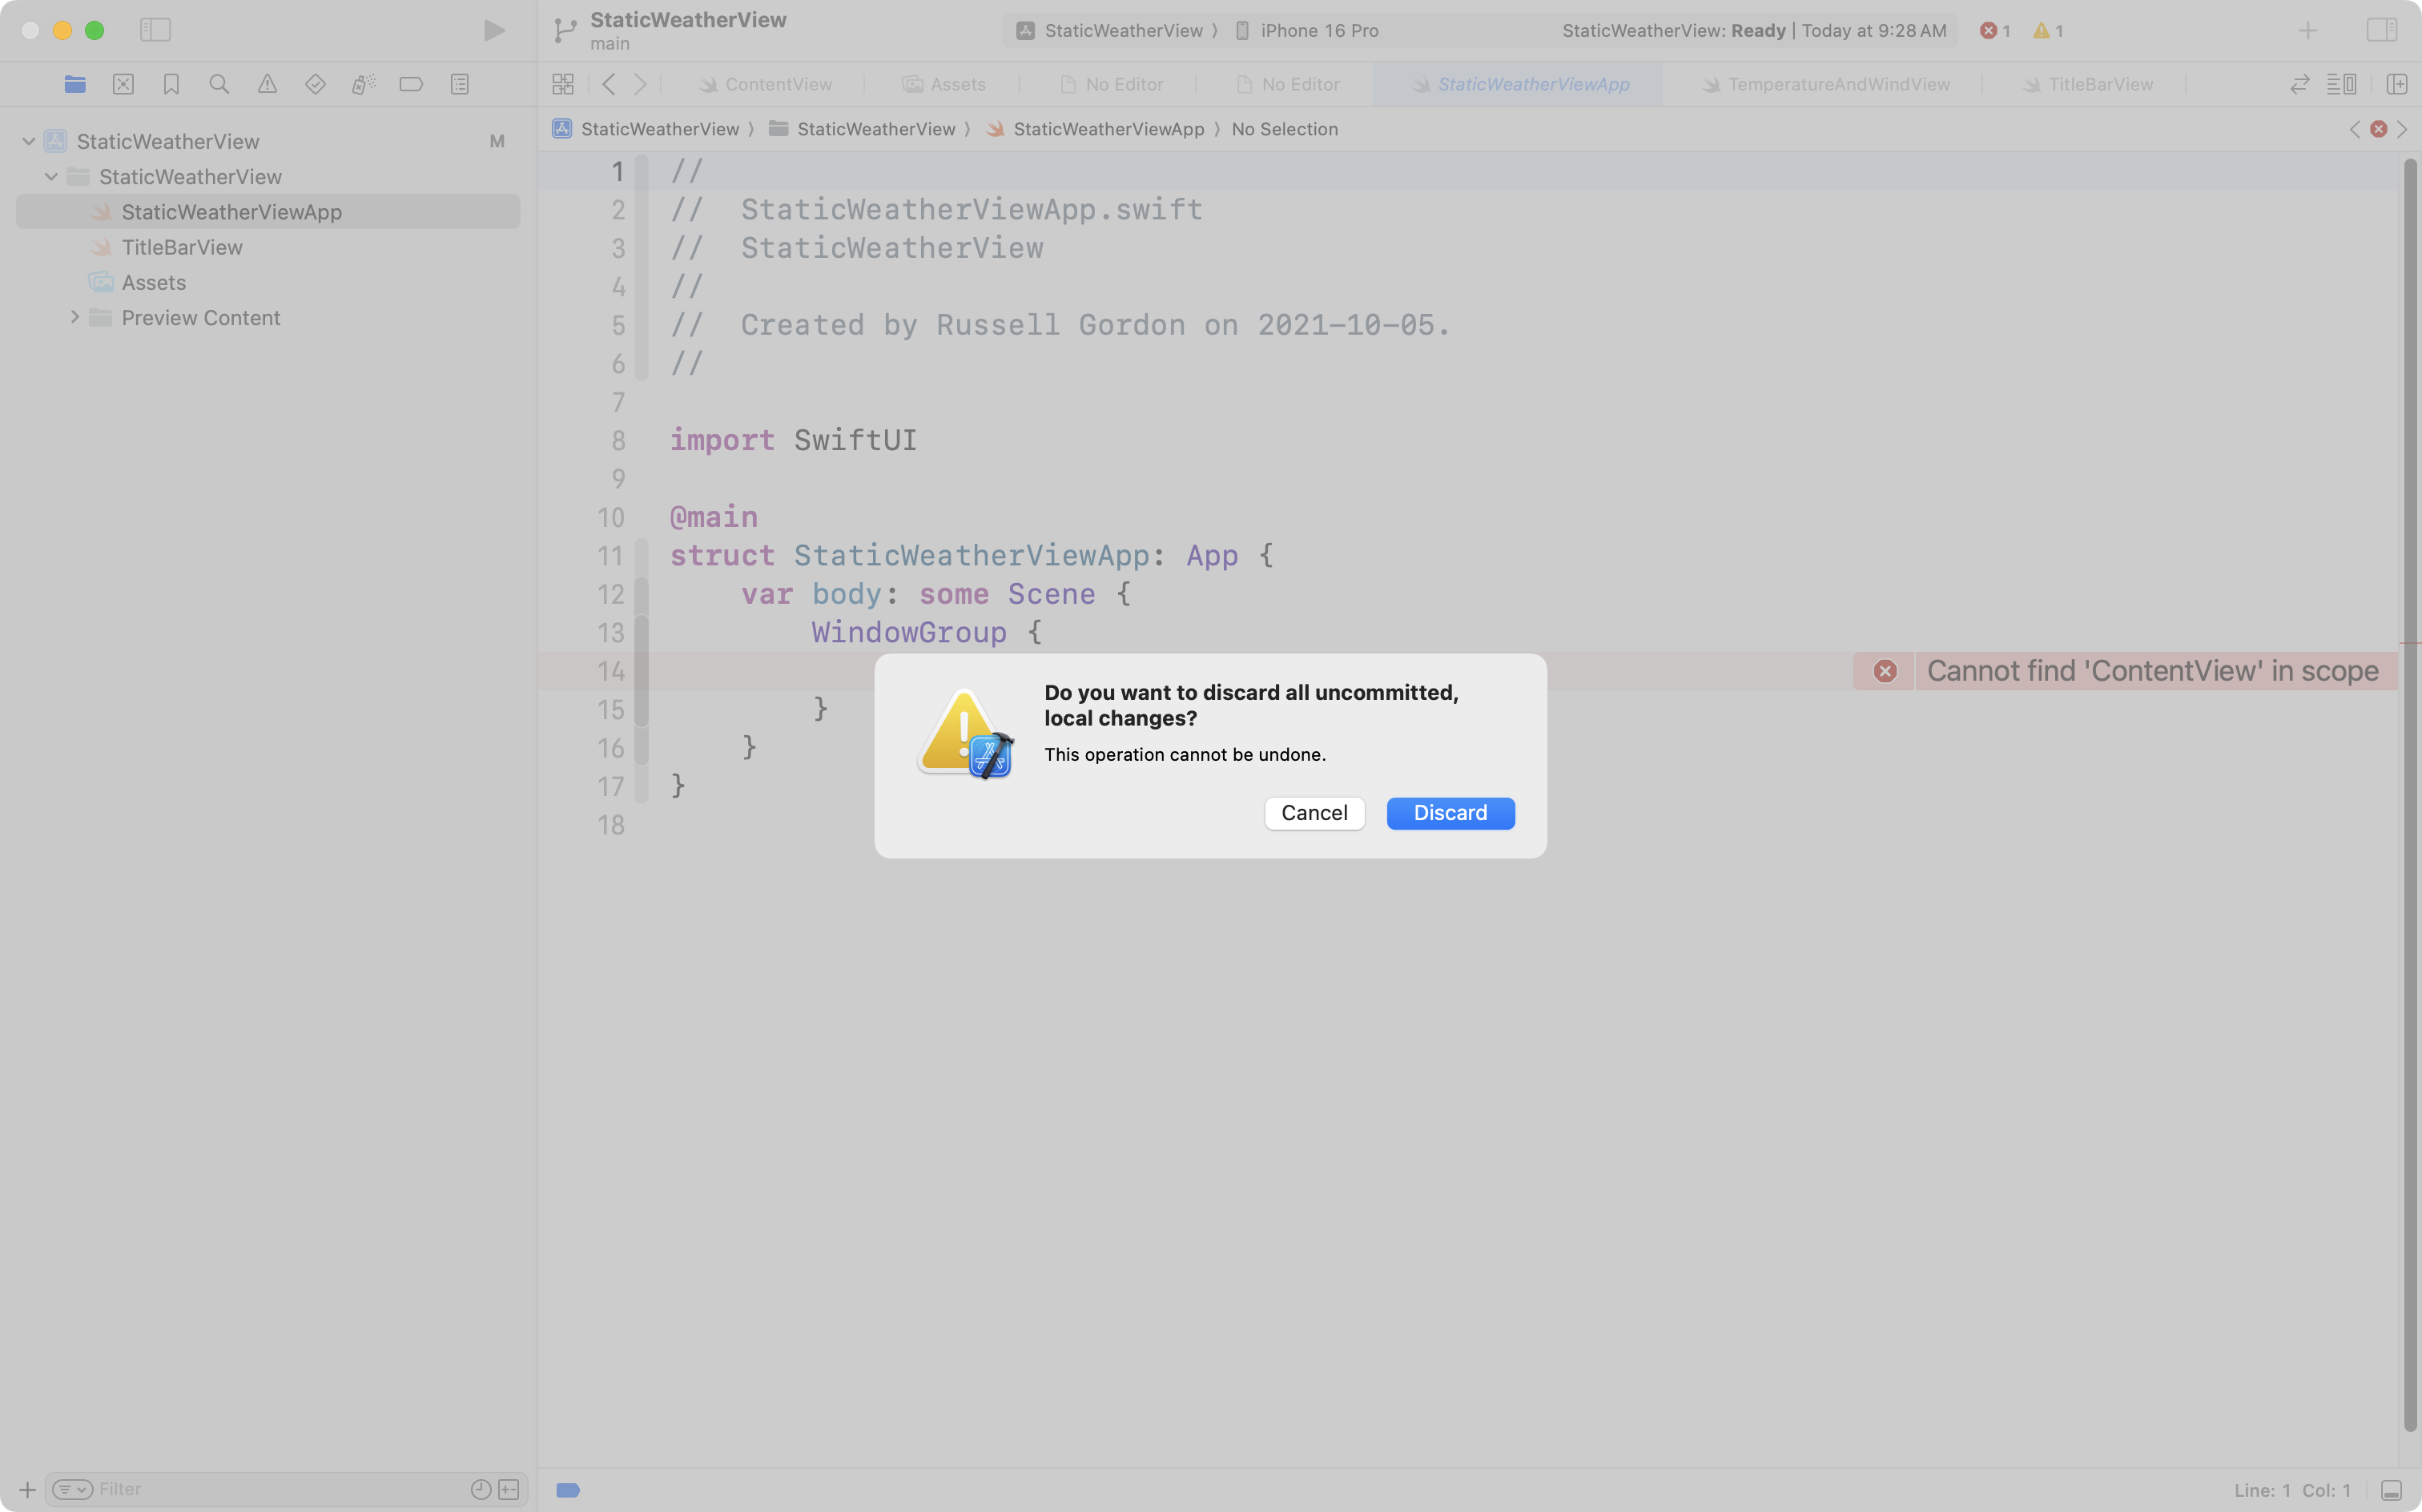
We can revert our project back to the state it was in at the point of our most recent commit by choosing, from the menus in Xcode, Integrate > Discard All Changes…:
.png)
In the dialog that appears, we choose Discard:
As you can see, the files that were deleted have been restored, at left, in the Project Navigator:

Finding changes
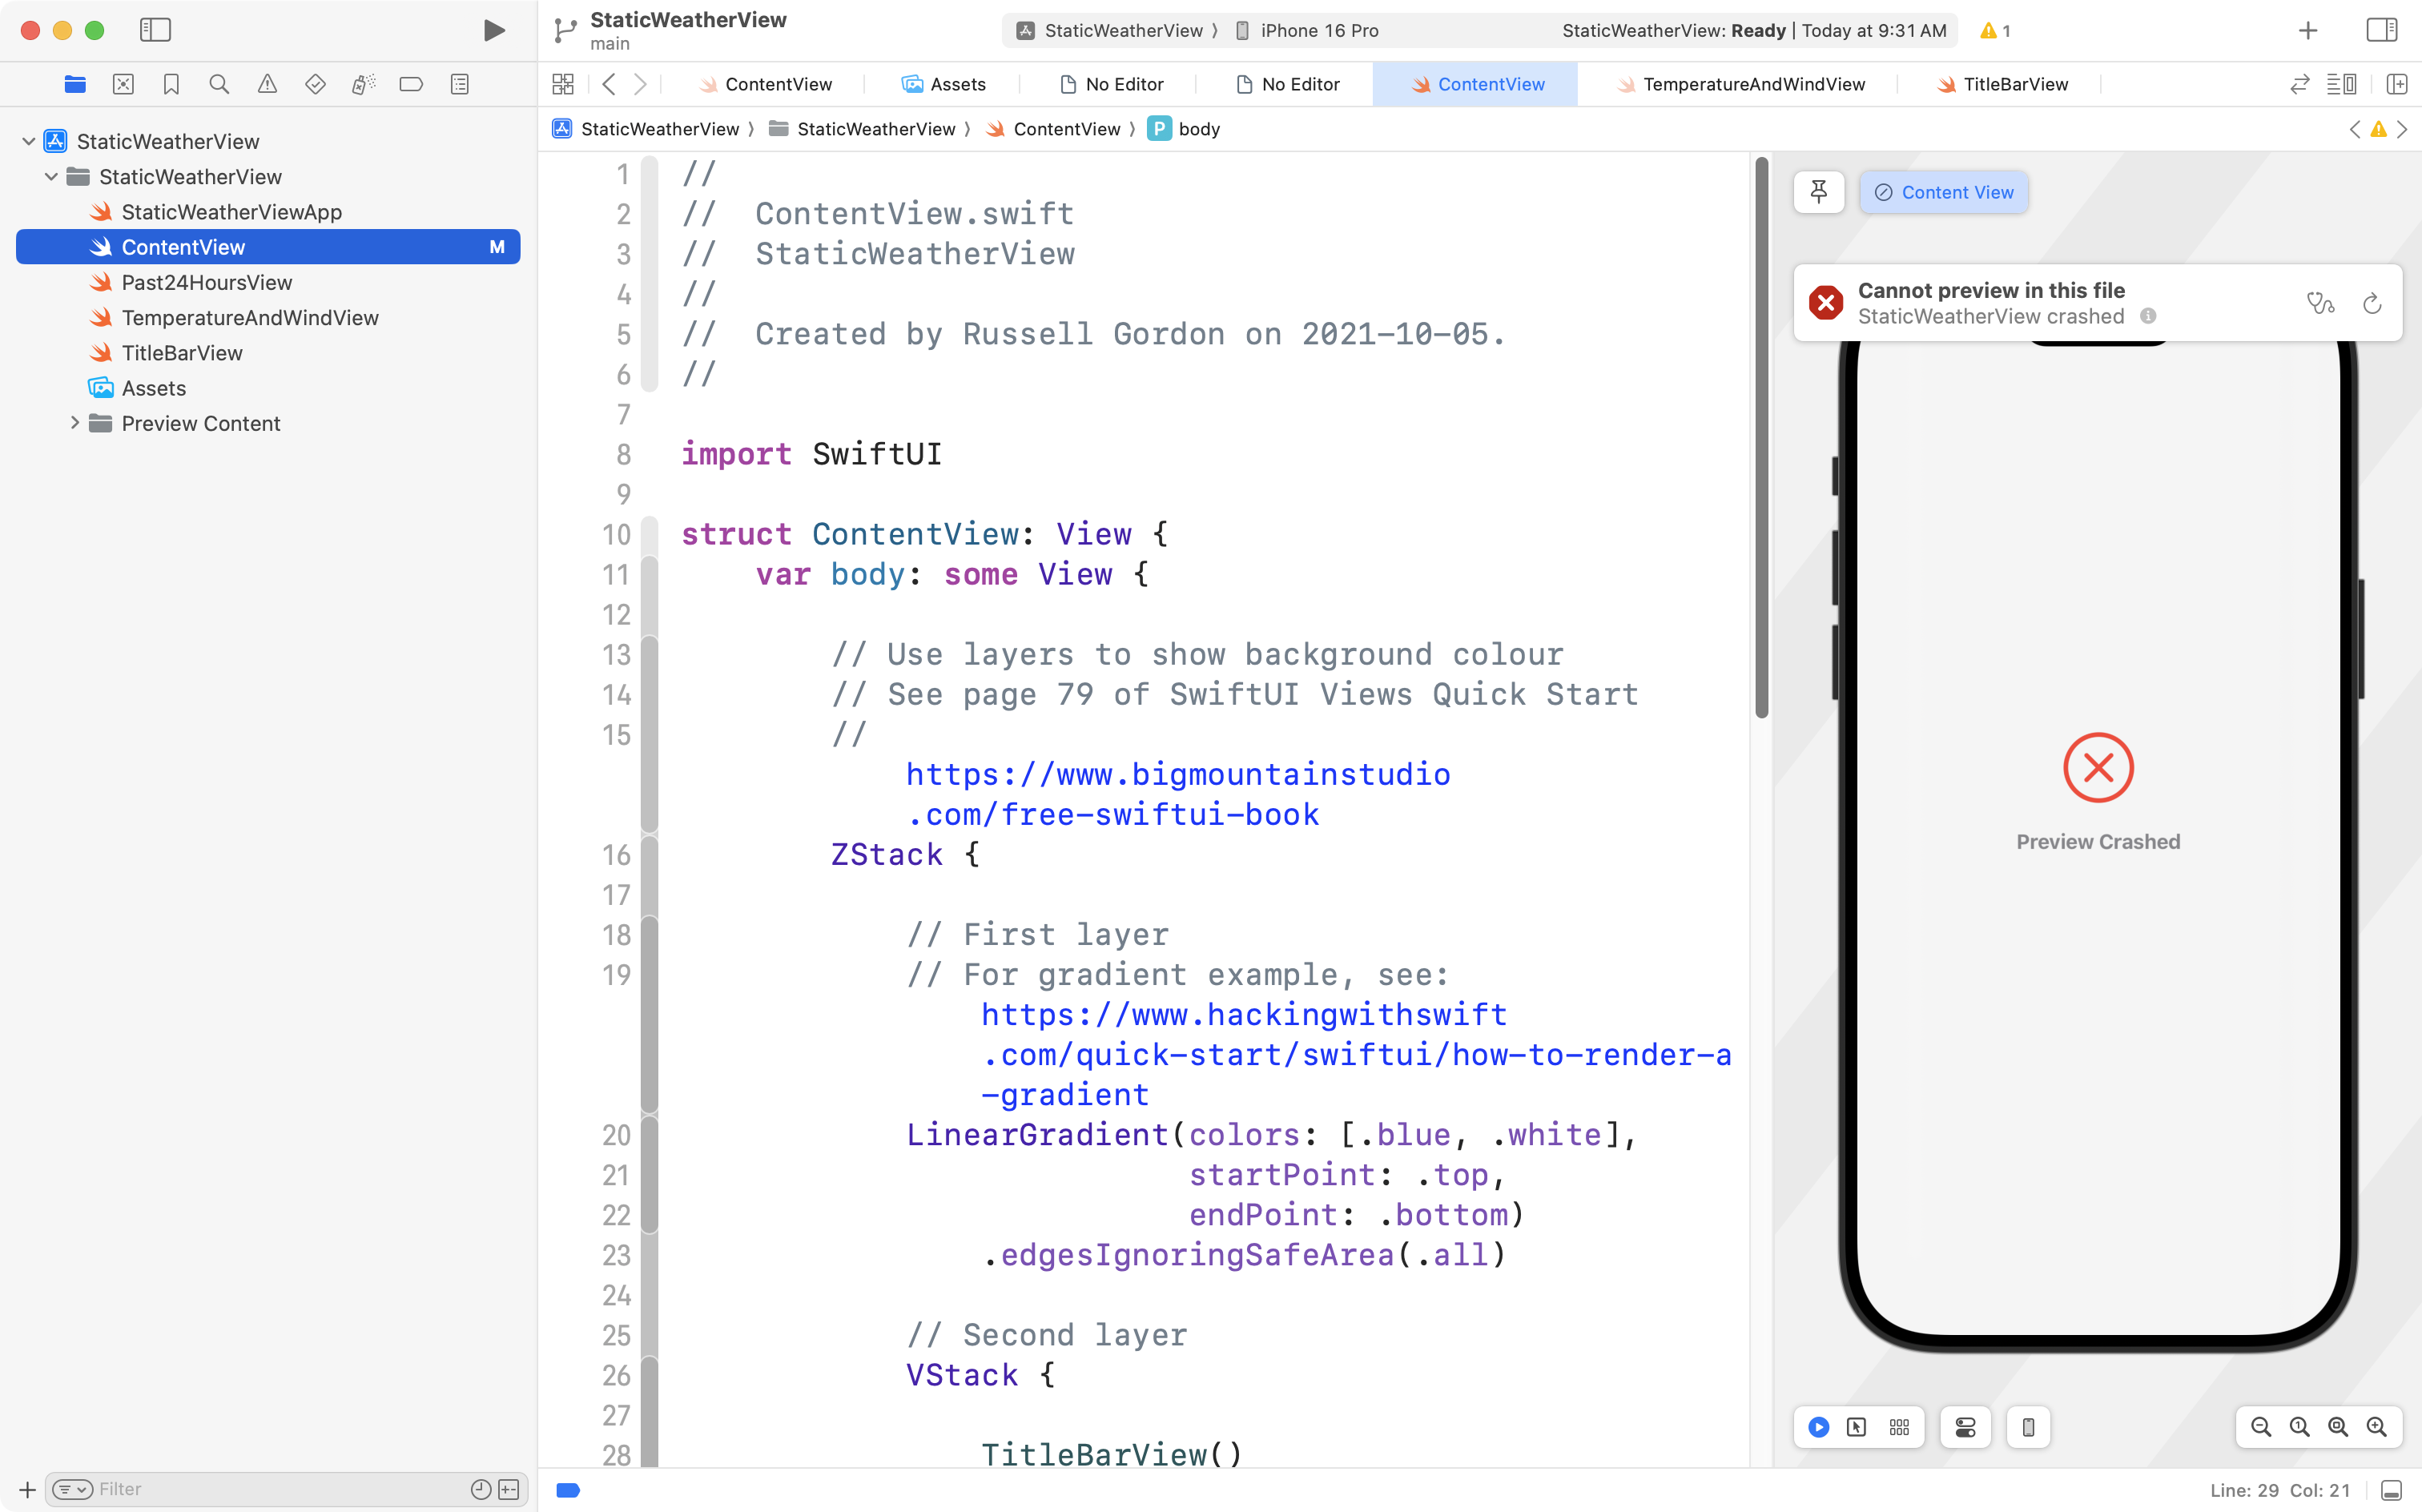
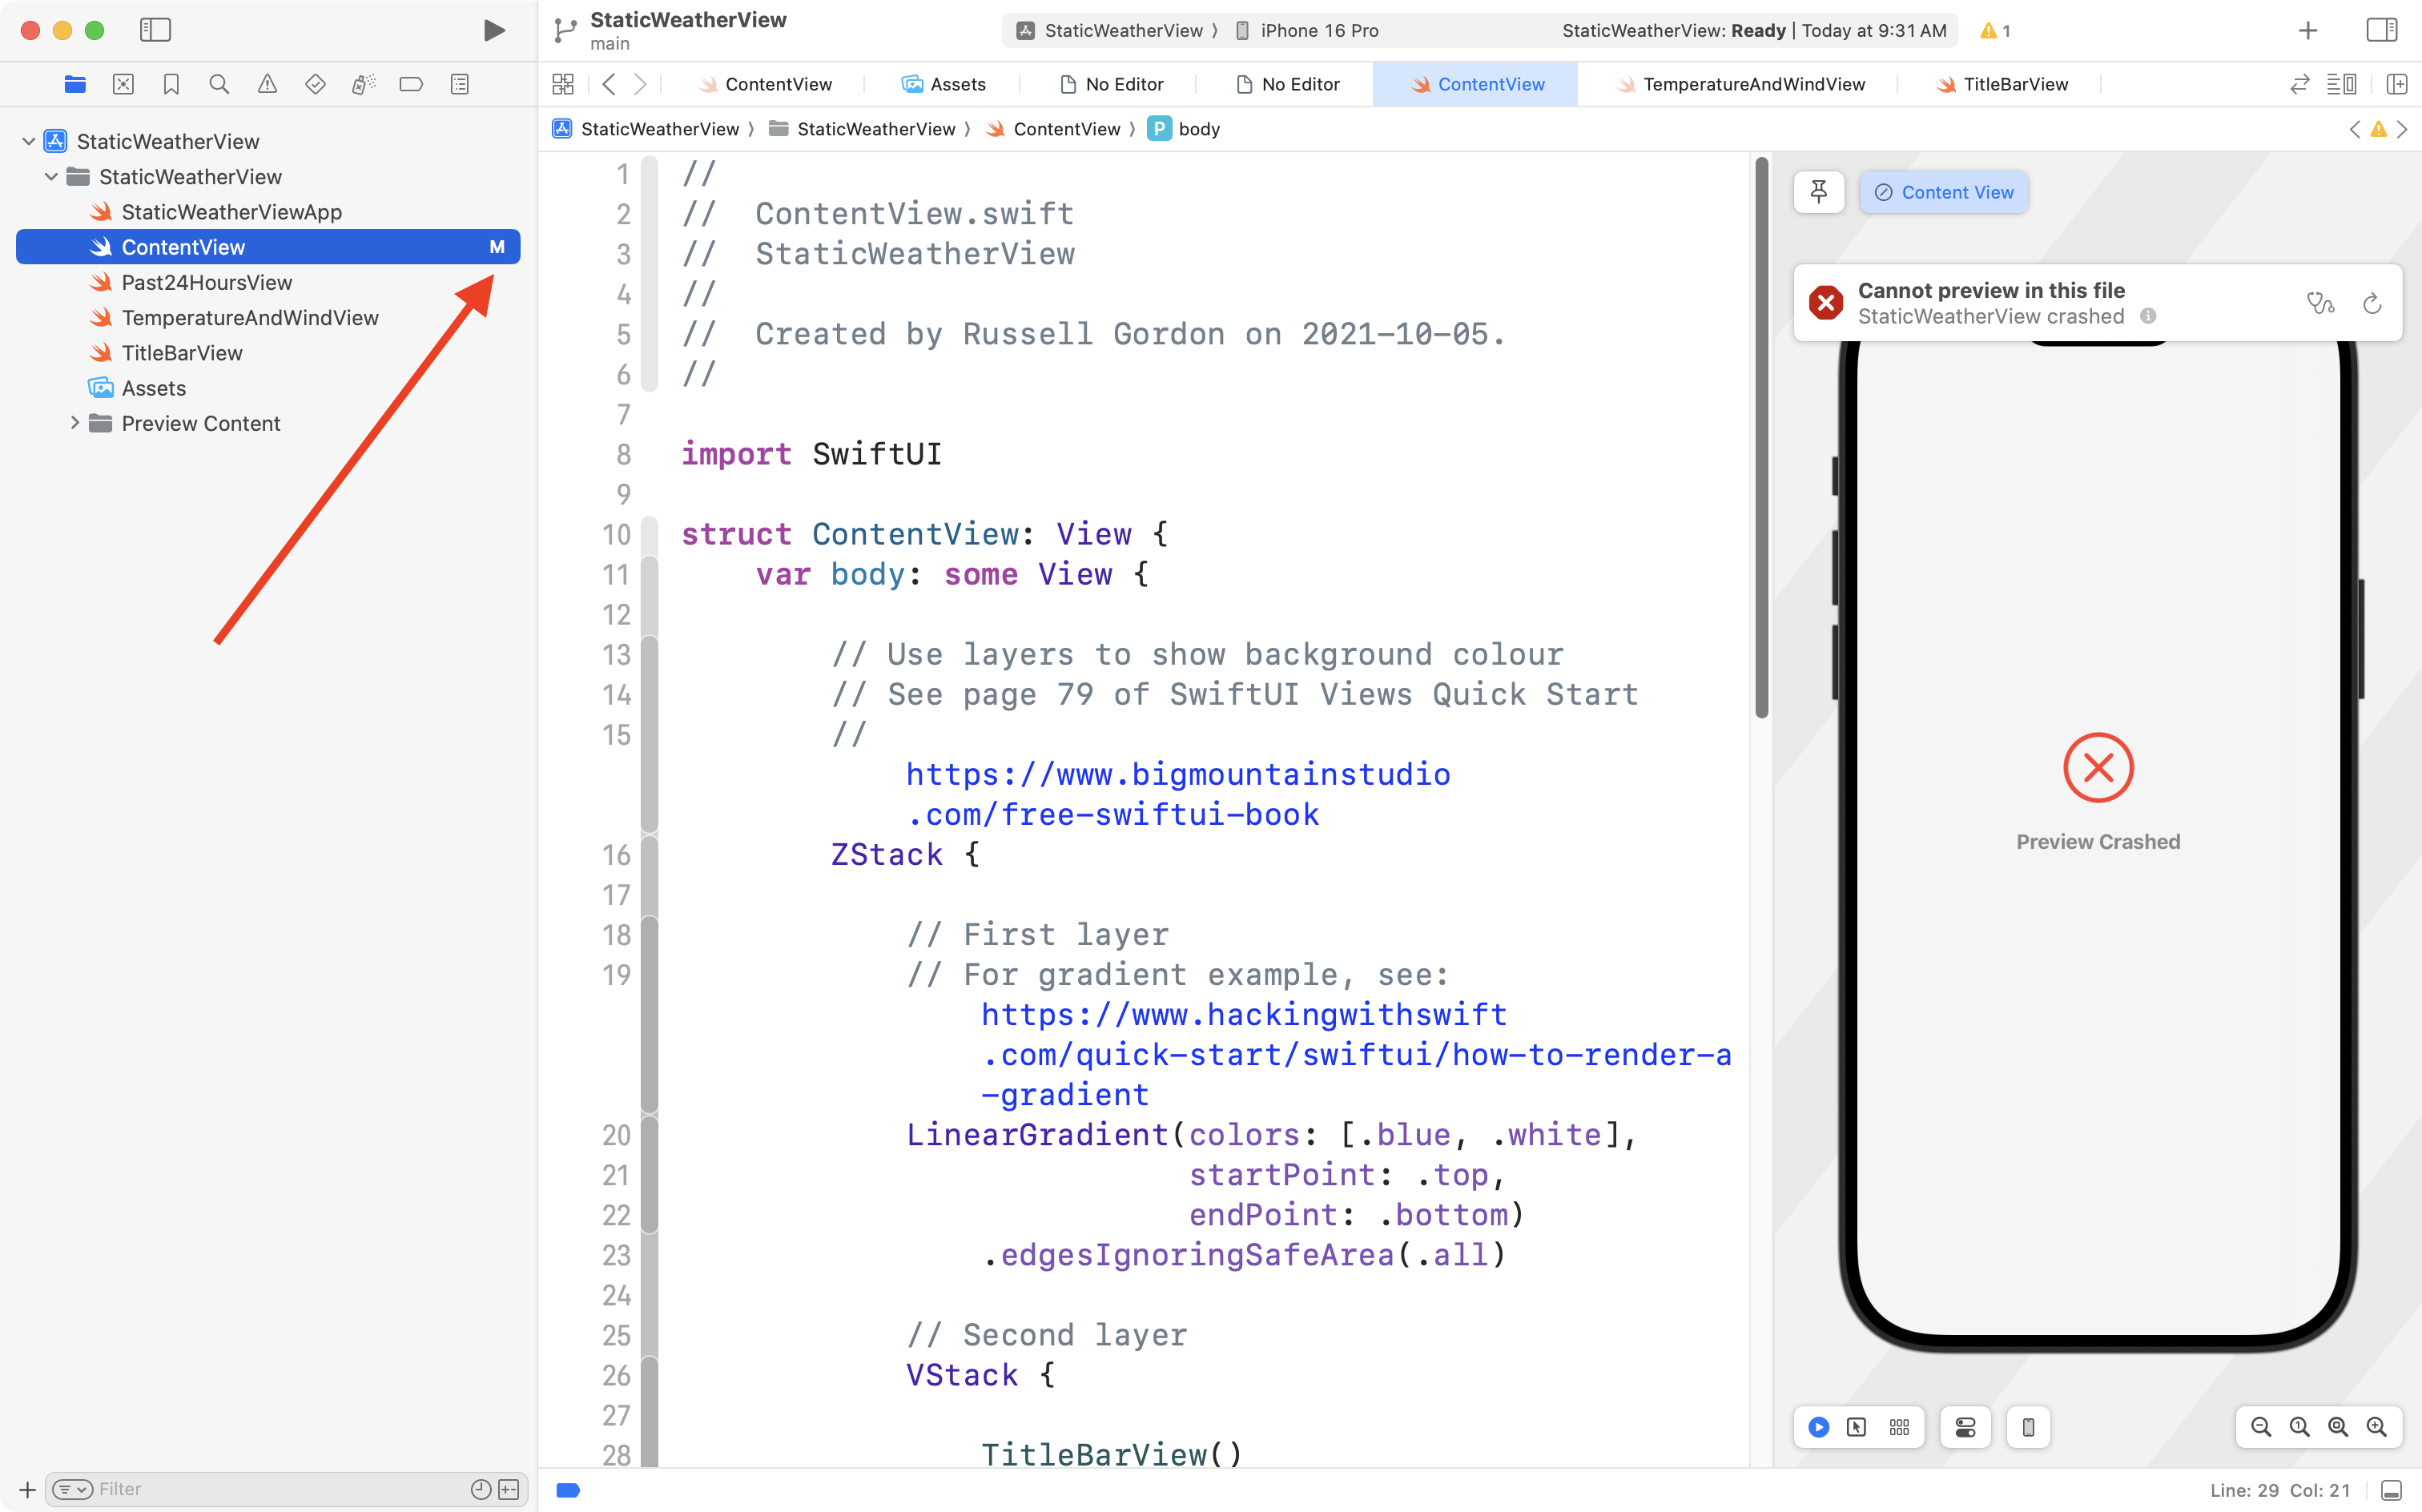
Sometimes we are making changes to our code, and an error pops up, or the Preview window is crashing:
If we’ve committed frequently, it should be easy to find the code we have changed since the most recent commit.
For example, we can see here in this project that we’ve changed just one file – the M means ContentView has been modified since the last commit:
If we scroll down a bit, we should look for the blue bar(s) at left, which indicate where a line of code has changed:
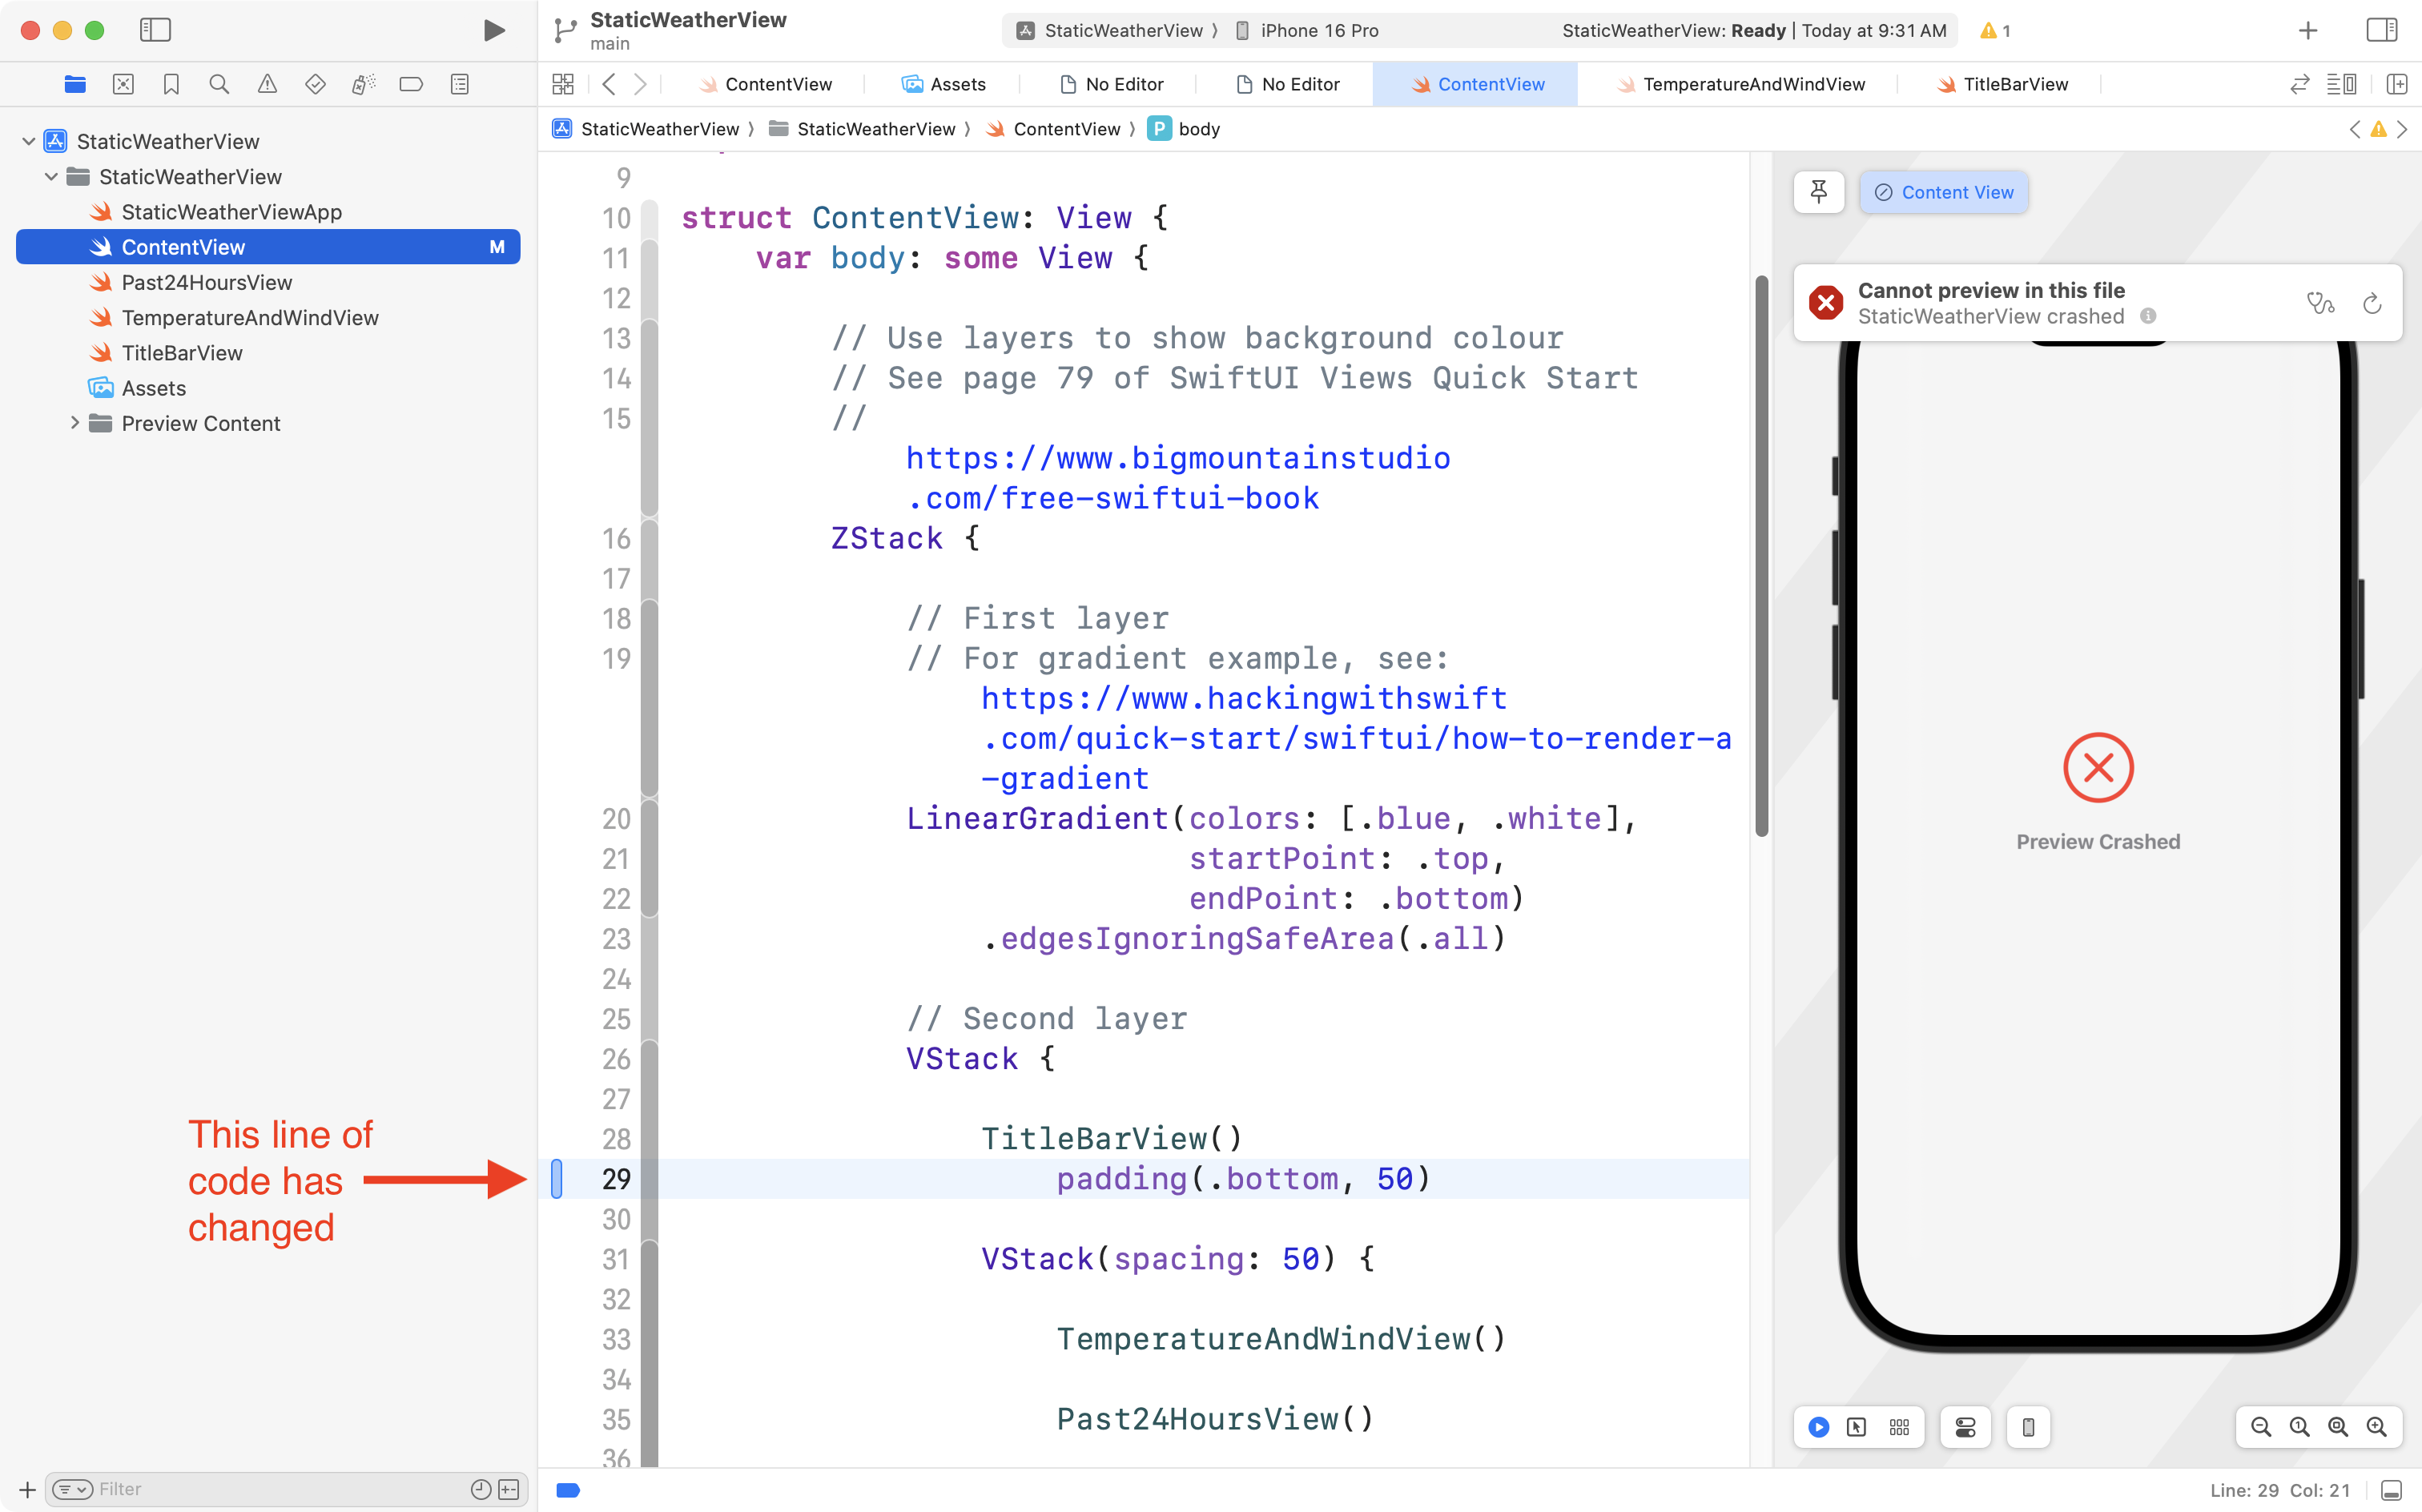
Sometimes we can immediately see the problem, sometimes we cannot.
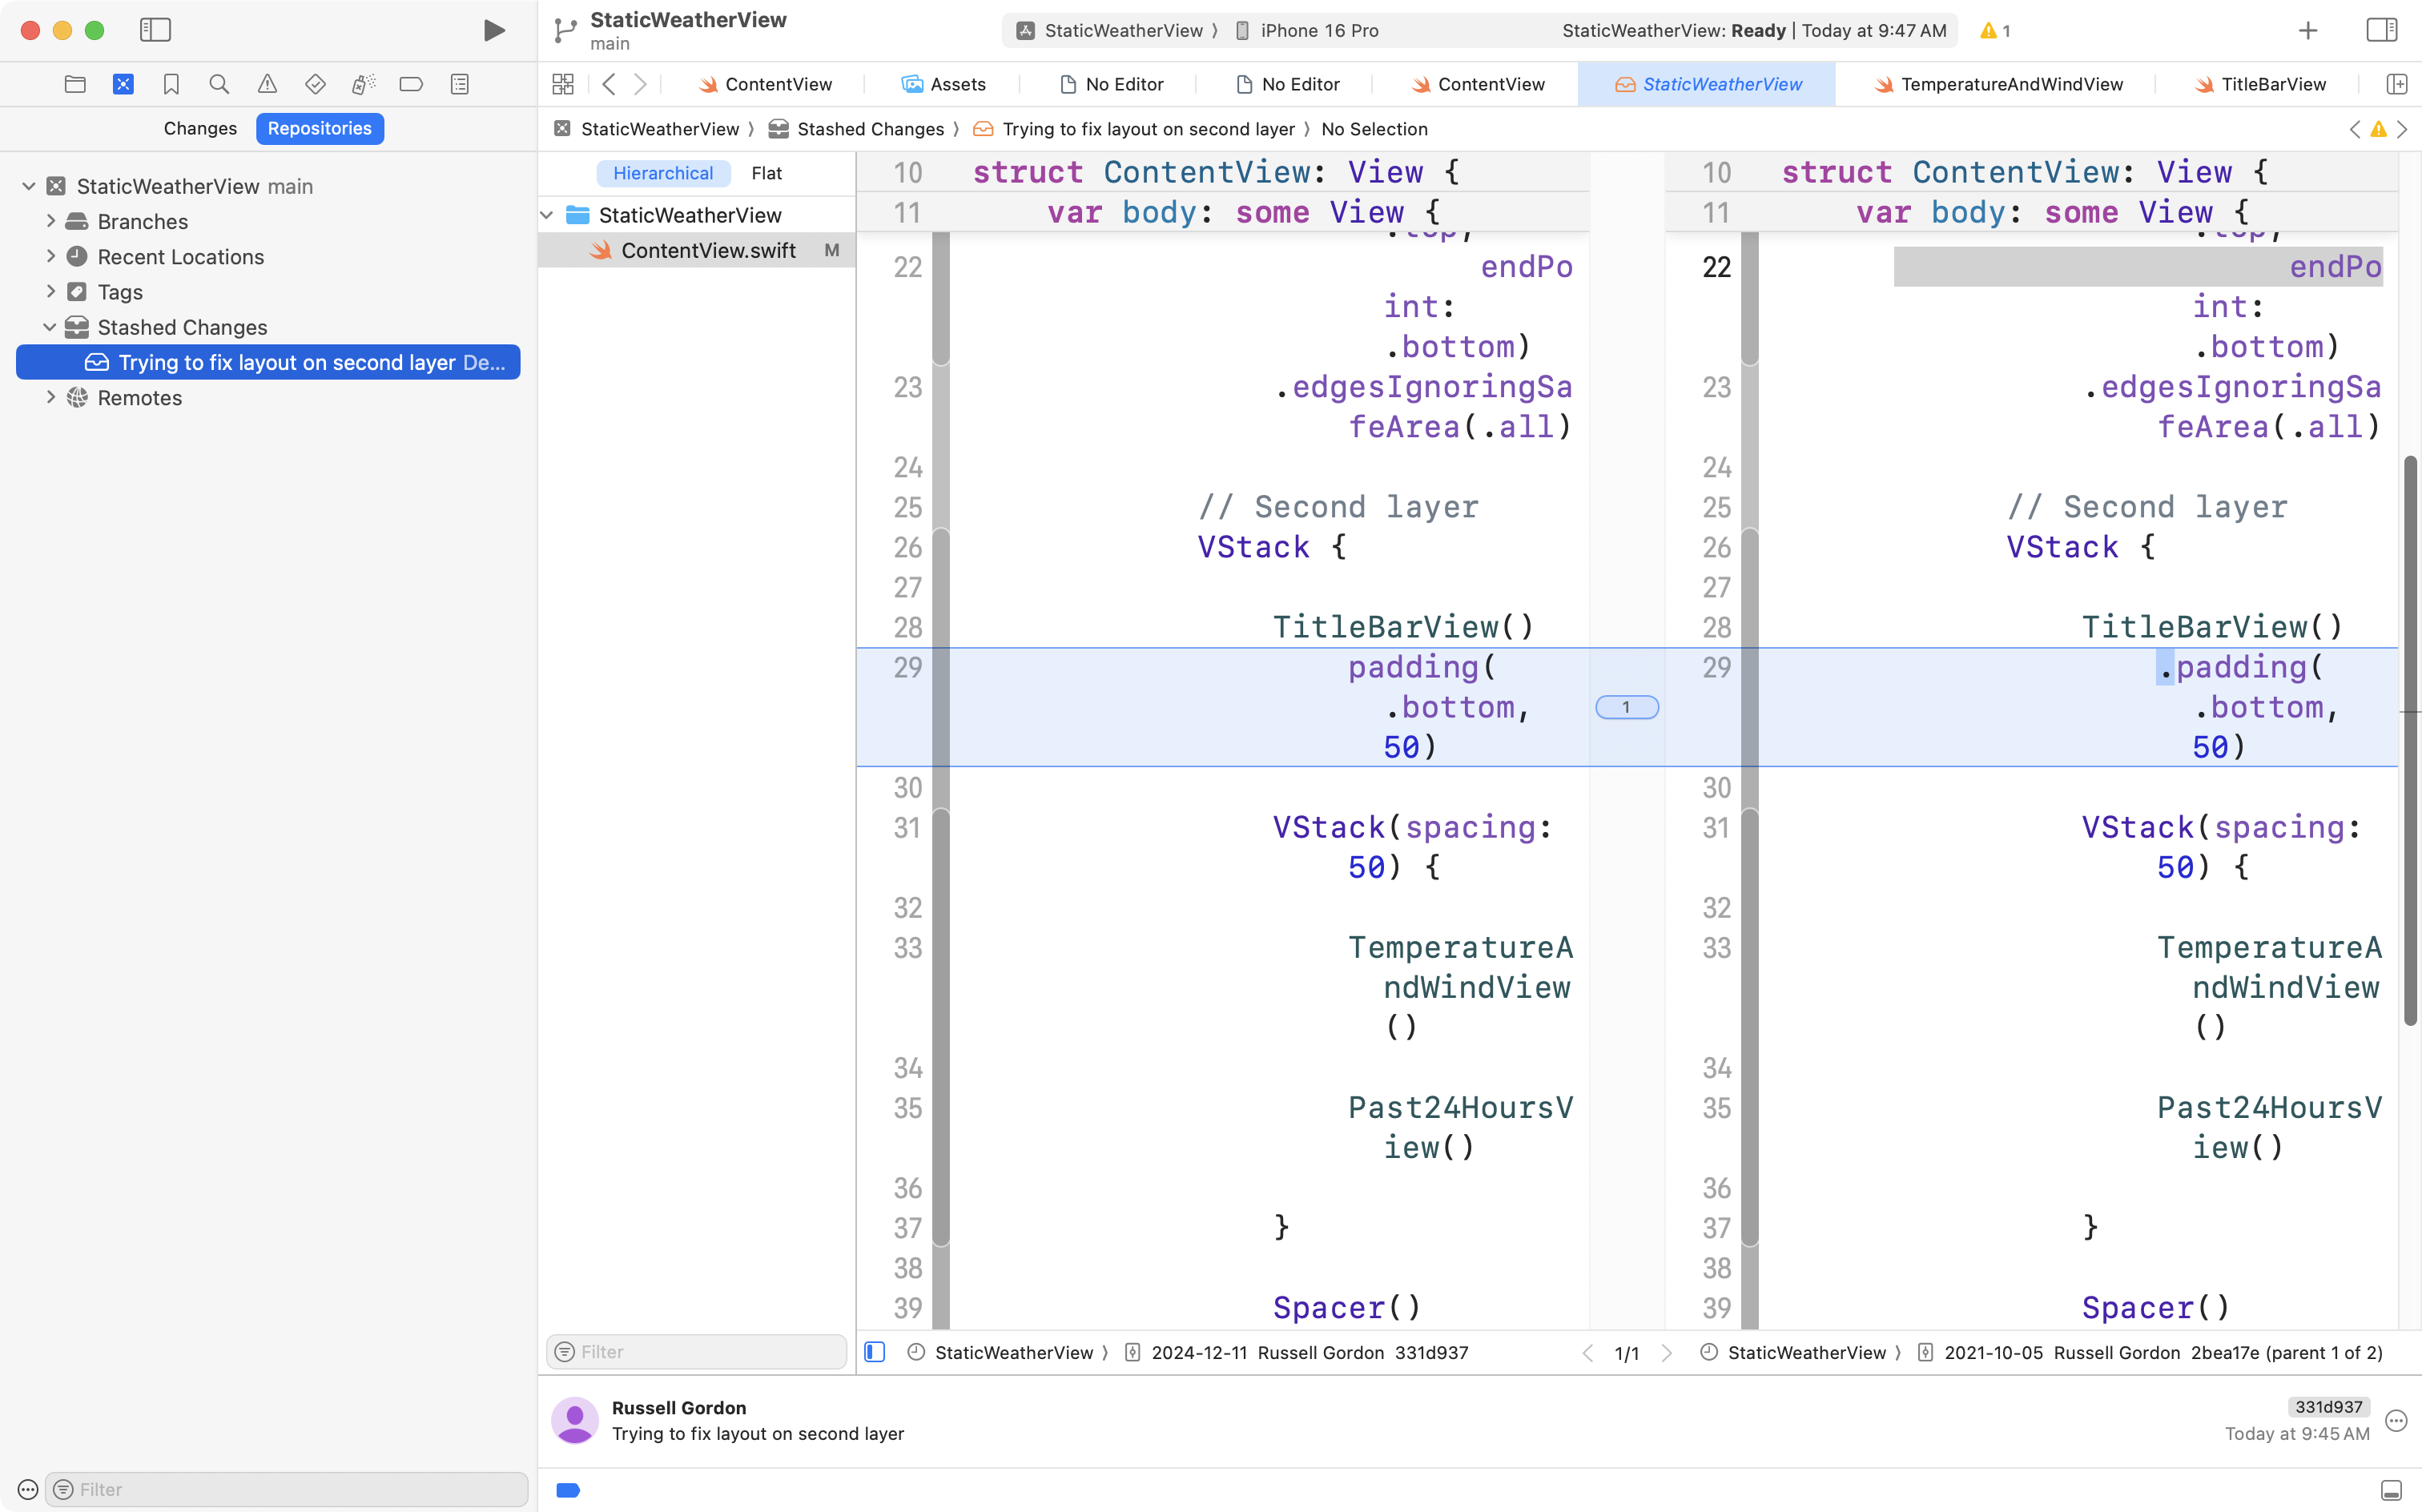
If we cannot see the problem, we can click the blue bar beside the changed code, and ask to see the changes:
.png)
Then, the old code appears above in gray, and the new code appears below in blue:
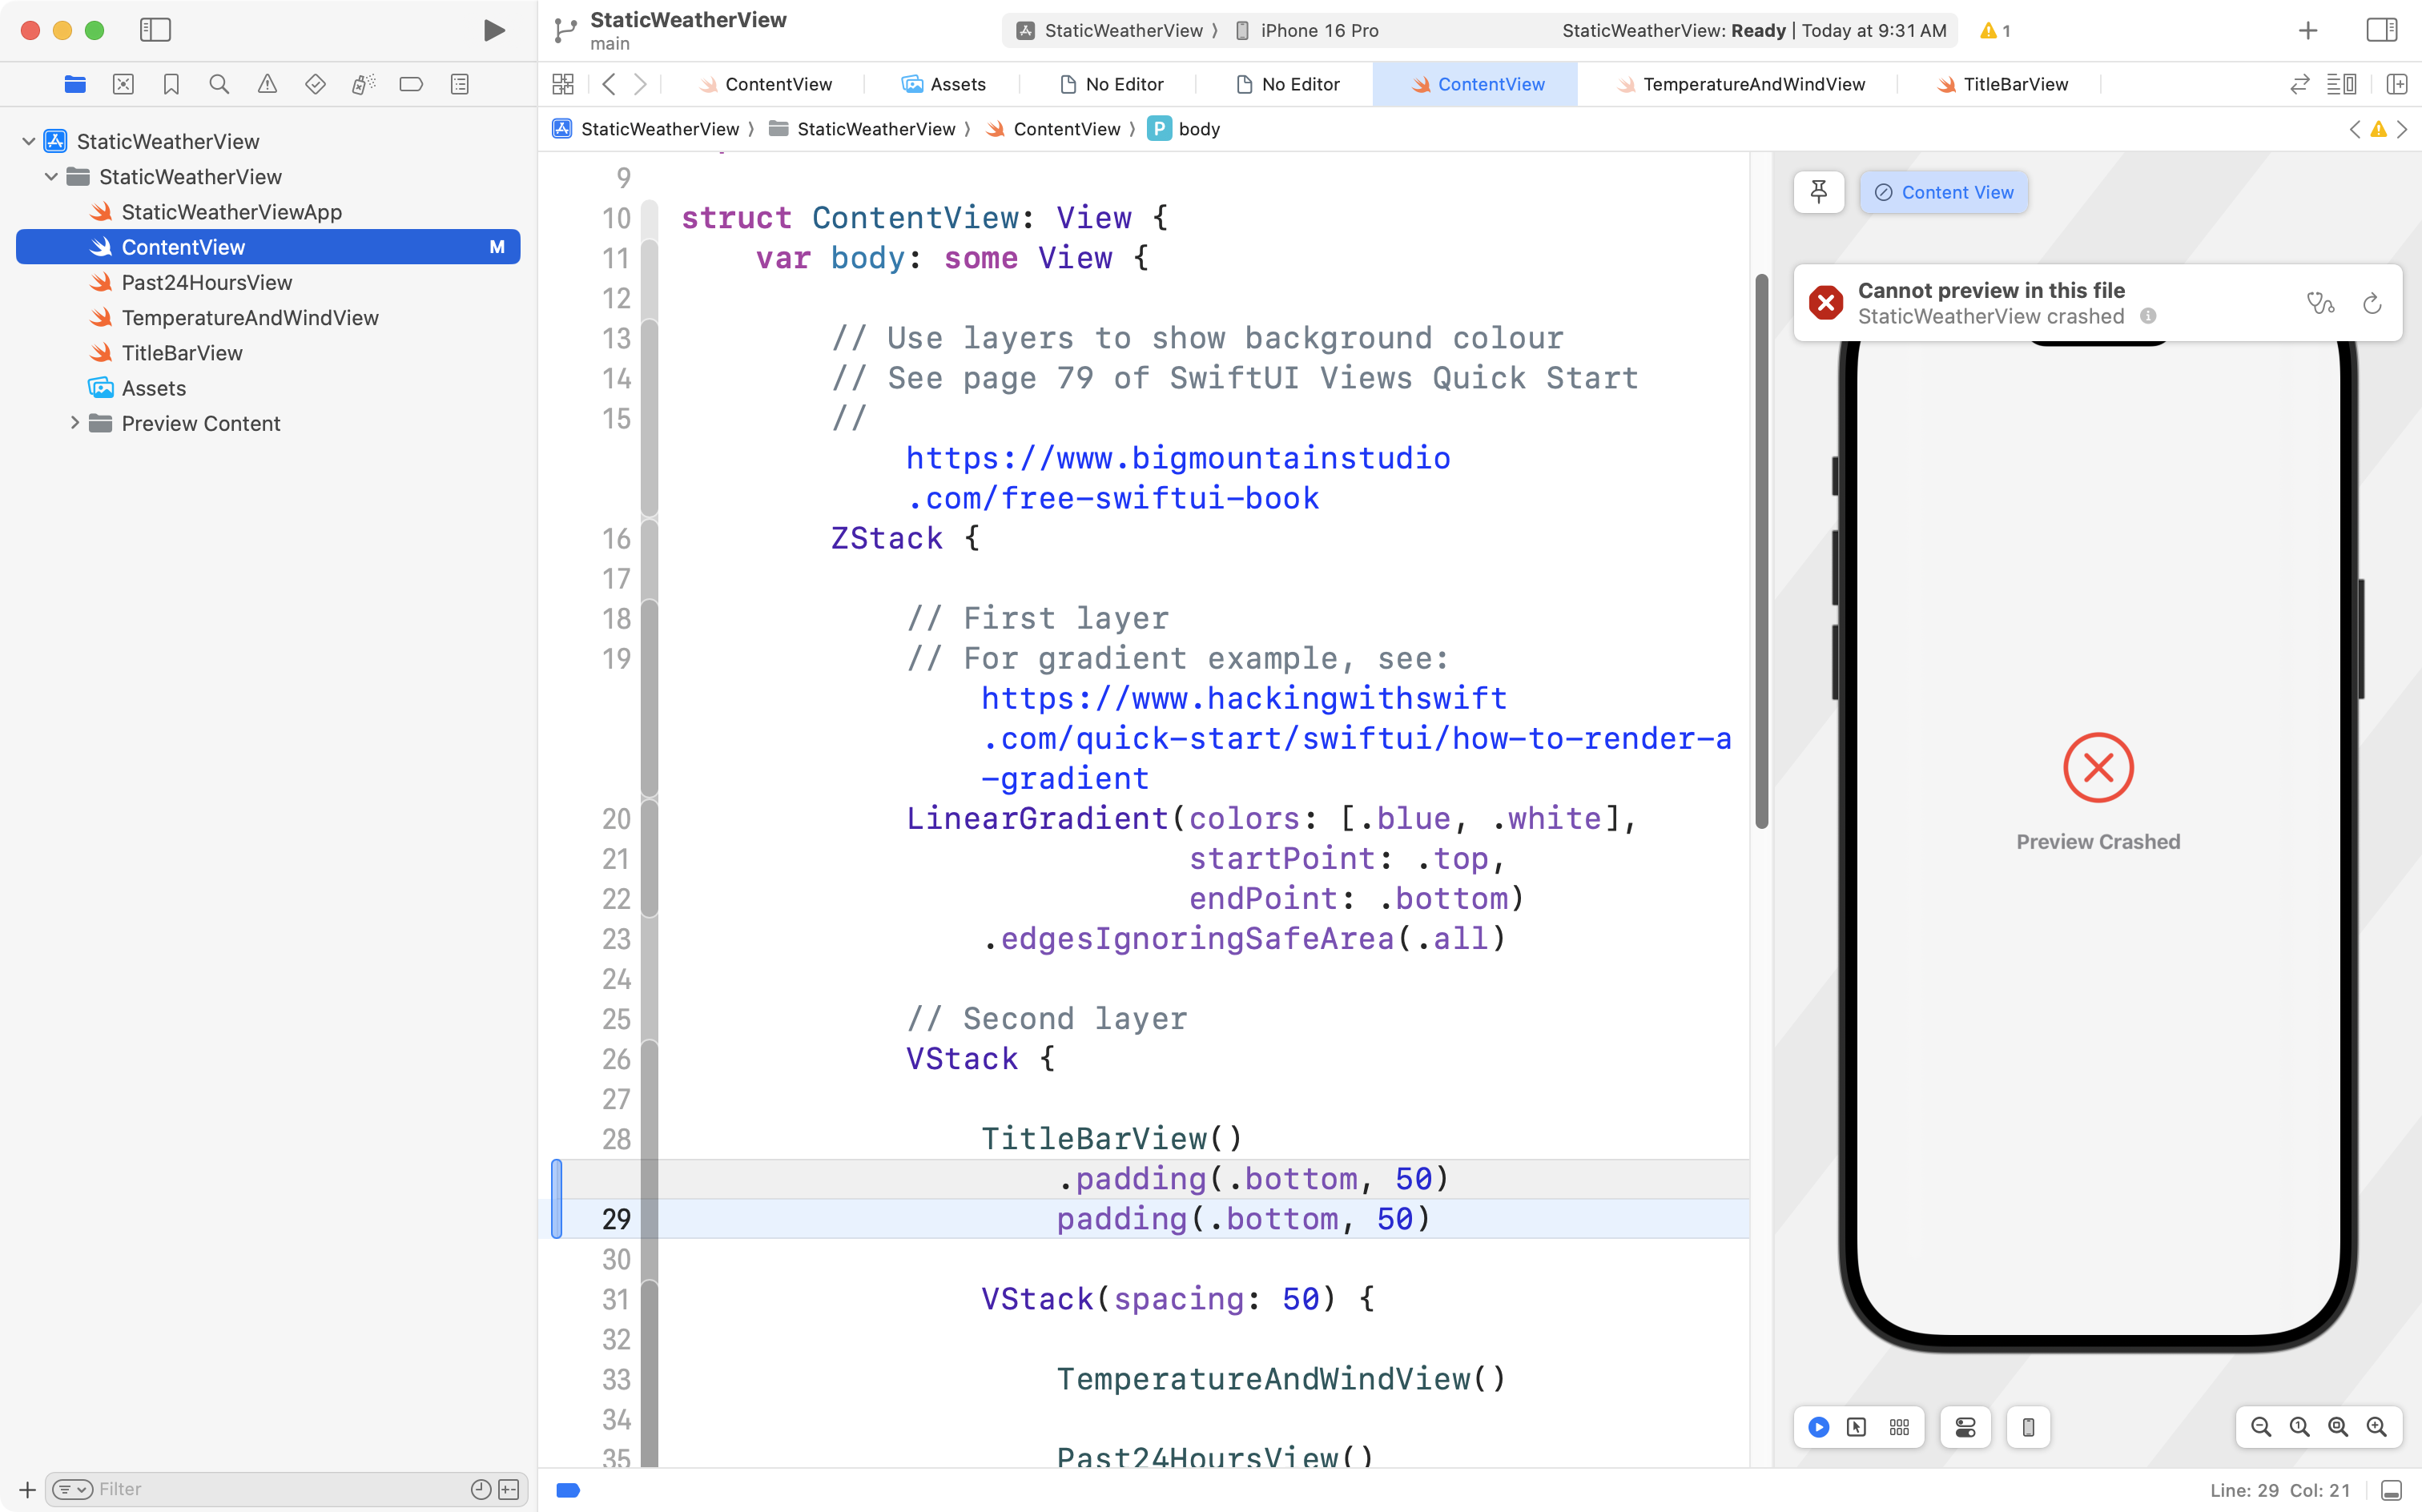
After showing the change, we can see that somehow, we deleted the . before the padding() view modifier – this is a very common syntax error with SwiftUI.
By committing frequently – any new changes we make are much easier to find.
Stash changes
Sometimes, we just cannot find the problem, so we might consider discarding our changes, but… we are hesitant to lose all the work we have done since our last commit… even though the code is not working.
In these cases, we can stash our changes.
A “stash” is very much like a commit. The difference is that the code changes do not get added to our history of commits, but the changes are kept around for us to look at – or restore if we choose to.
Let’s say from the example above that we still could not find the syntax error – the missing . before the padding() view modifier.
From the menus in Xcode, we can choose Integrate > Stash Changes…:
.png)
In the dialog that appears, it’s useful to describe what you were trying to accomplish:

Once you have written a very short description, press the Stash button. You will be taken to the source control navigator, with your stash highlighted:
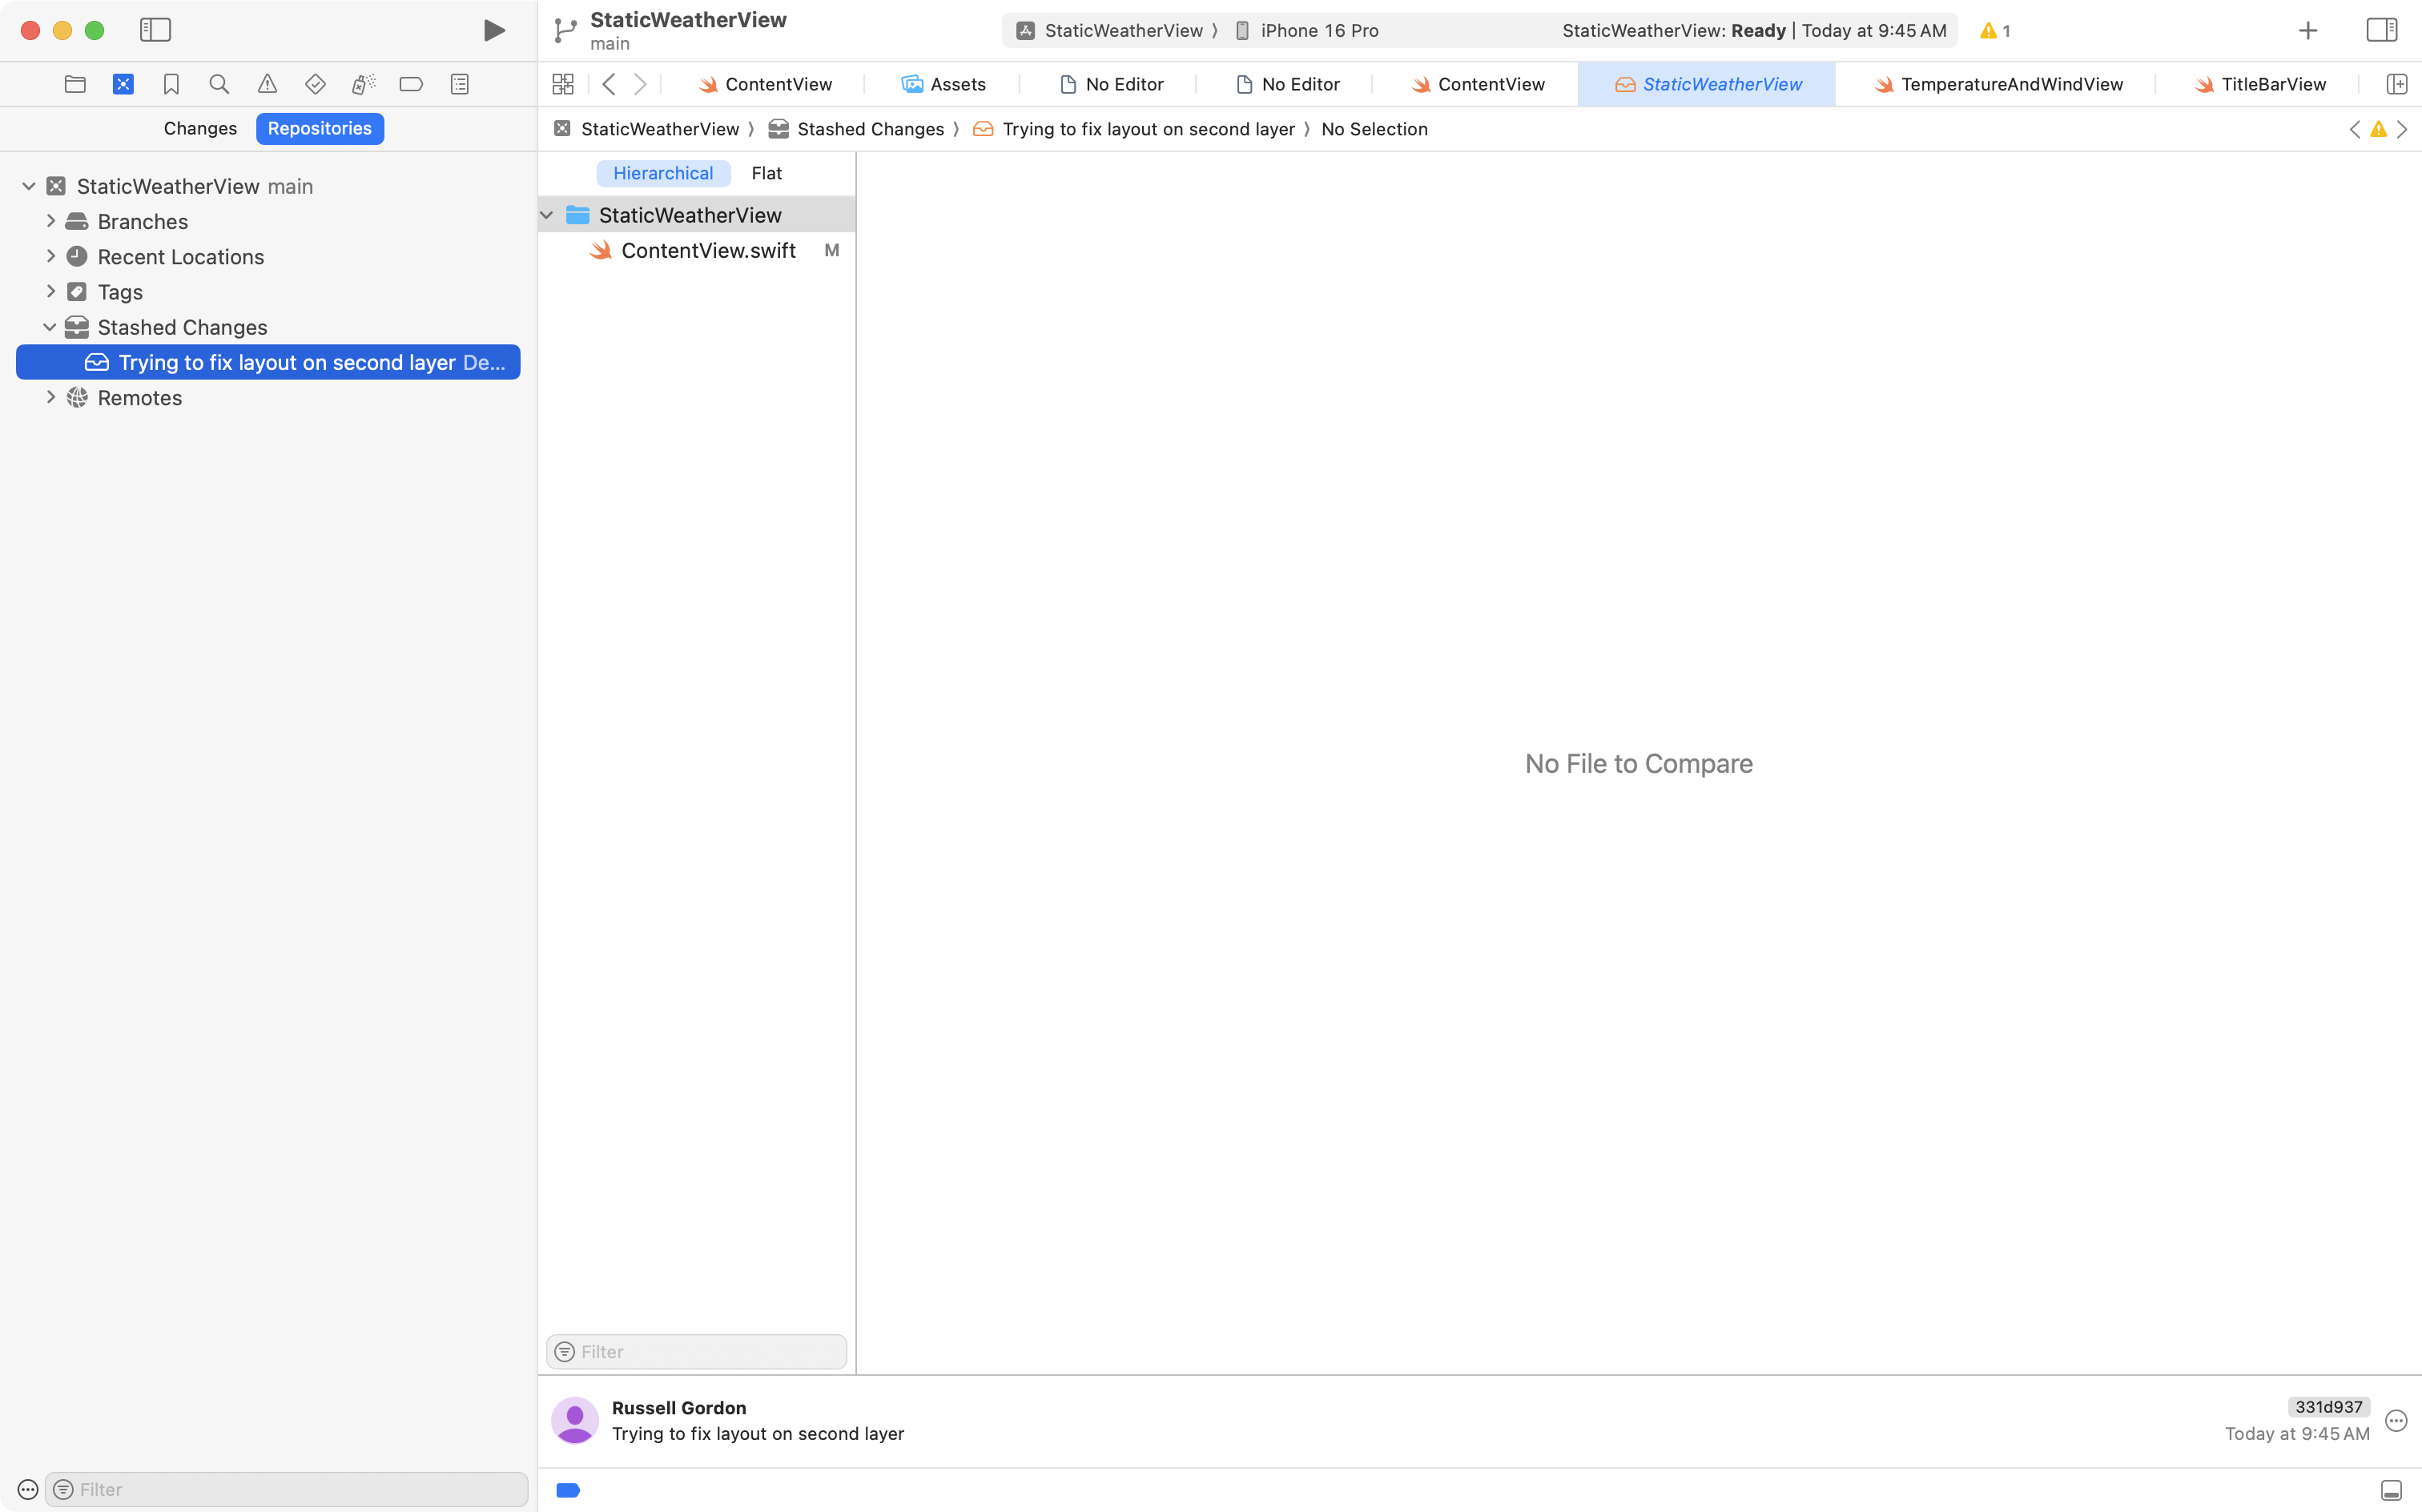
Your code in the project will be reverted to its state from your most recent commit, which was hopefully a point where your app compiled and was working. You can now try again to implement whatever change you were trying to make to your app.
However, if you wish, in the source control navigator, you can click on file(s) that were changed, to see what changes were made.
If at this point you realize what the problem was, and you want to restore the code you placed in the stash, you can do that, too.
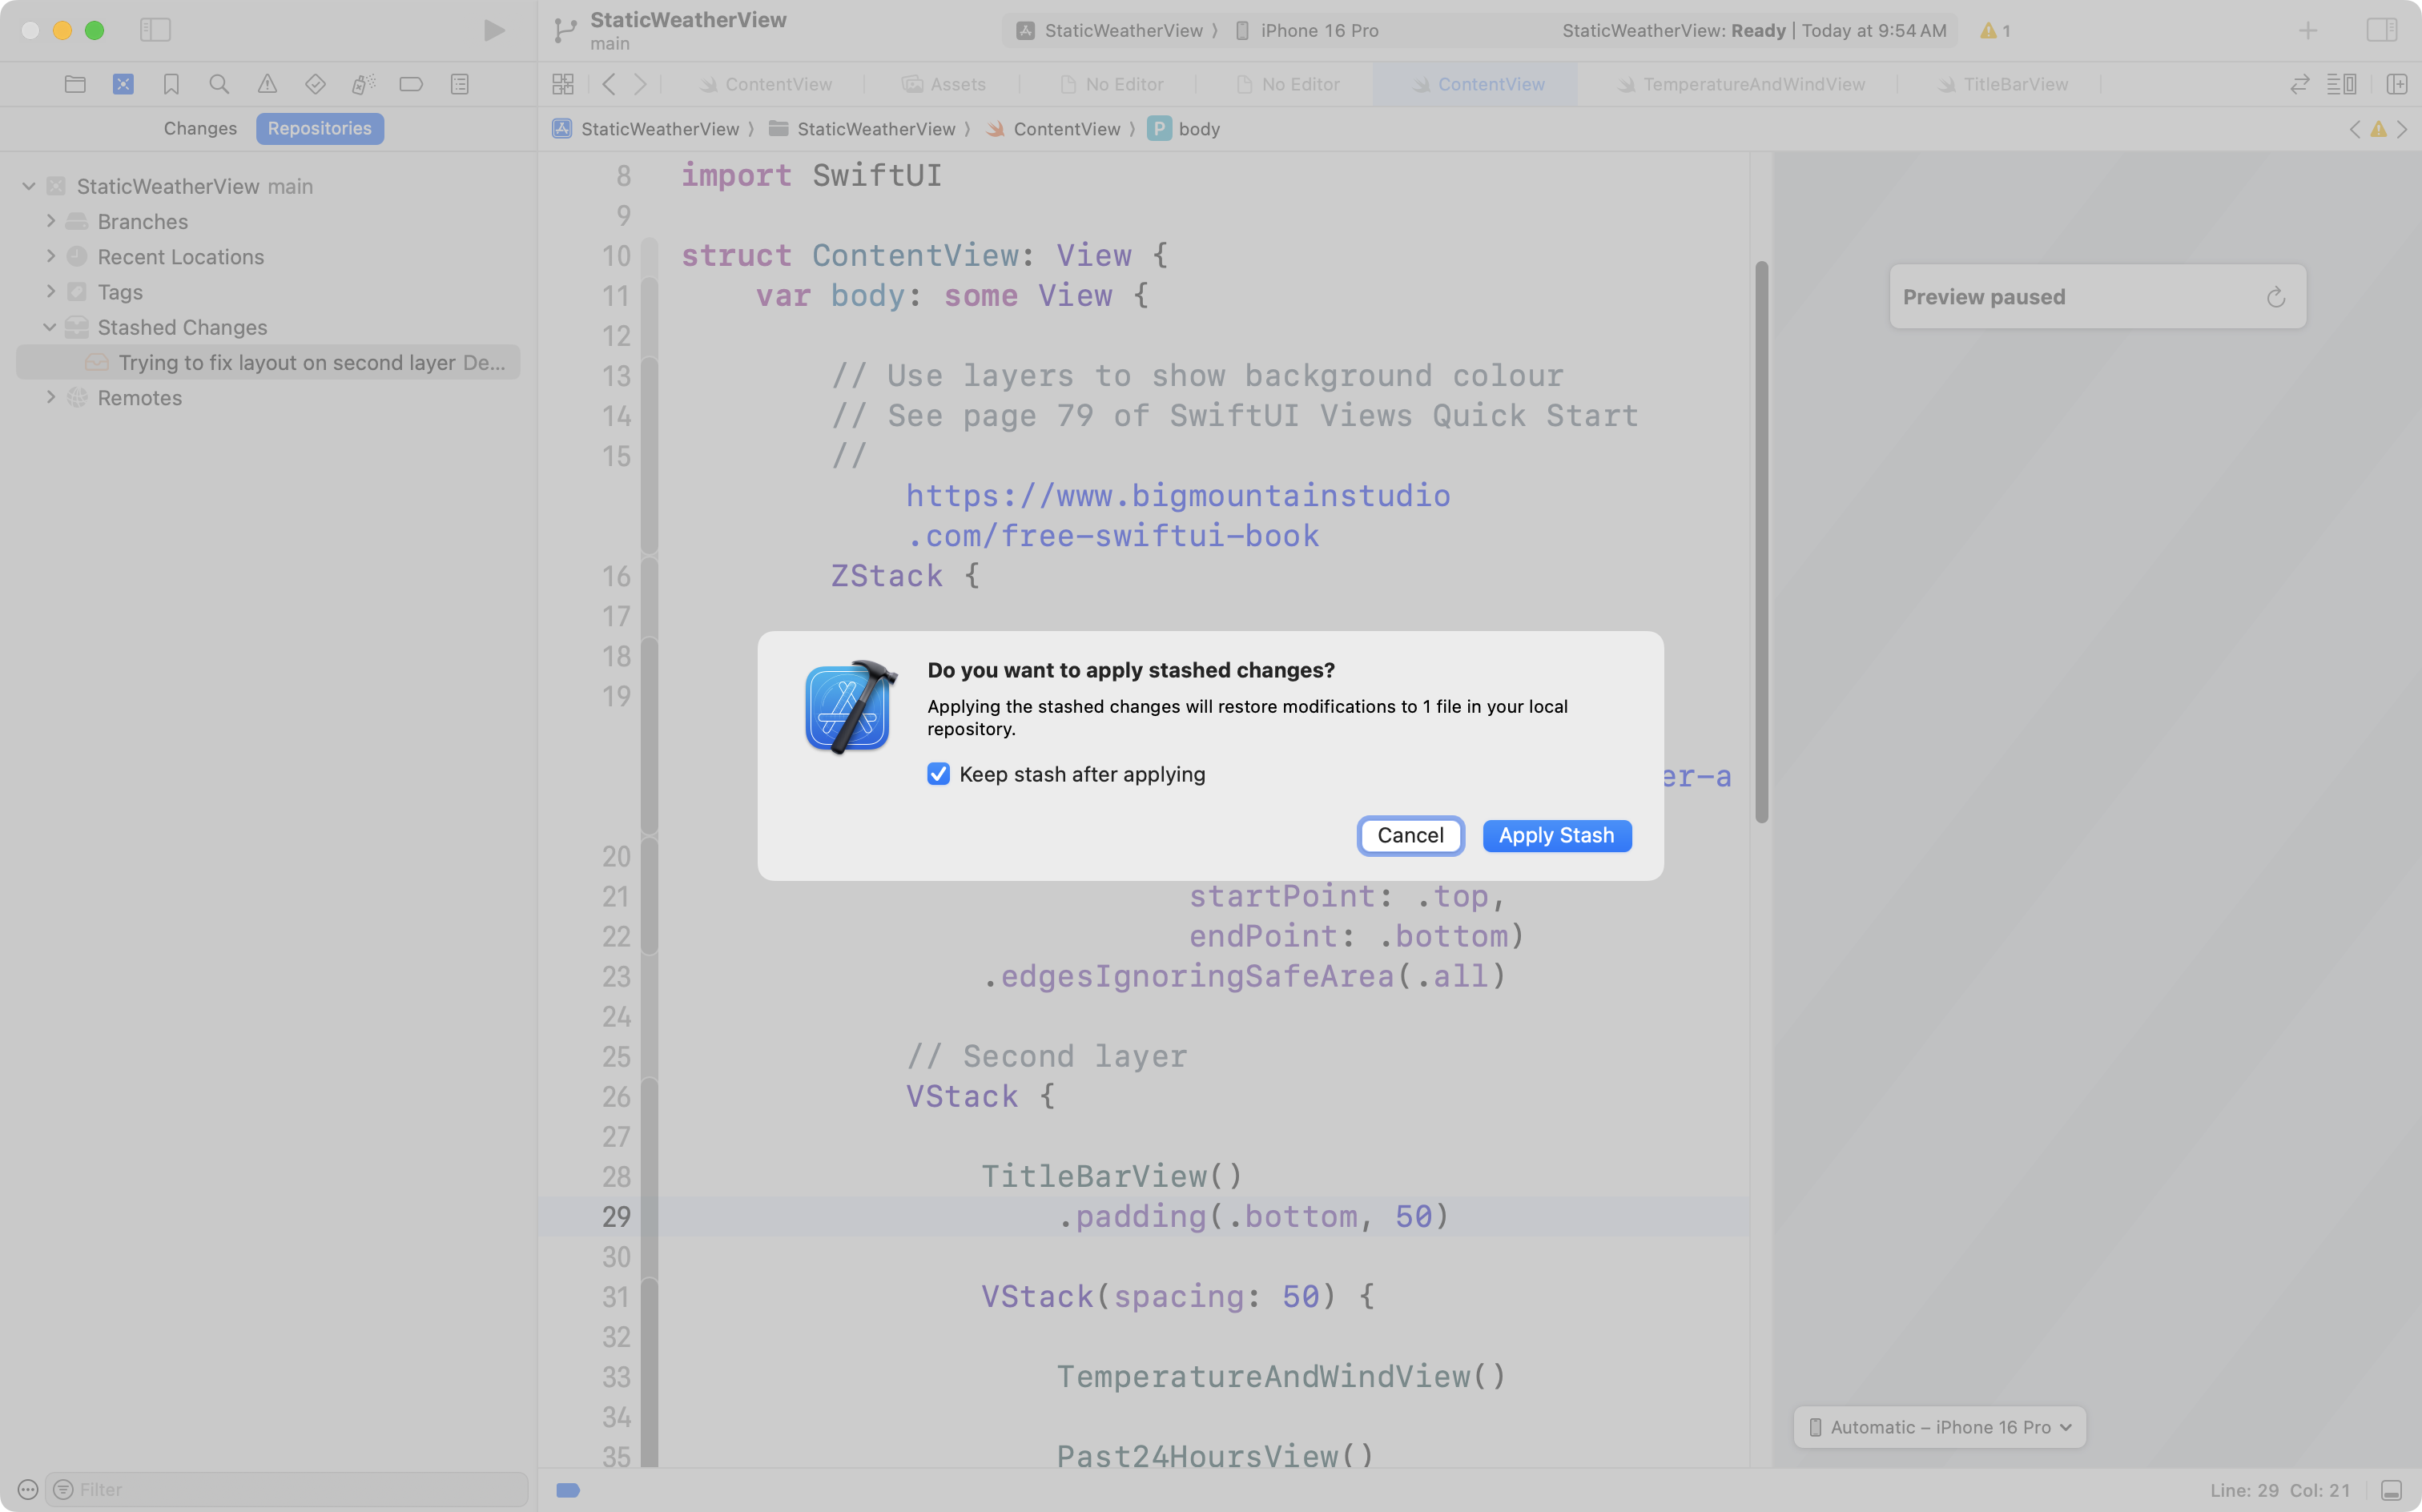
Two-finger tap on the stash, and choose Apply Stashed Changes:
.png)
In the dialog that appears, you can optionally choose to keep the stash after applying it - this is usually a good idea. Choose Apply Stash to put the code “back” that you had previously stashed away:
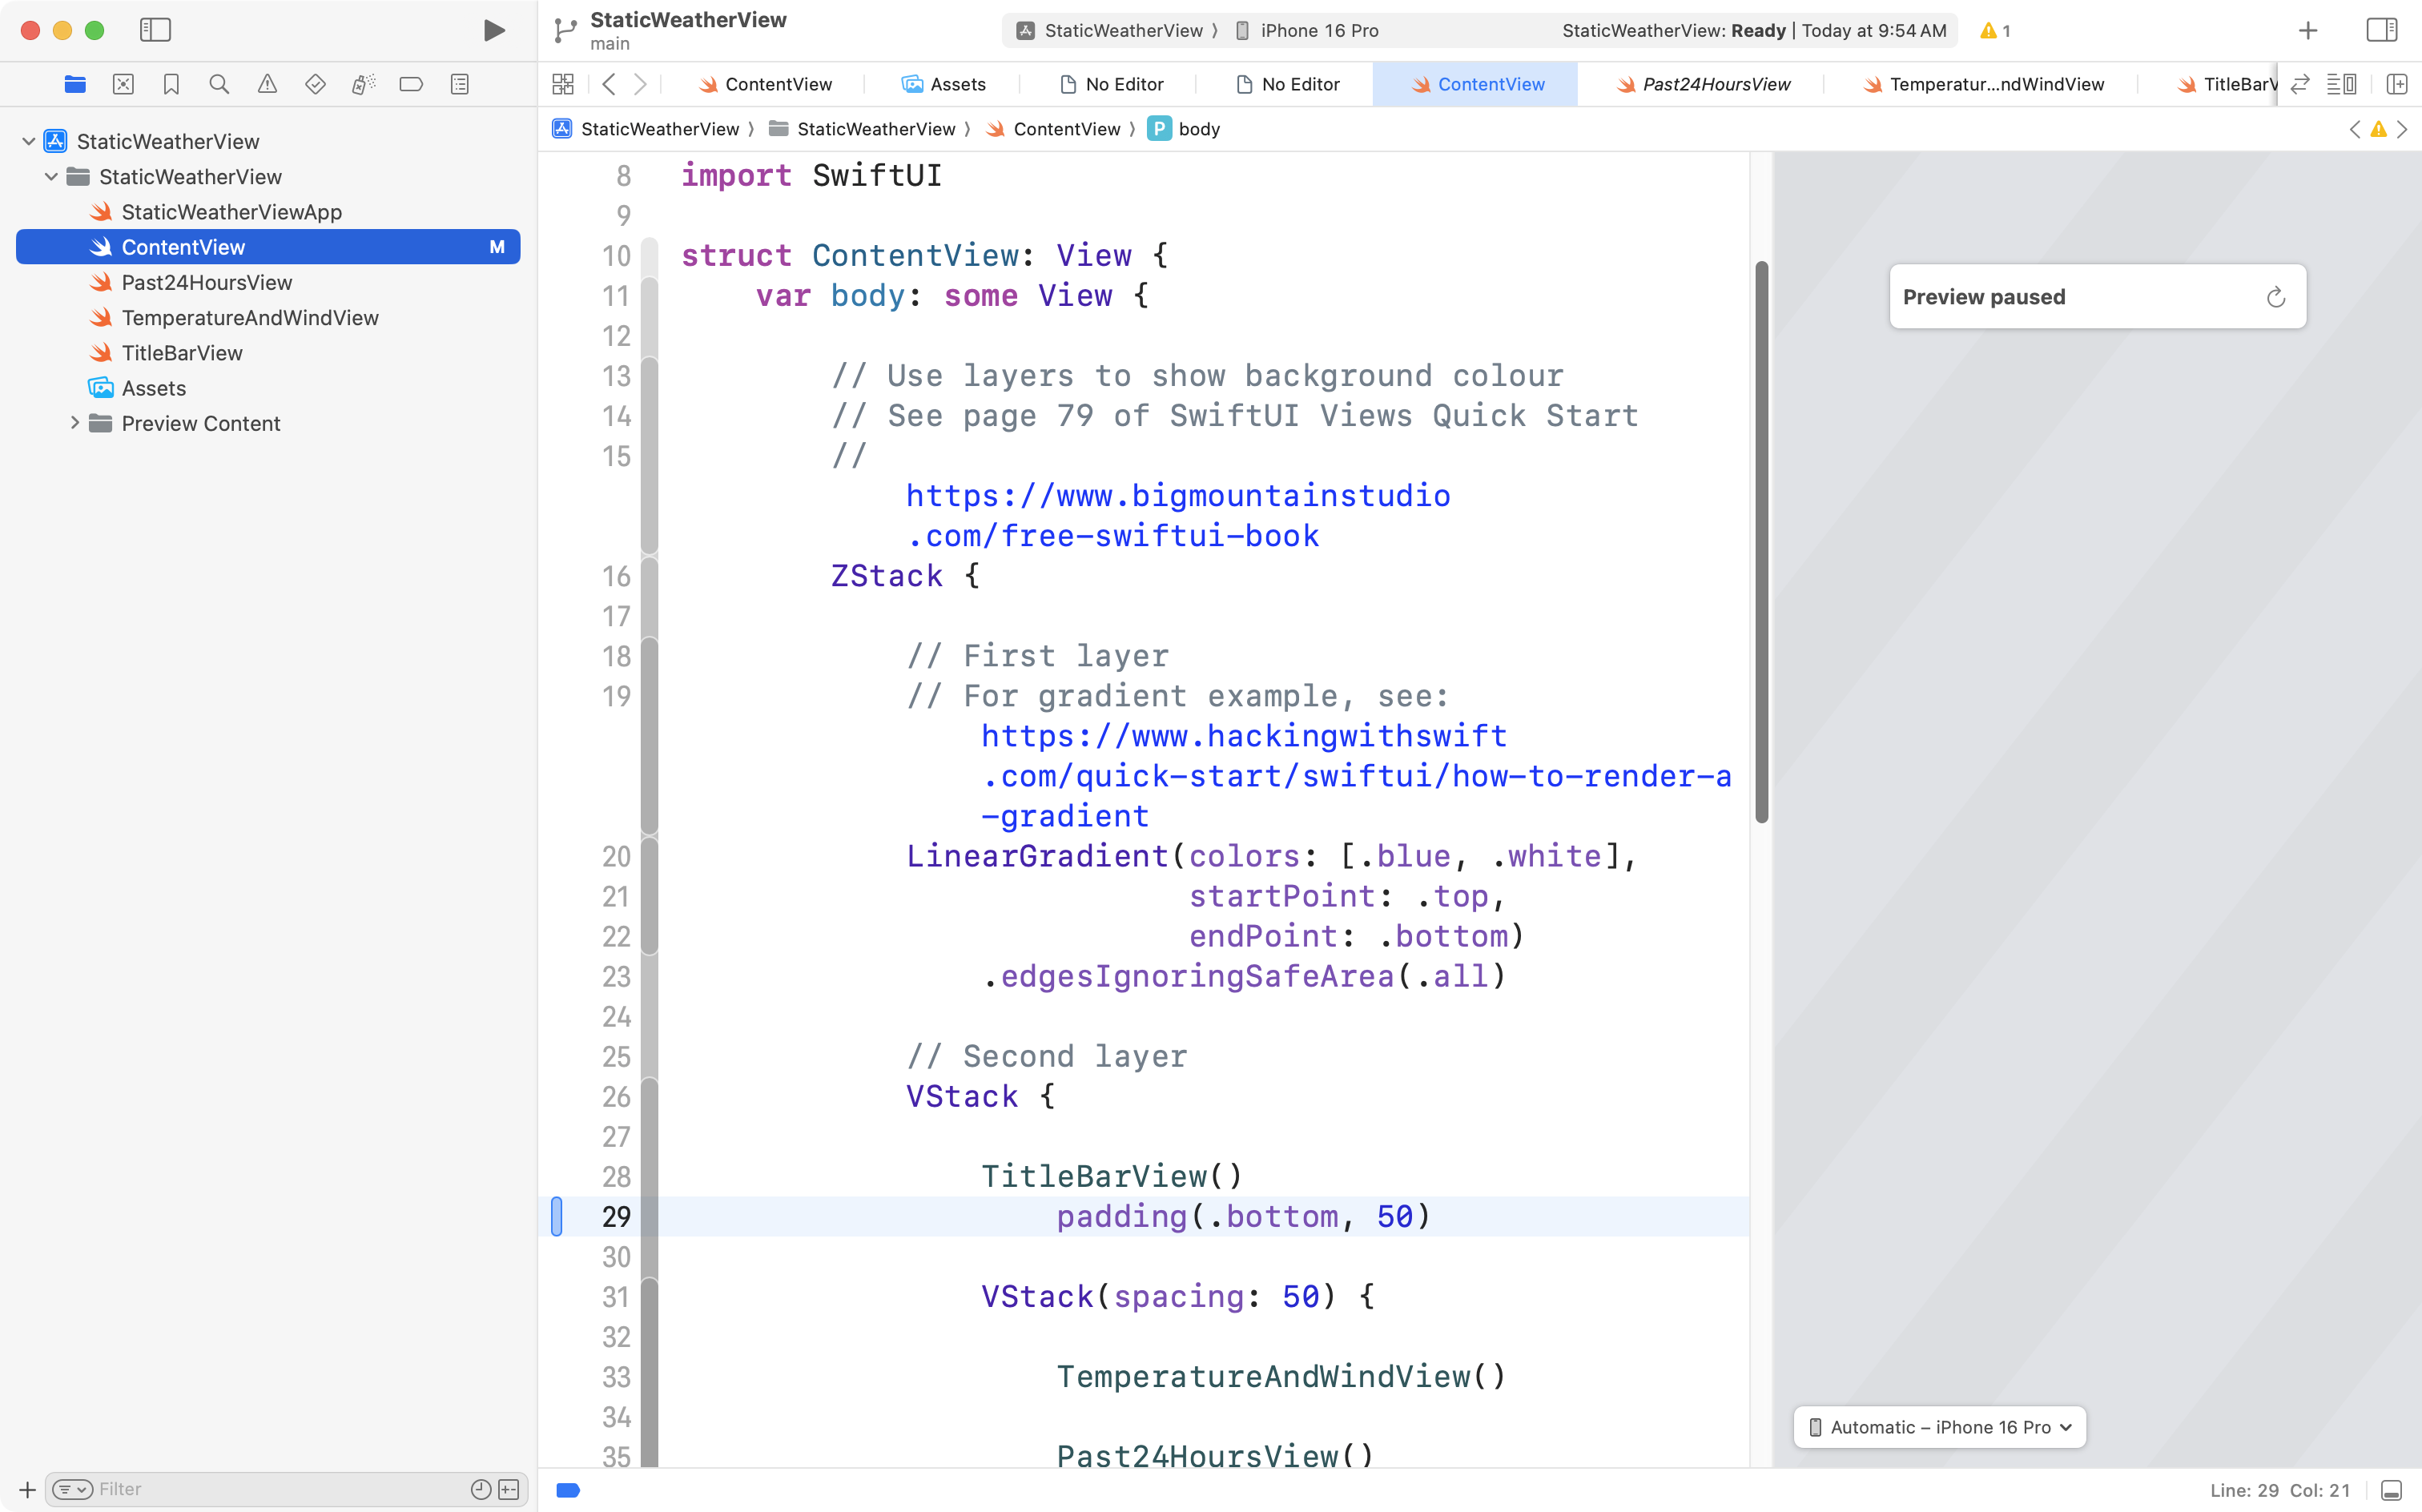
Then, back in the project navigator, any code that was in the stash is restored:
Viewing old revisions
It is sometimes helpful to see what your projects looked like in the past – from earlier commits.

What if we wanted to temporarily revert the project back to an earlier commit?
Then, return to the latest version of our code?
This four-and-half-minute video shows you exactly how to do this:
Adding to old revisions
Sometimes we know that we do not just want to switch to and look at code from an old commit, but to instead carry on from that point in time, adding new code and making further commits.
In this scenario, we need to make a branch.
This five minute video shows exactly what you need to do, and how to recover if you have accidentally gone back to an old version of code, and made commits from that old version of code, without being on a branch yet: