Recap
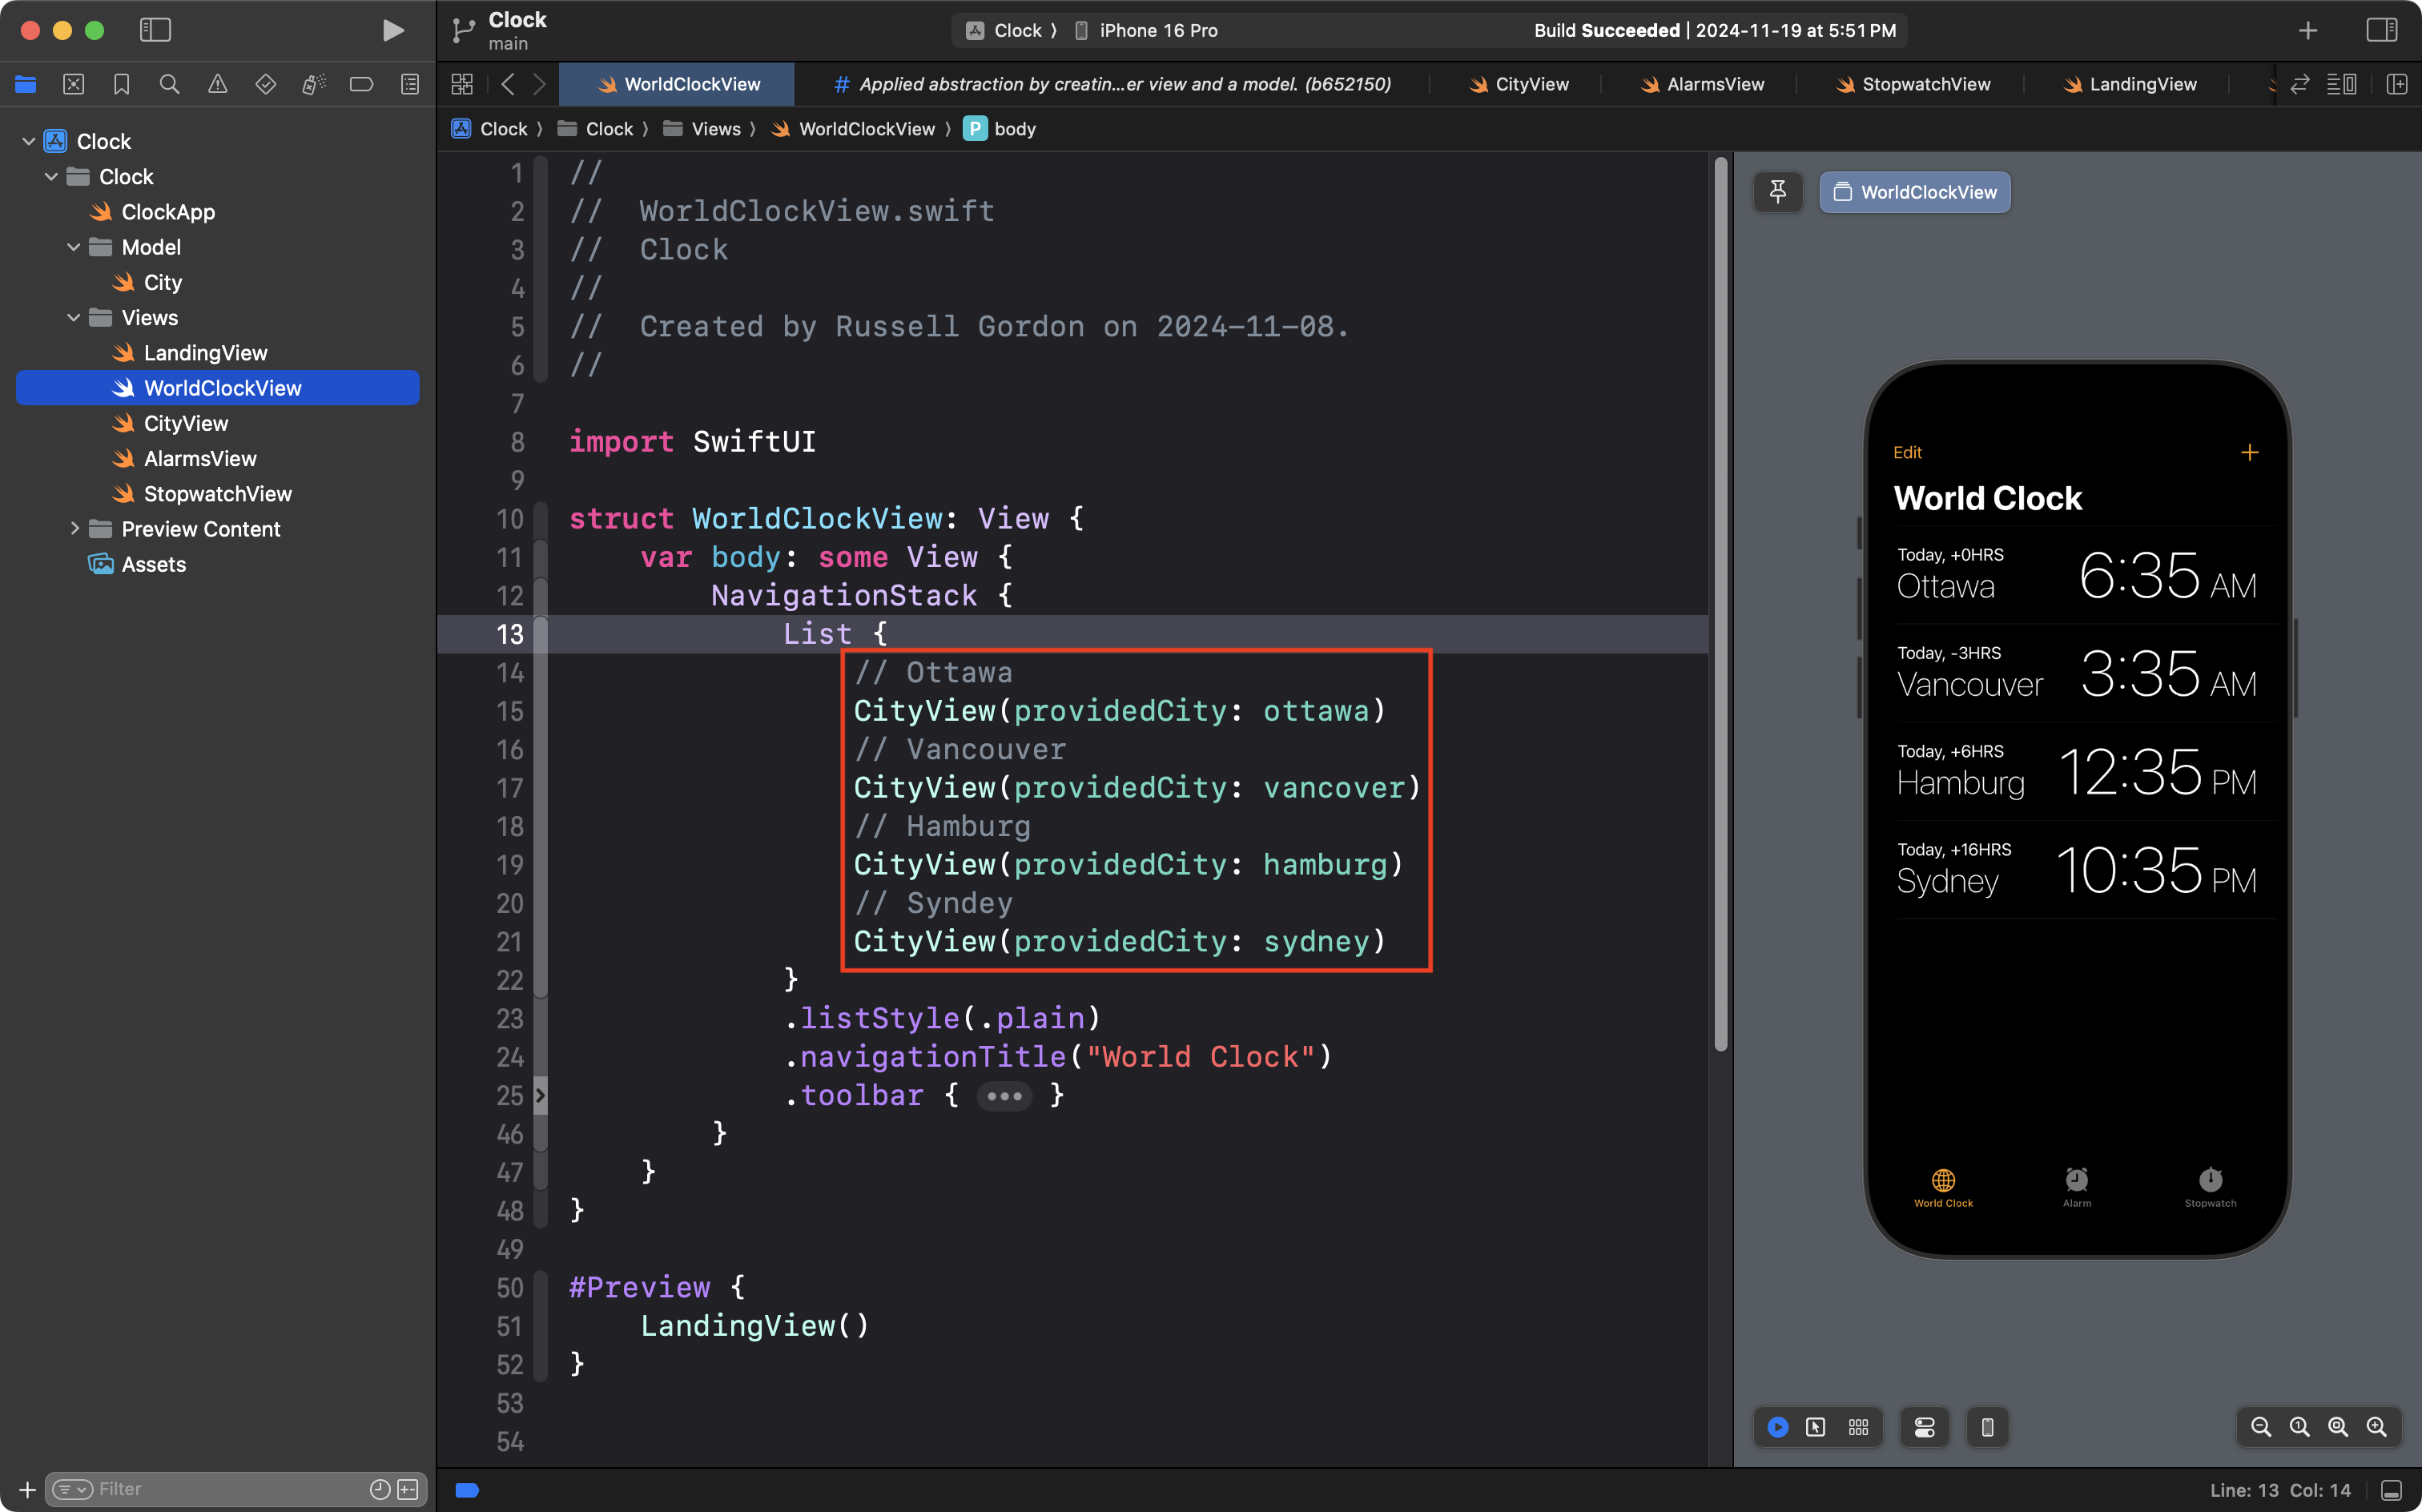
In our prior class you learned how to apply abstraction using an array (a list) to avoid having to write code like this:
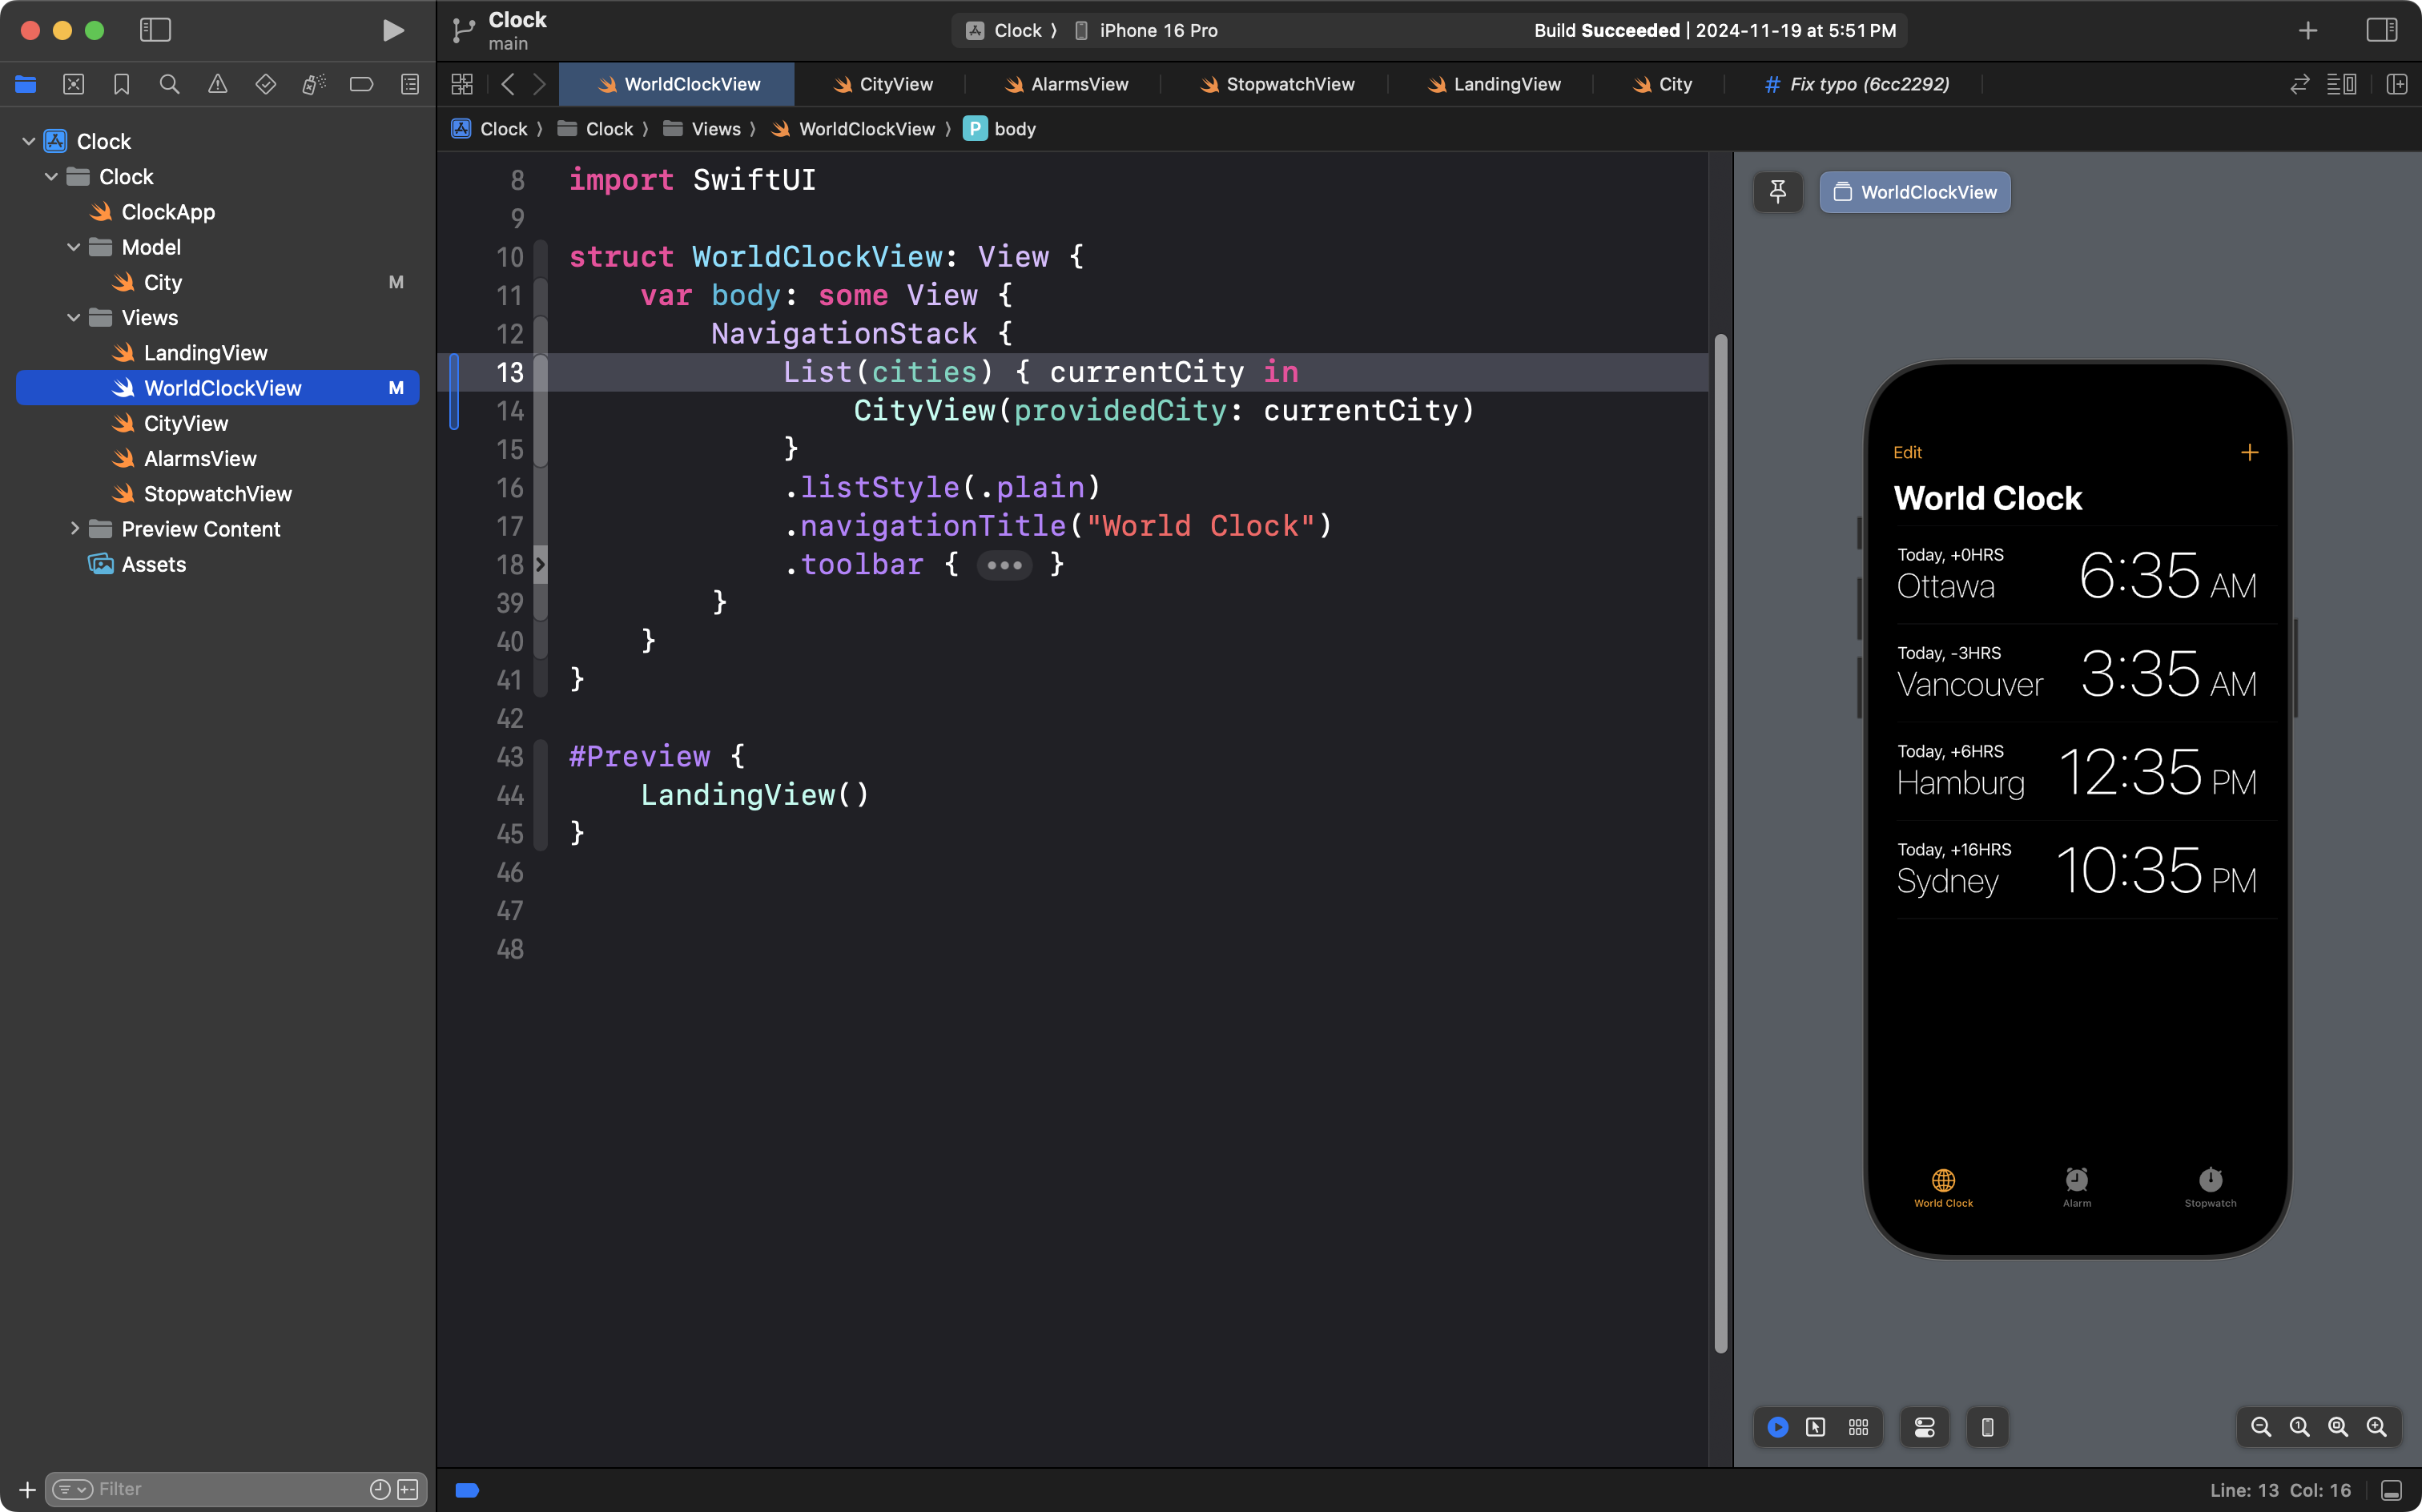
Instead, you can now write code like this, which iterates over an array named cities to produce identical visual output:
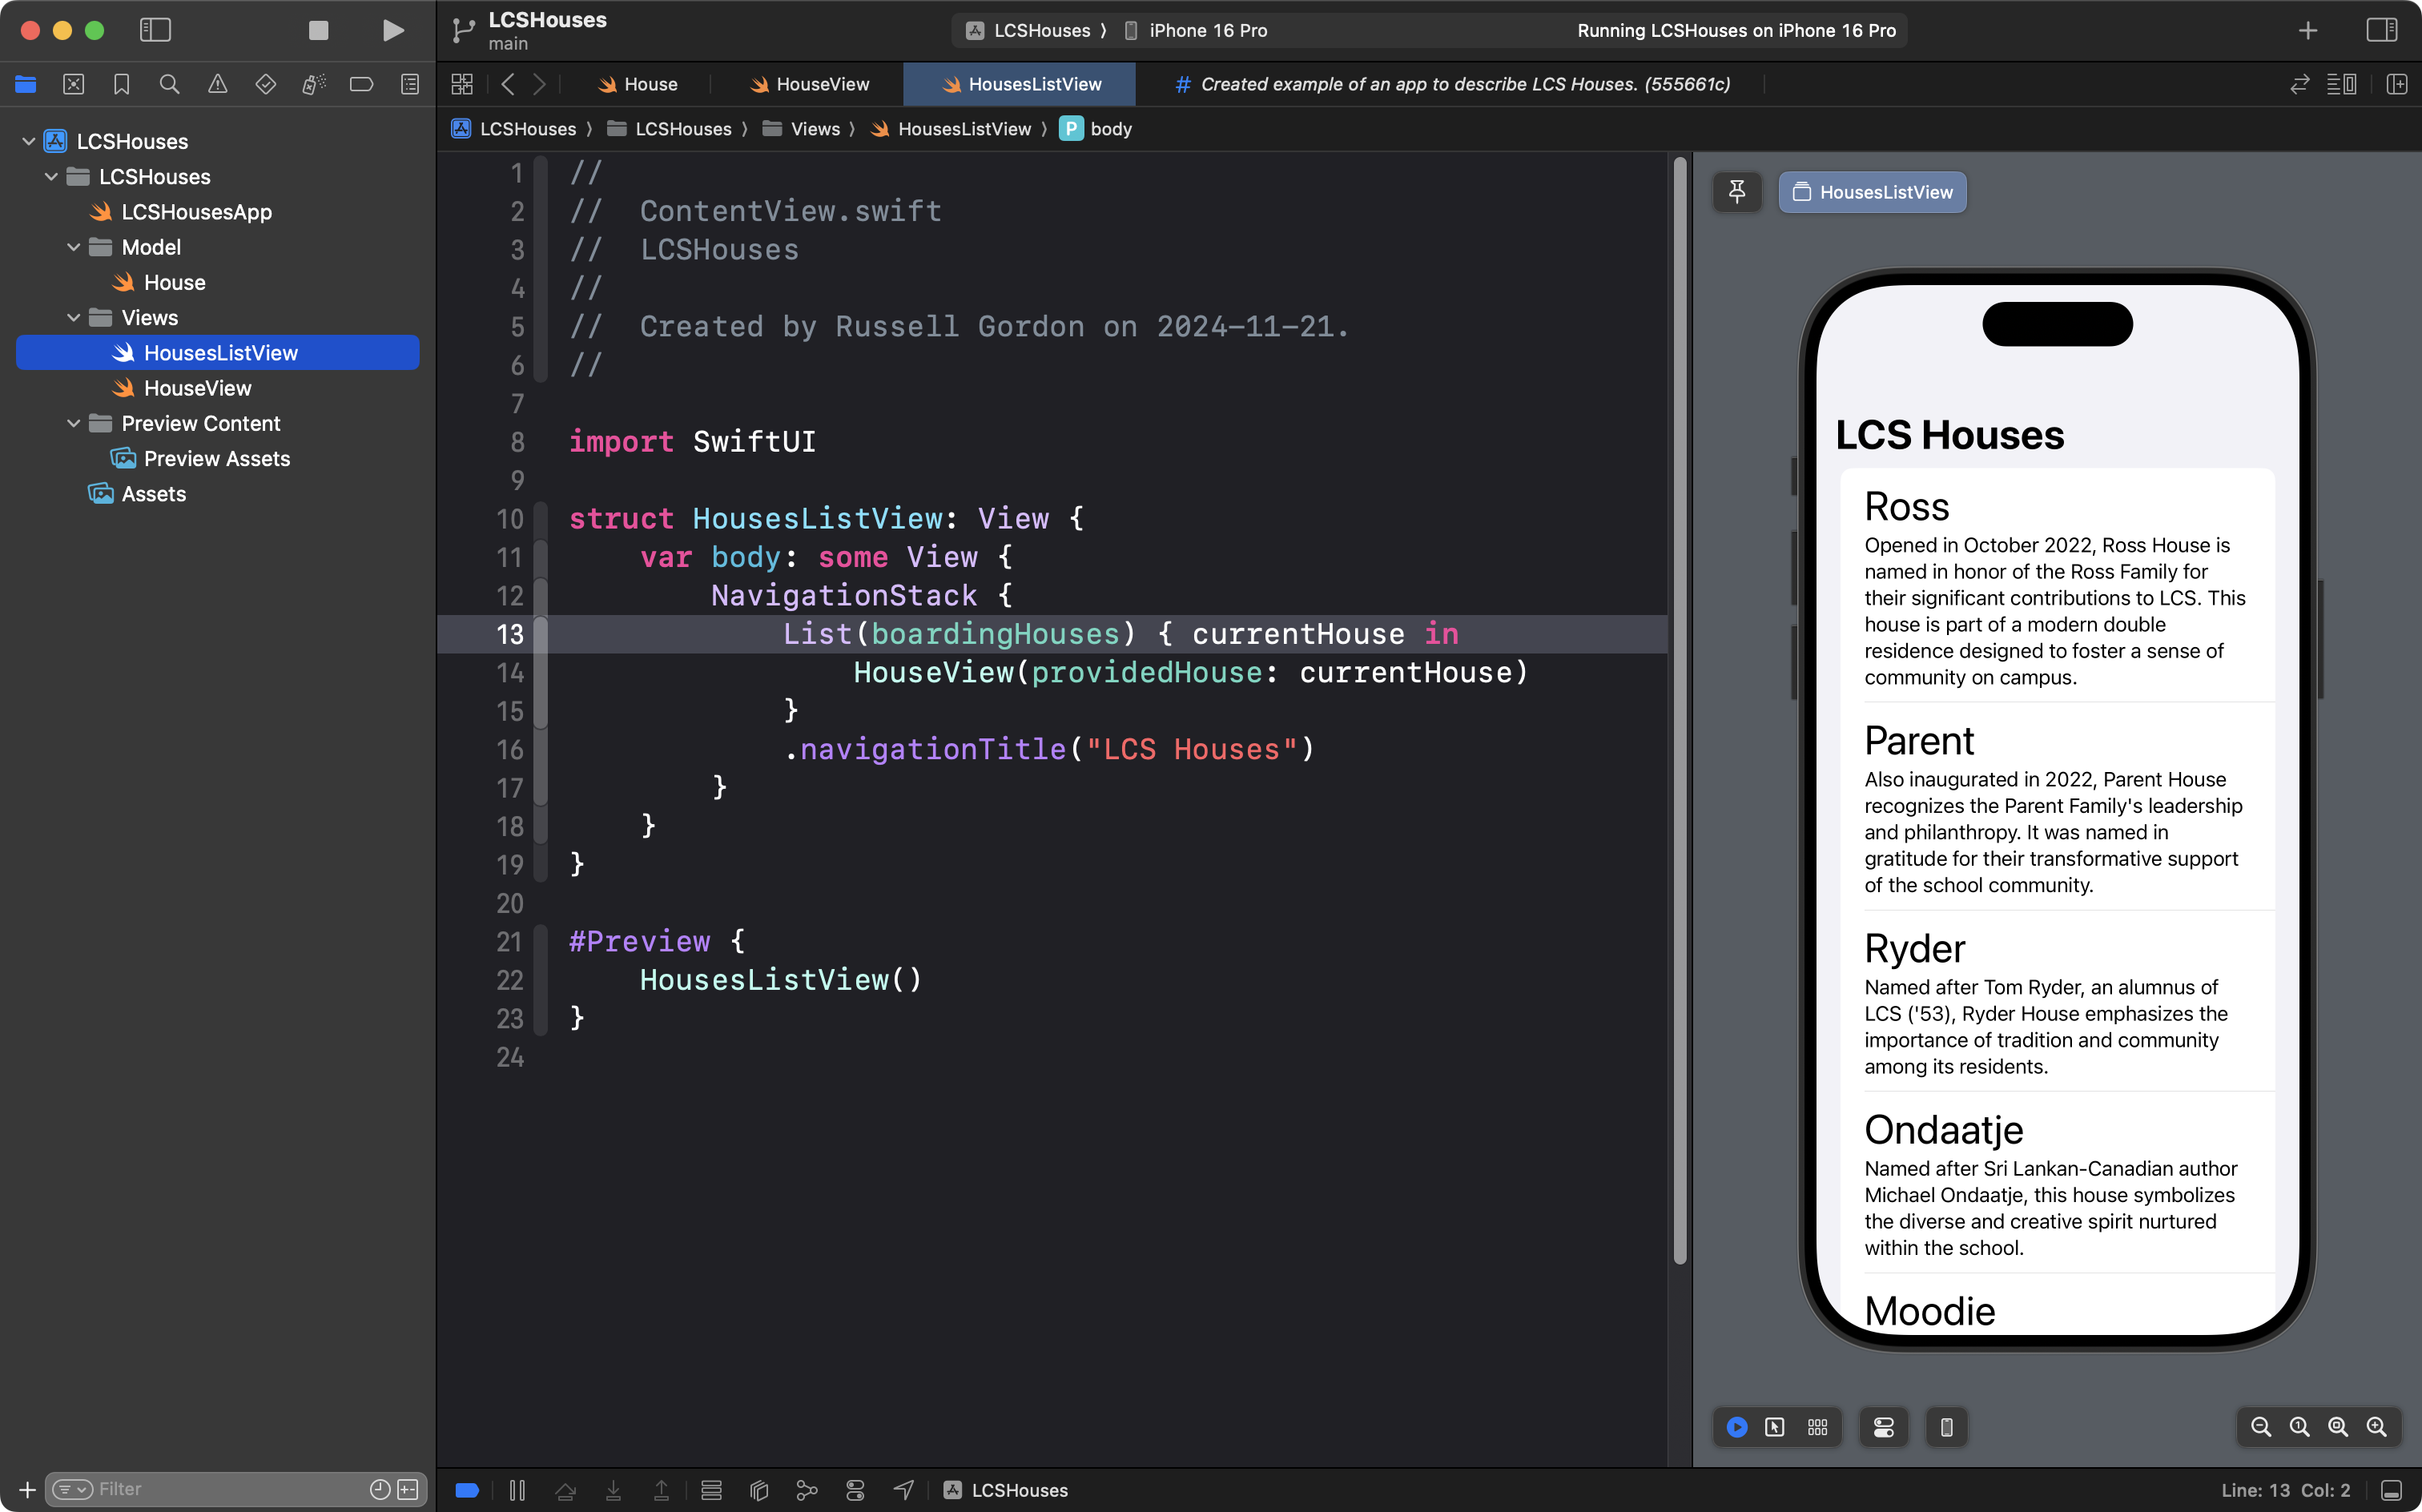
You then saw how to apply the same concepts to create an app that presents details of boarding houses at LCS:
You did this by:
- Deciding what data the app might show, by creating a model, which includes:
- the definition of a
Housestructure - the creation of several instances of that structure
- the creation of an array, named
boardingHouses, that contains all of those instances
- the definition of a
- Creating a helper view to show an entry for a single house.
- Creating a view to show a scrollable list.
- a
Liststructure was used to iterate over theboardingHousesarray and create multiple entries, one for each house - each entry has the same layout, but different data is shown
- a
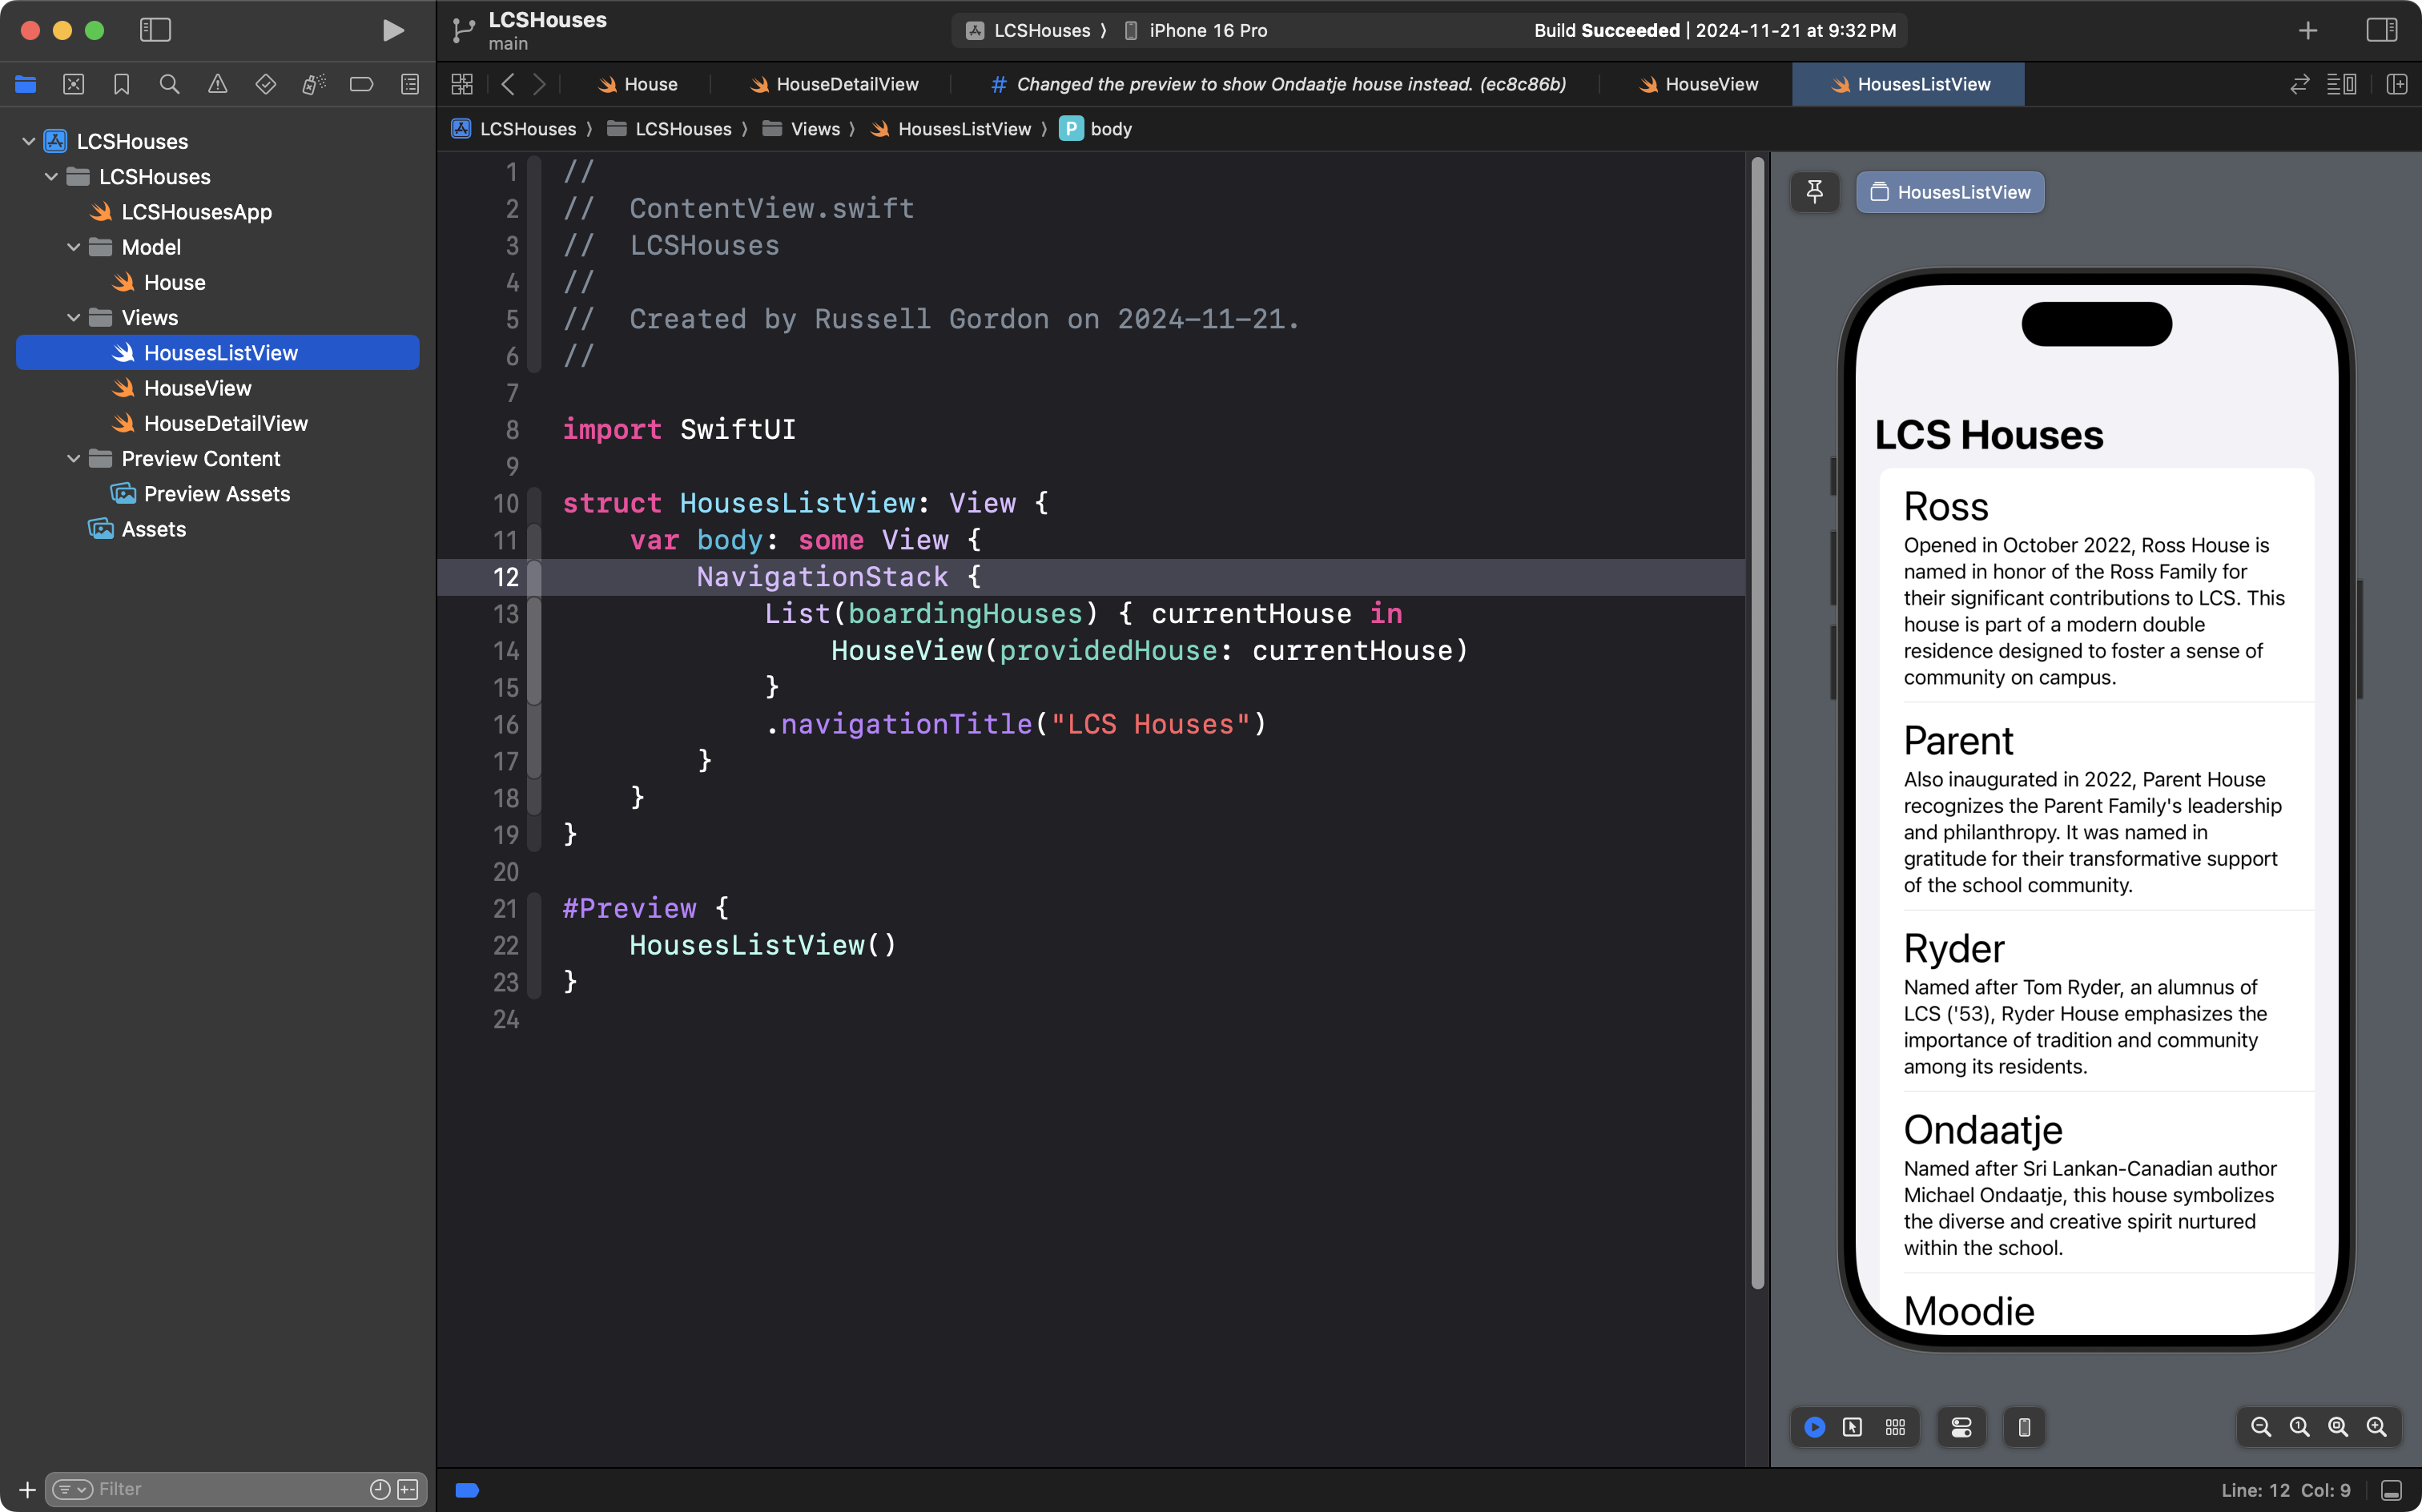
By applying abstraction in this way, code is made less repetitive, and a nice interface is created for your users:
Detail views
What if we wanted to expand the LCS Houses app so that the user could navigate down to a detail view and see more information about each house?
This user experience – scrolling a list, tapping to view details, tapping back to the return to the list – exists in many apps on modern smartphones:
So how can we add this to the LCS Houses app? Surprisingly few changes are needed.
To follow along, please fork and clone this starter project.
Compared to the example code shared in our prior class, the project you just forked and cloned has only a couple of differences.
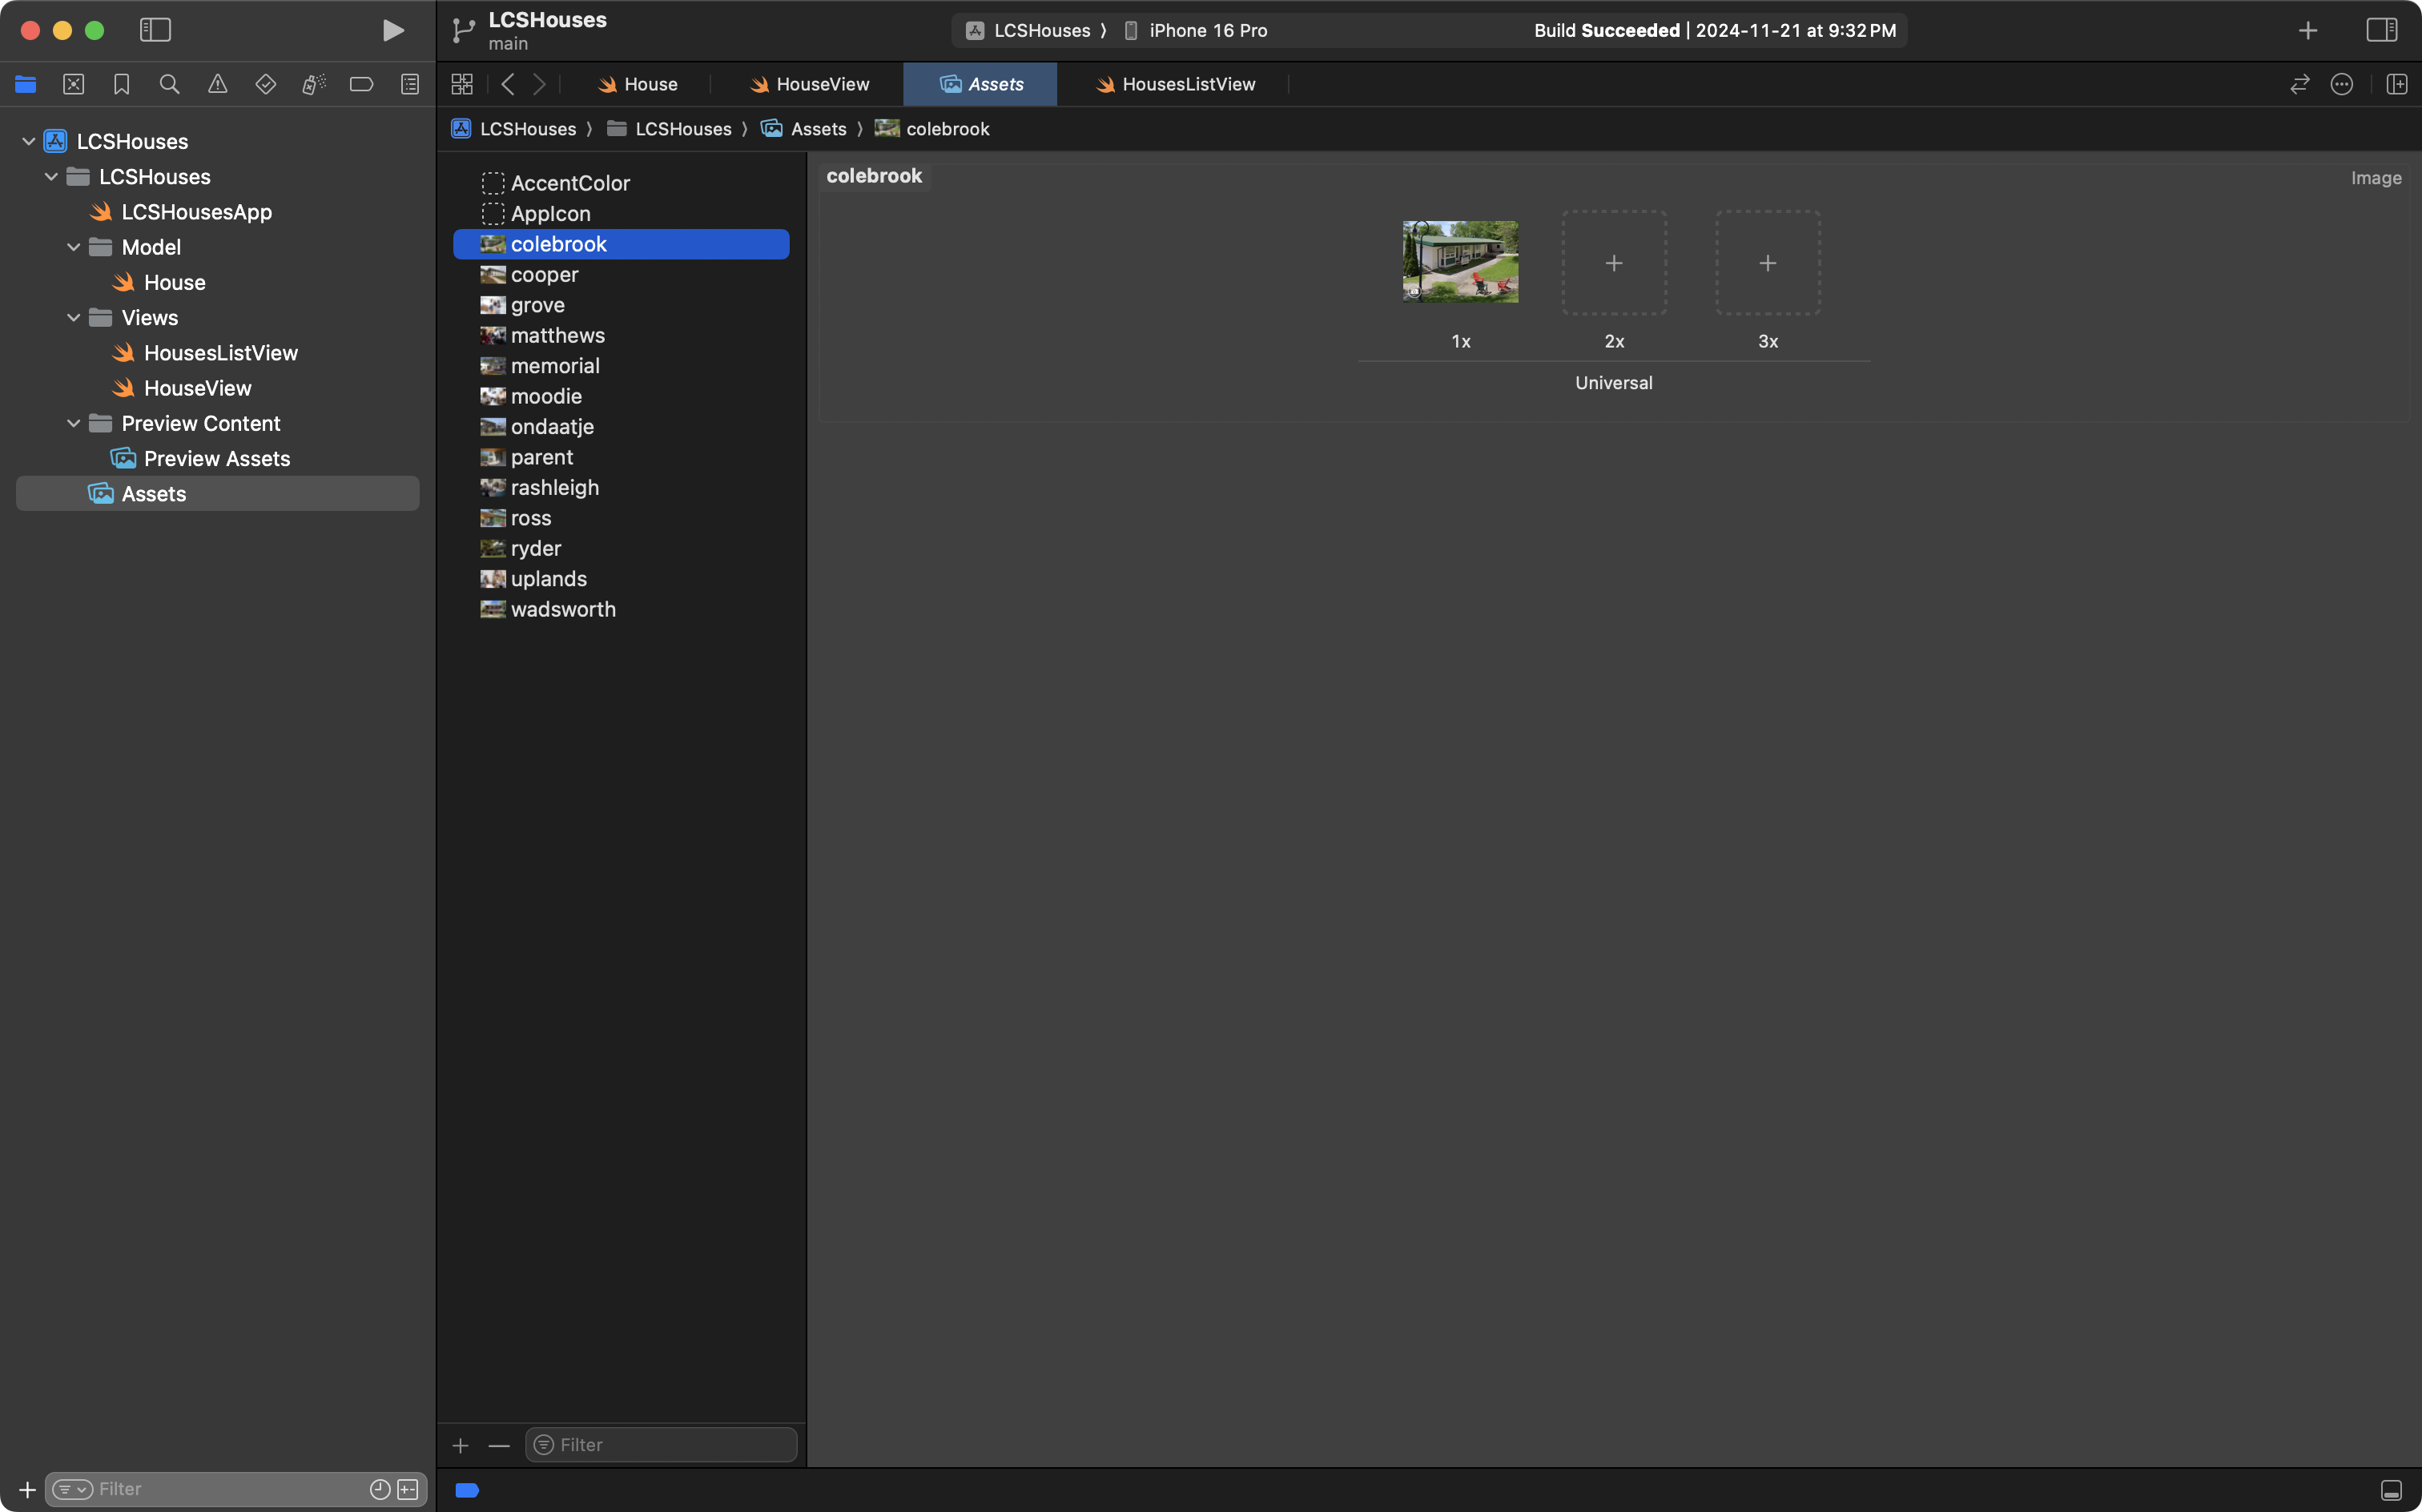
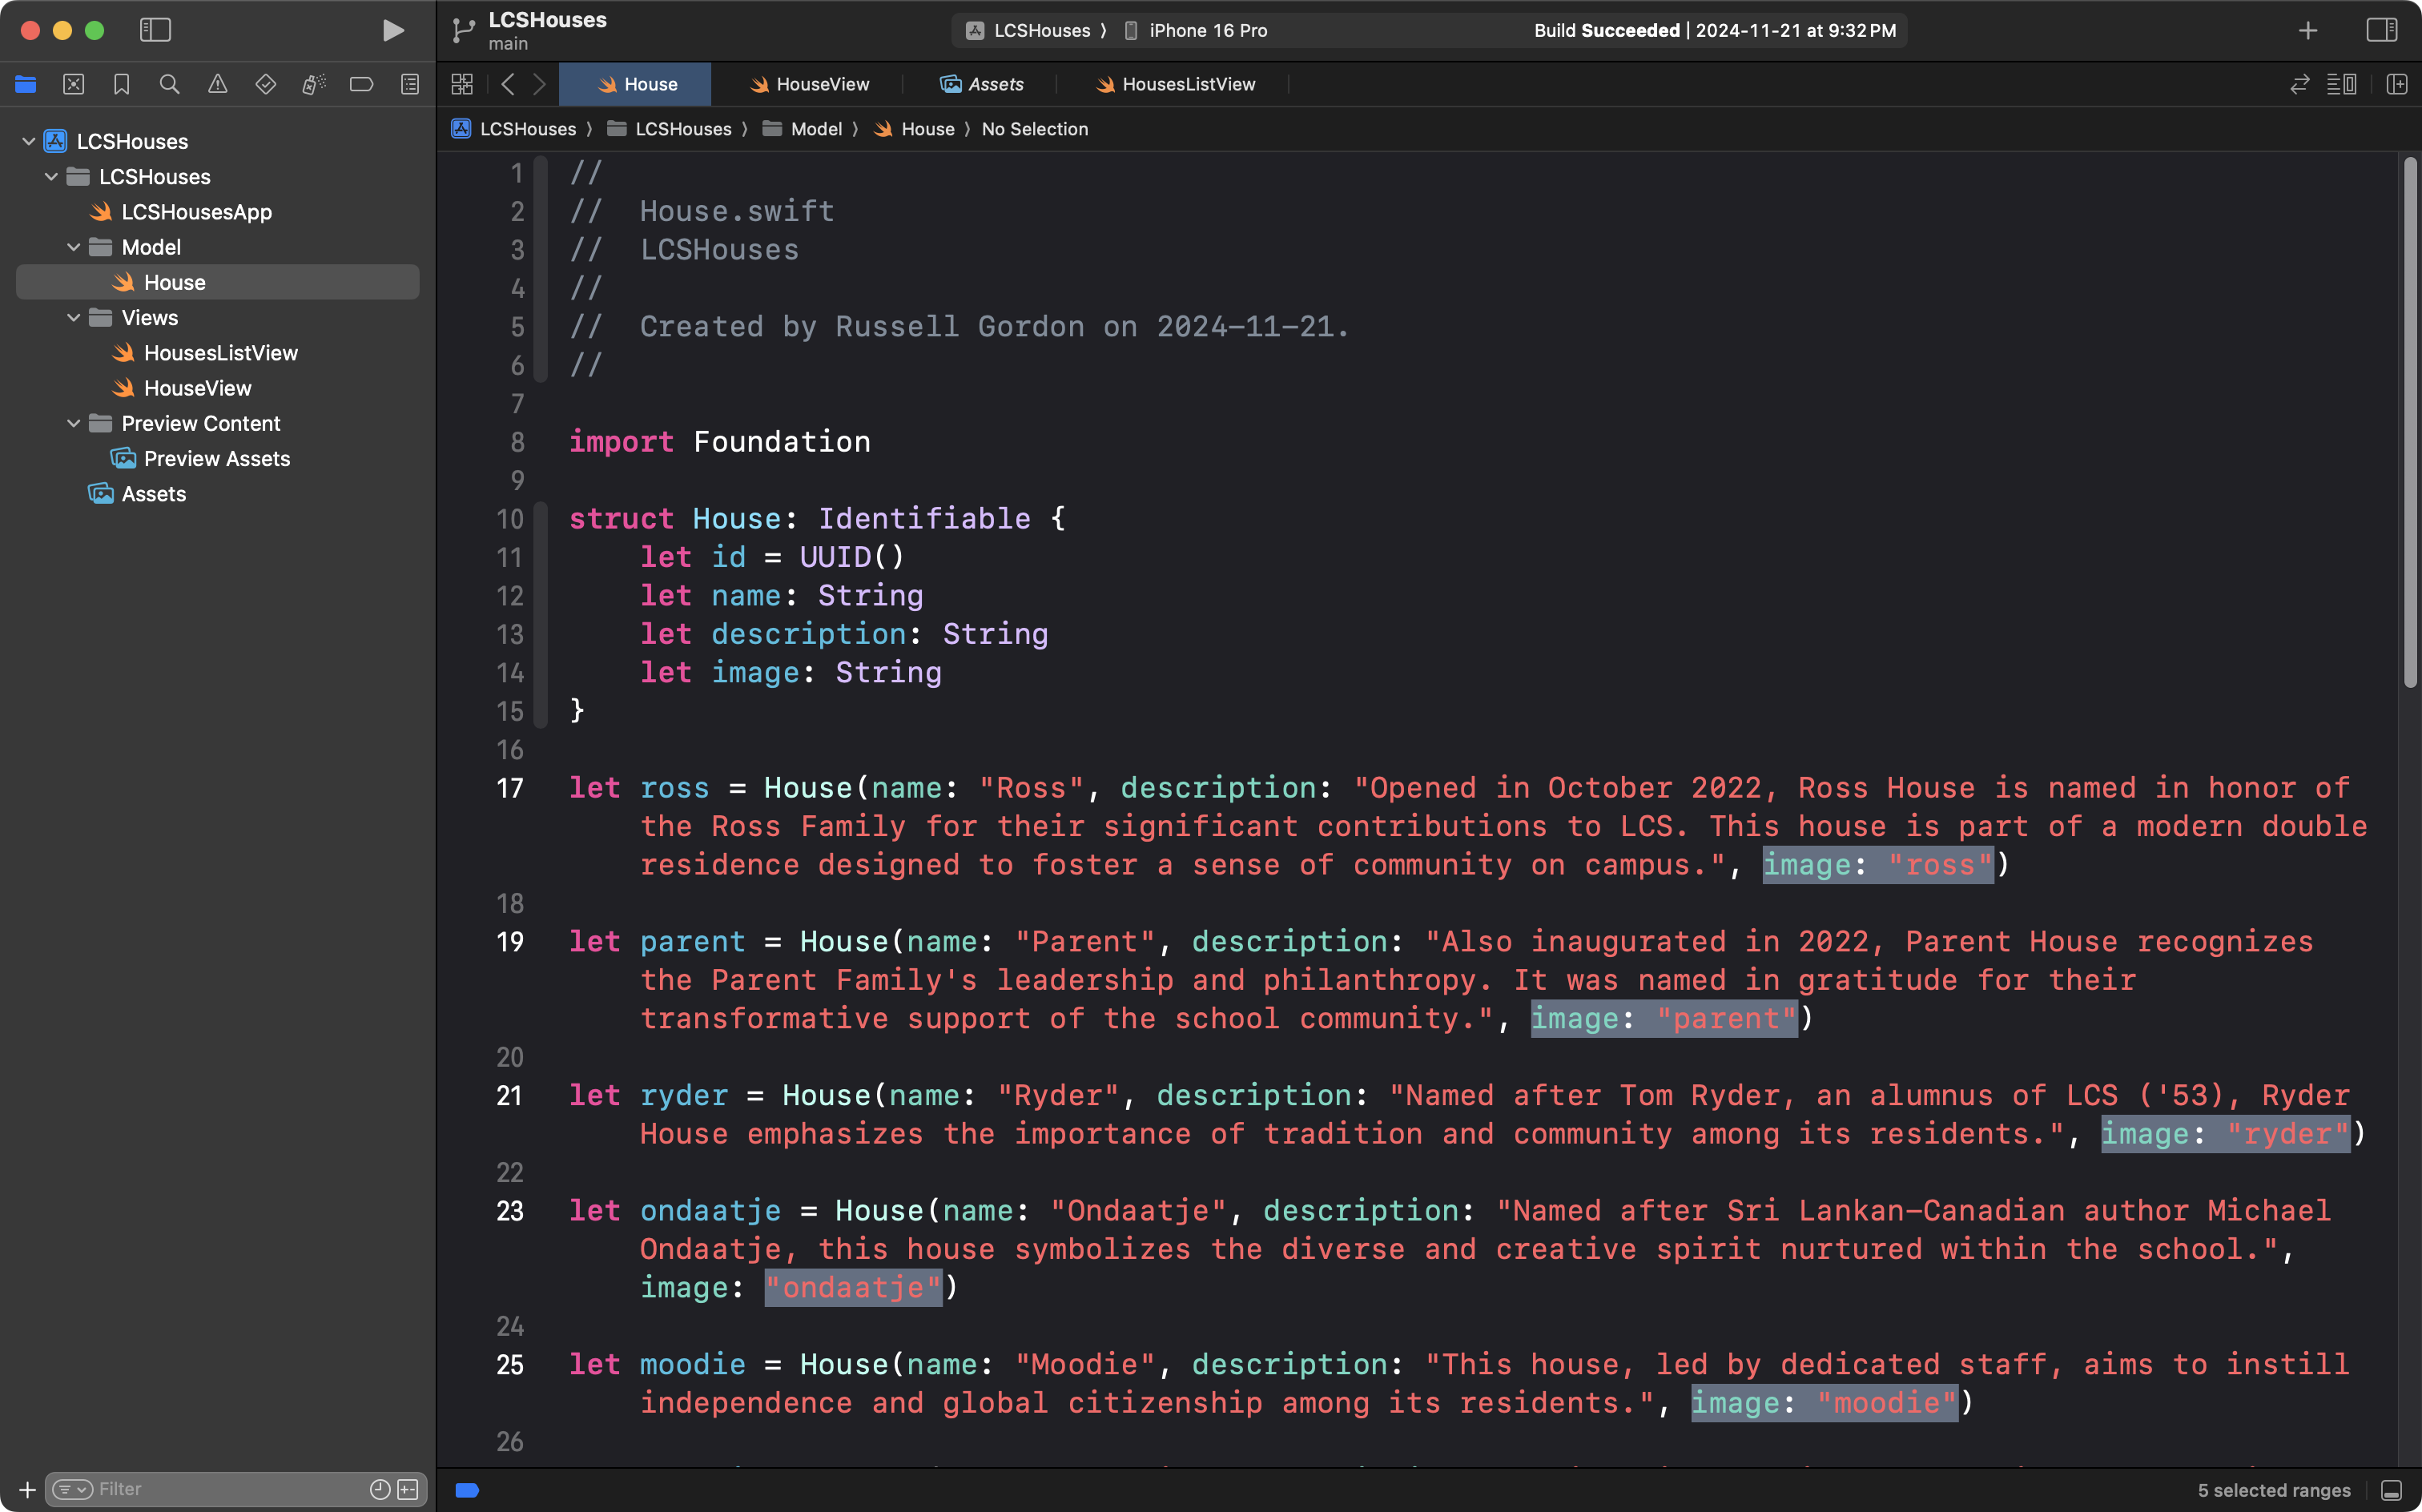
First, images of each house were added to the Assets folder:
Then, the names of those images were added to the information provided when each instance of the House structure is created:
Create the detail view
Our first step to enable navigation down to a detail view is to actually create the detail view itself:
Please create a HouseDetailView file in your own copy of this project.
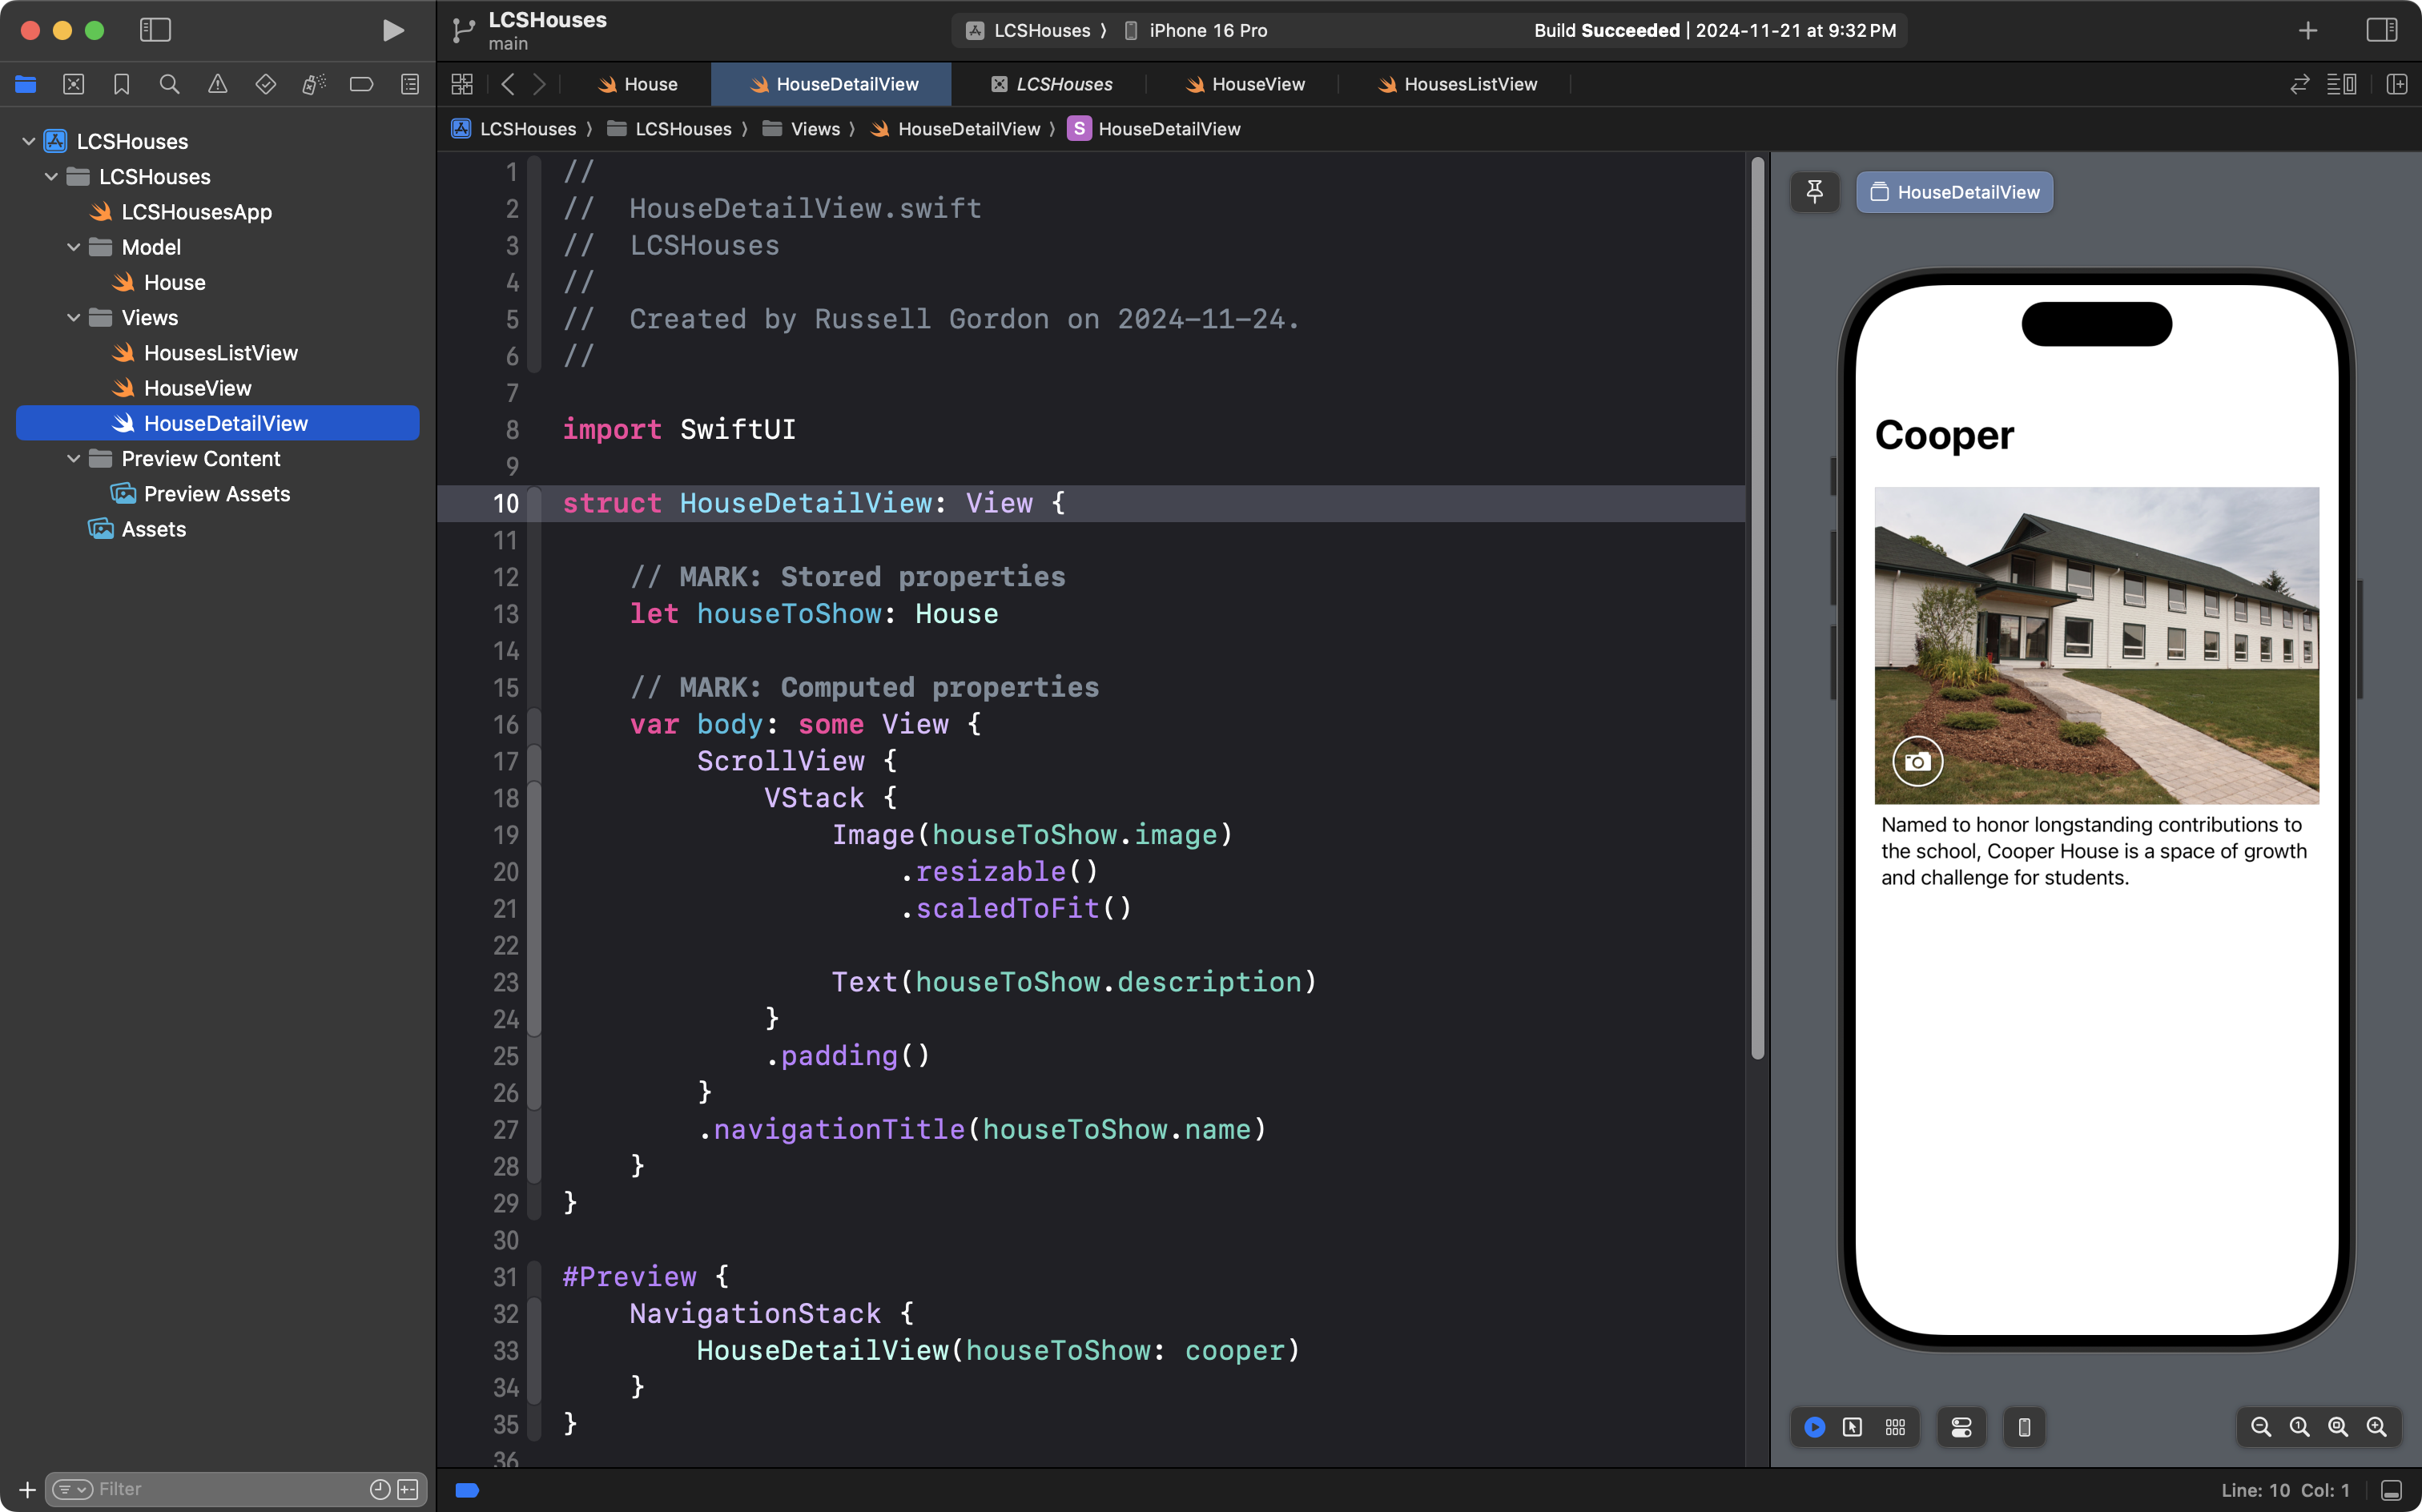
The purpose of this lesson is not to teach layout – you’ve had plenty of experience with this by now – so feel free to copy and paste this code into your new file:
import SwiftUI

struct HouseDetailView: View {

    // MARK: Stored properties
    let houseToShow: House

    // MARK: Computed properties
    var body: some View {
        ScrollView {
            VStack {
                Image(houseToShow.image)
                    .resizable()
                    .scaledToFit()

                Text(houseToShow.description)
            }
            .padding()
        }
        .navigationTitle(houseToShow.name)
    }
}

#Preview {
    NavigationStack {
        HouseDetailView(houseToShow: cooper)
    }
}
It’s a small-ish file, but there’s a few things to take note of. Let’s do that now:
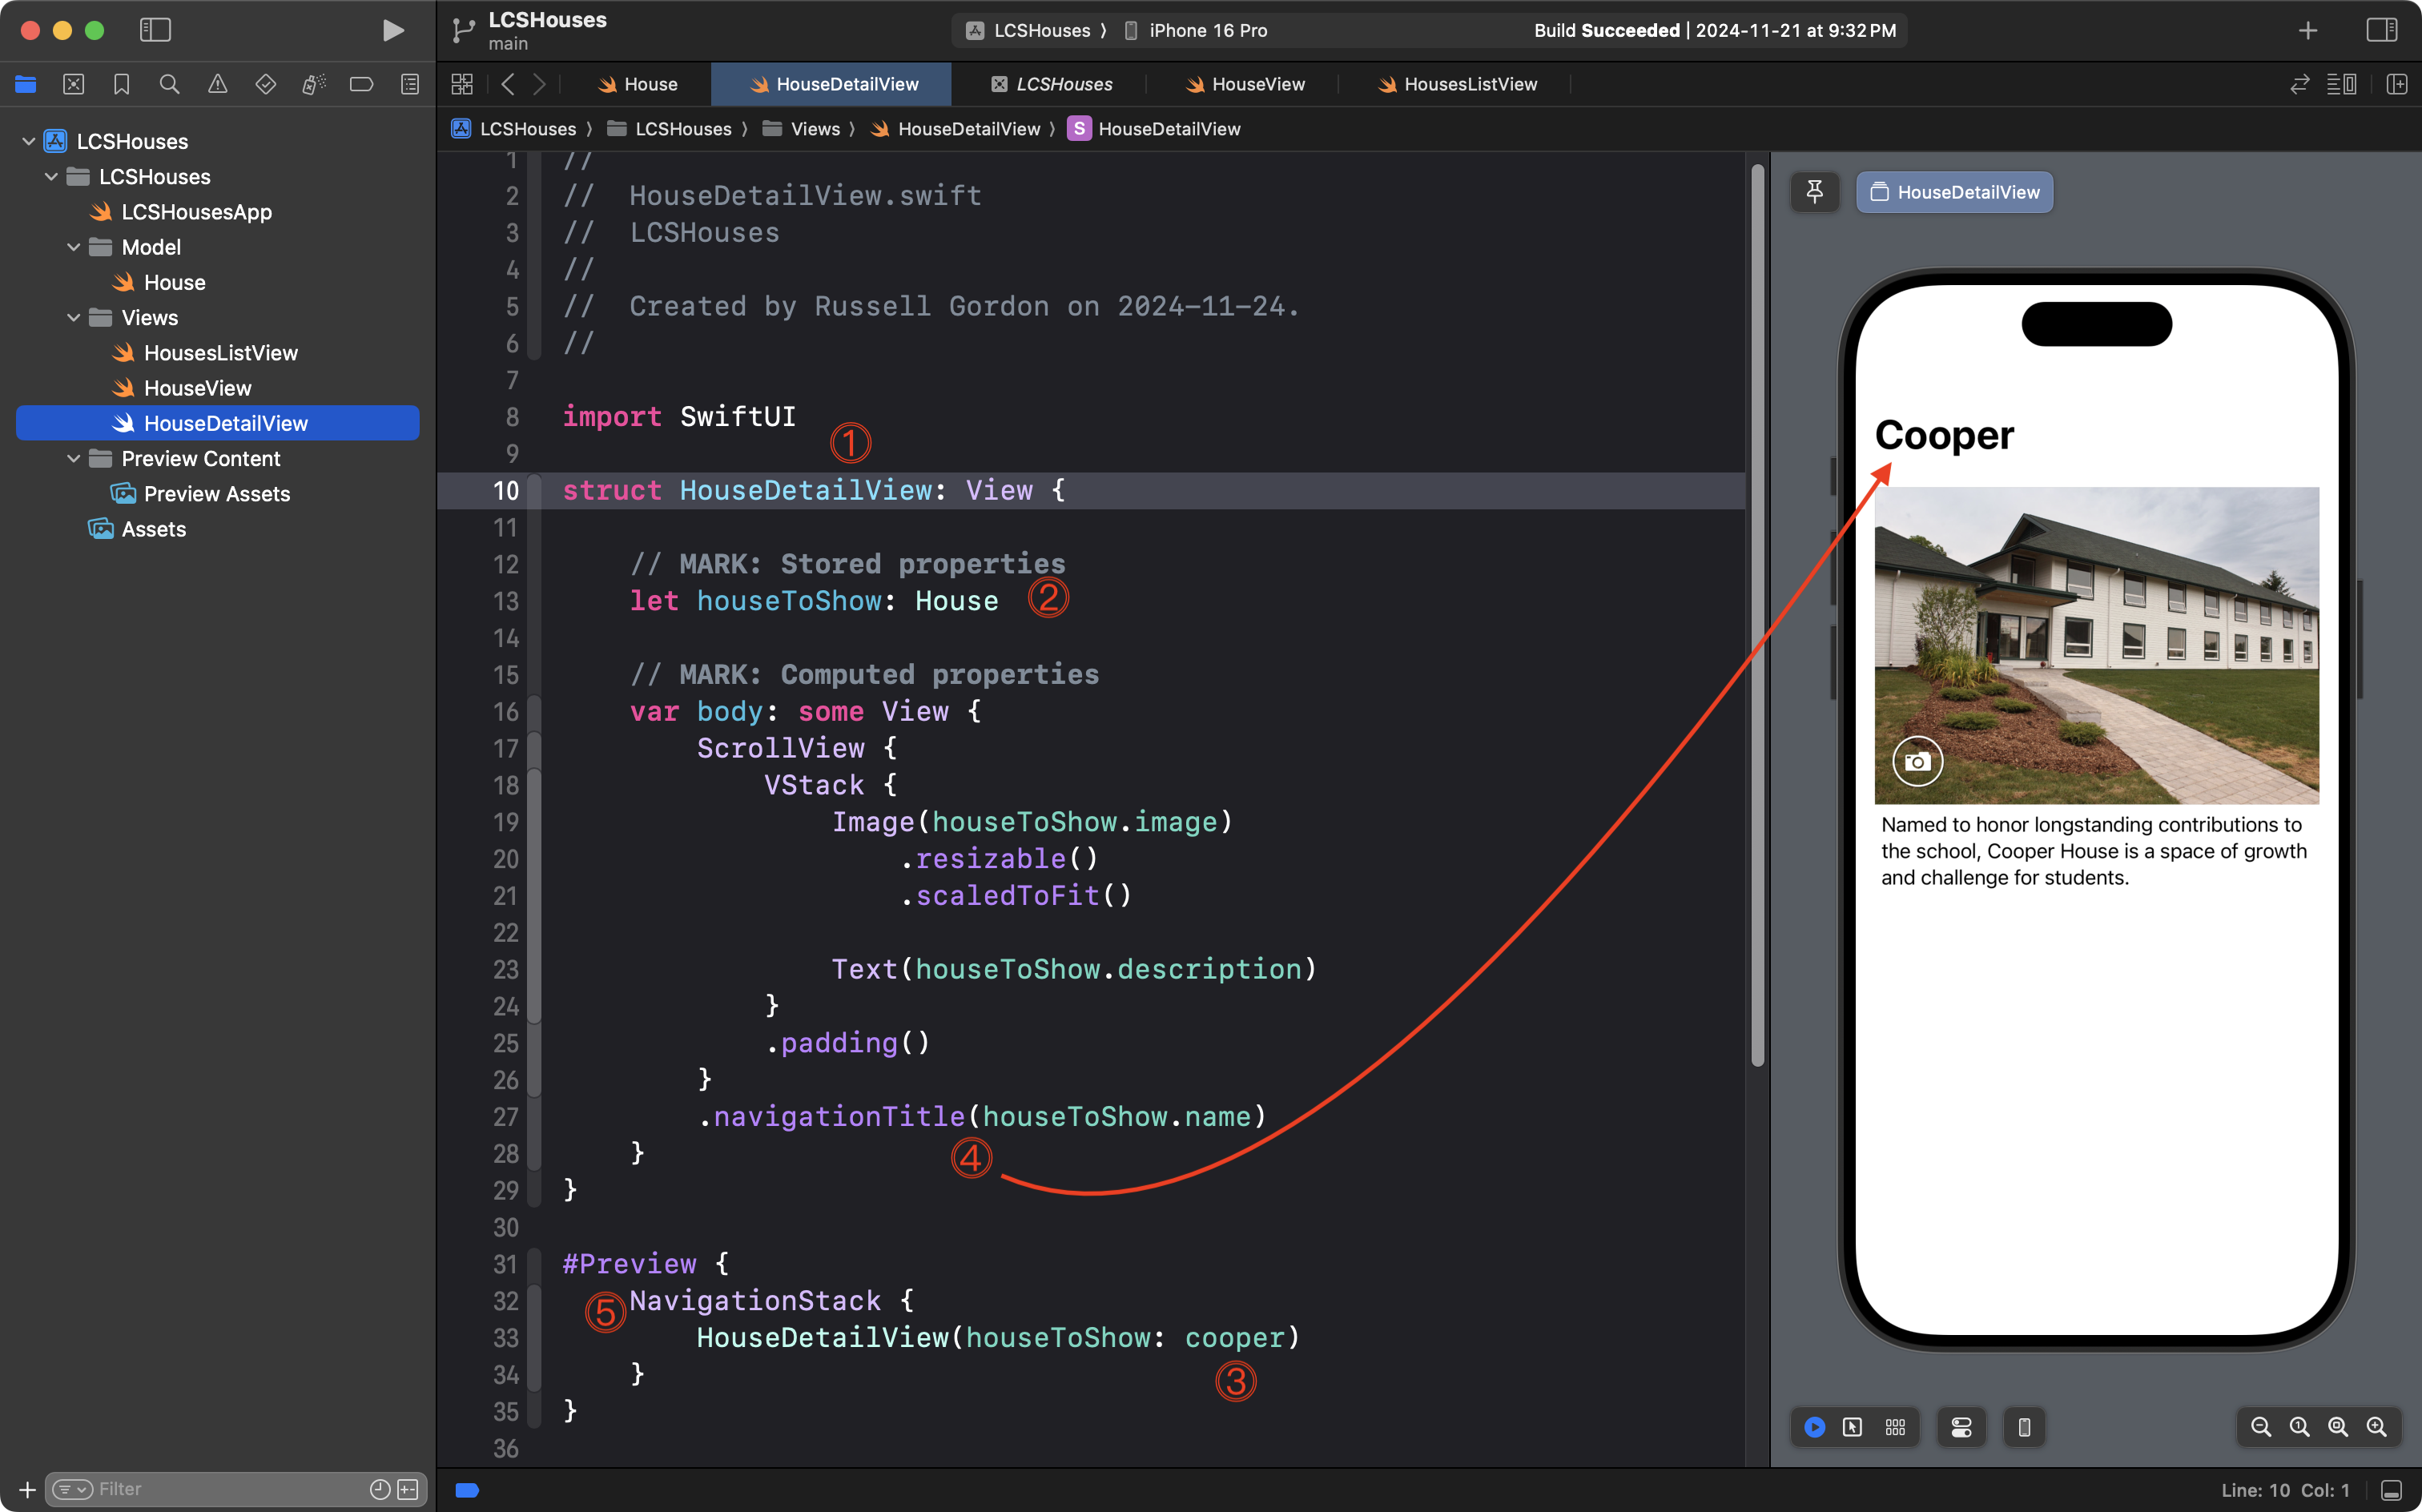
In this code:
DISCUSSION
- By convention, a view that is navigated down to often includes the word
Detailin its name. Here, we name the new viewHouseDetailView, which implies that more information will be provided to the user when they choose to look at it.- A single stored property is defined – accepting an instance of the
Housestructure.- Since a stored property is defined, to create an instance of
HouseDetailViewfor the preview, we are asked the question – which house should be shown? We answer by saying “Cooper” – we do this by passing thecooperinstance of theHousedata type.- A navigation title is shown, displaying the name of the house.
- In order for us to see the navigation title in the Preview window, we must make the instance of
HouseDetailViewinside aNavigationStackstructure. More on what a navigation stack is in just a moment…
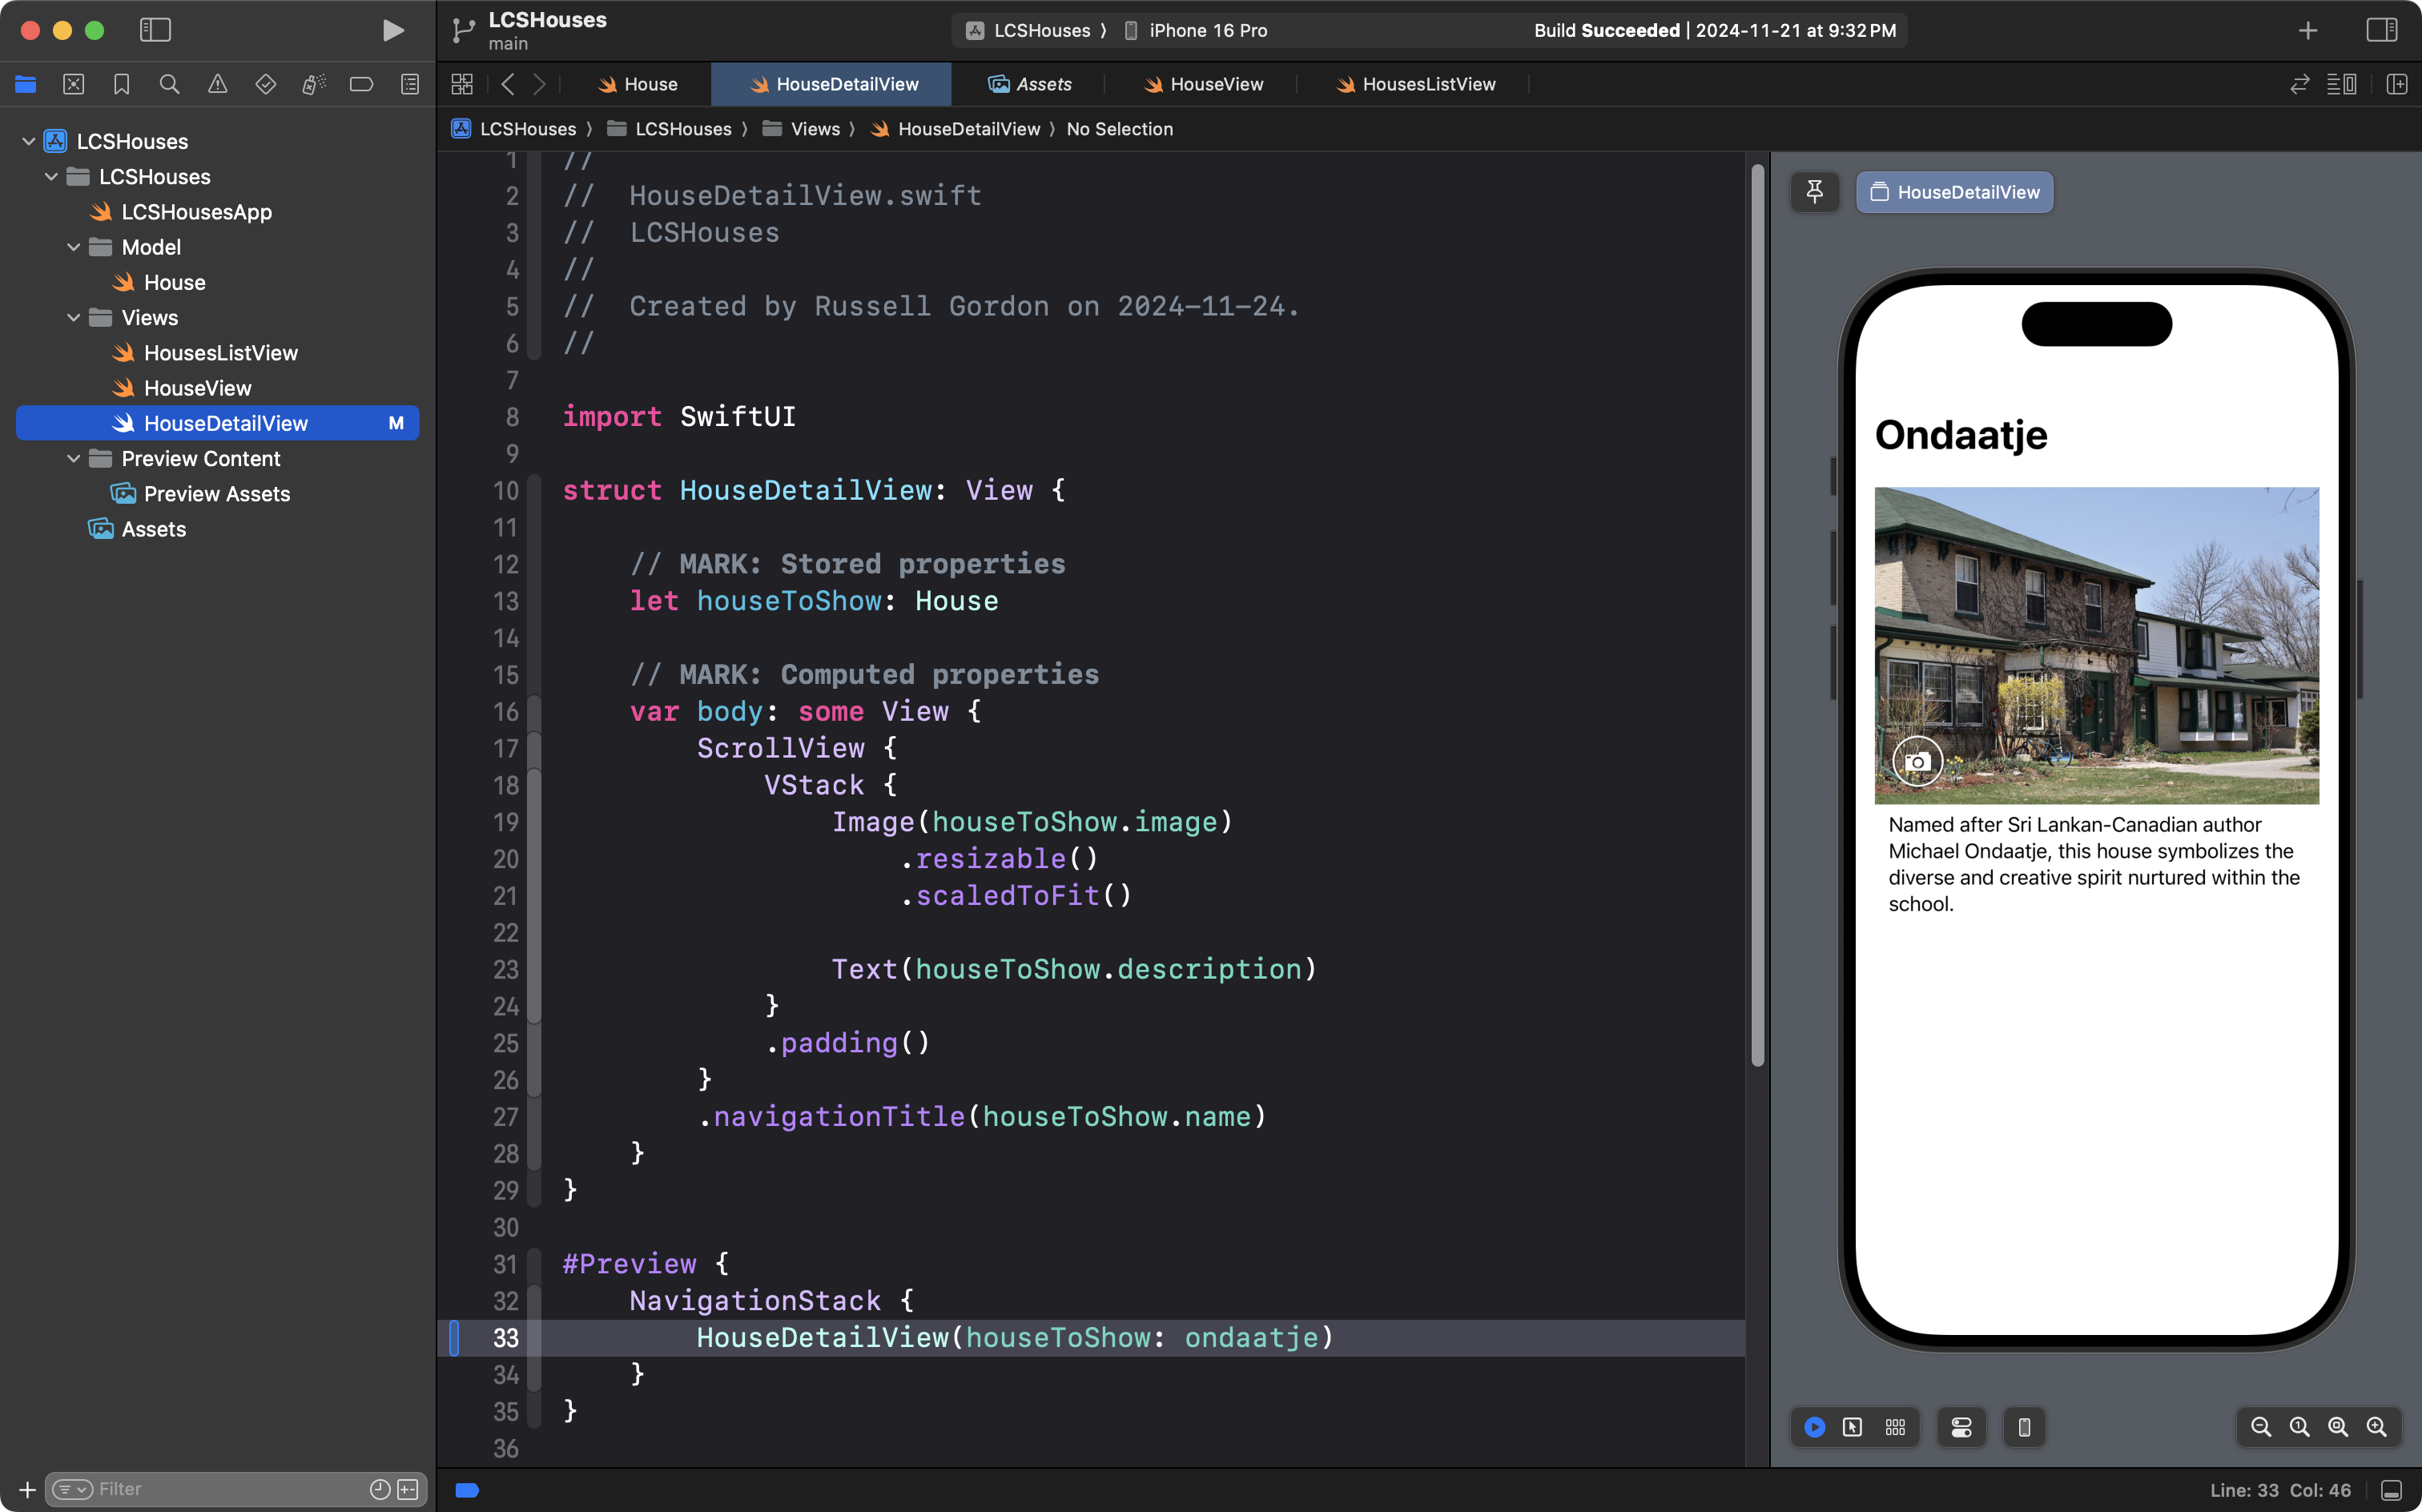
Try changing the argument (the answer) provided for the parameter (the question) of what house to show in the Preview window. In this screenshot, the code has been changed to show information from the ondaatje instance of the House data type instead:
Navigate to the detail view
Return to the HousesListView file – note that a NavigationStack structure has already been included in this code:
Since the List structure has this view modifier attached to it:
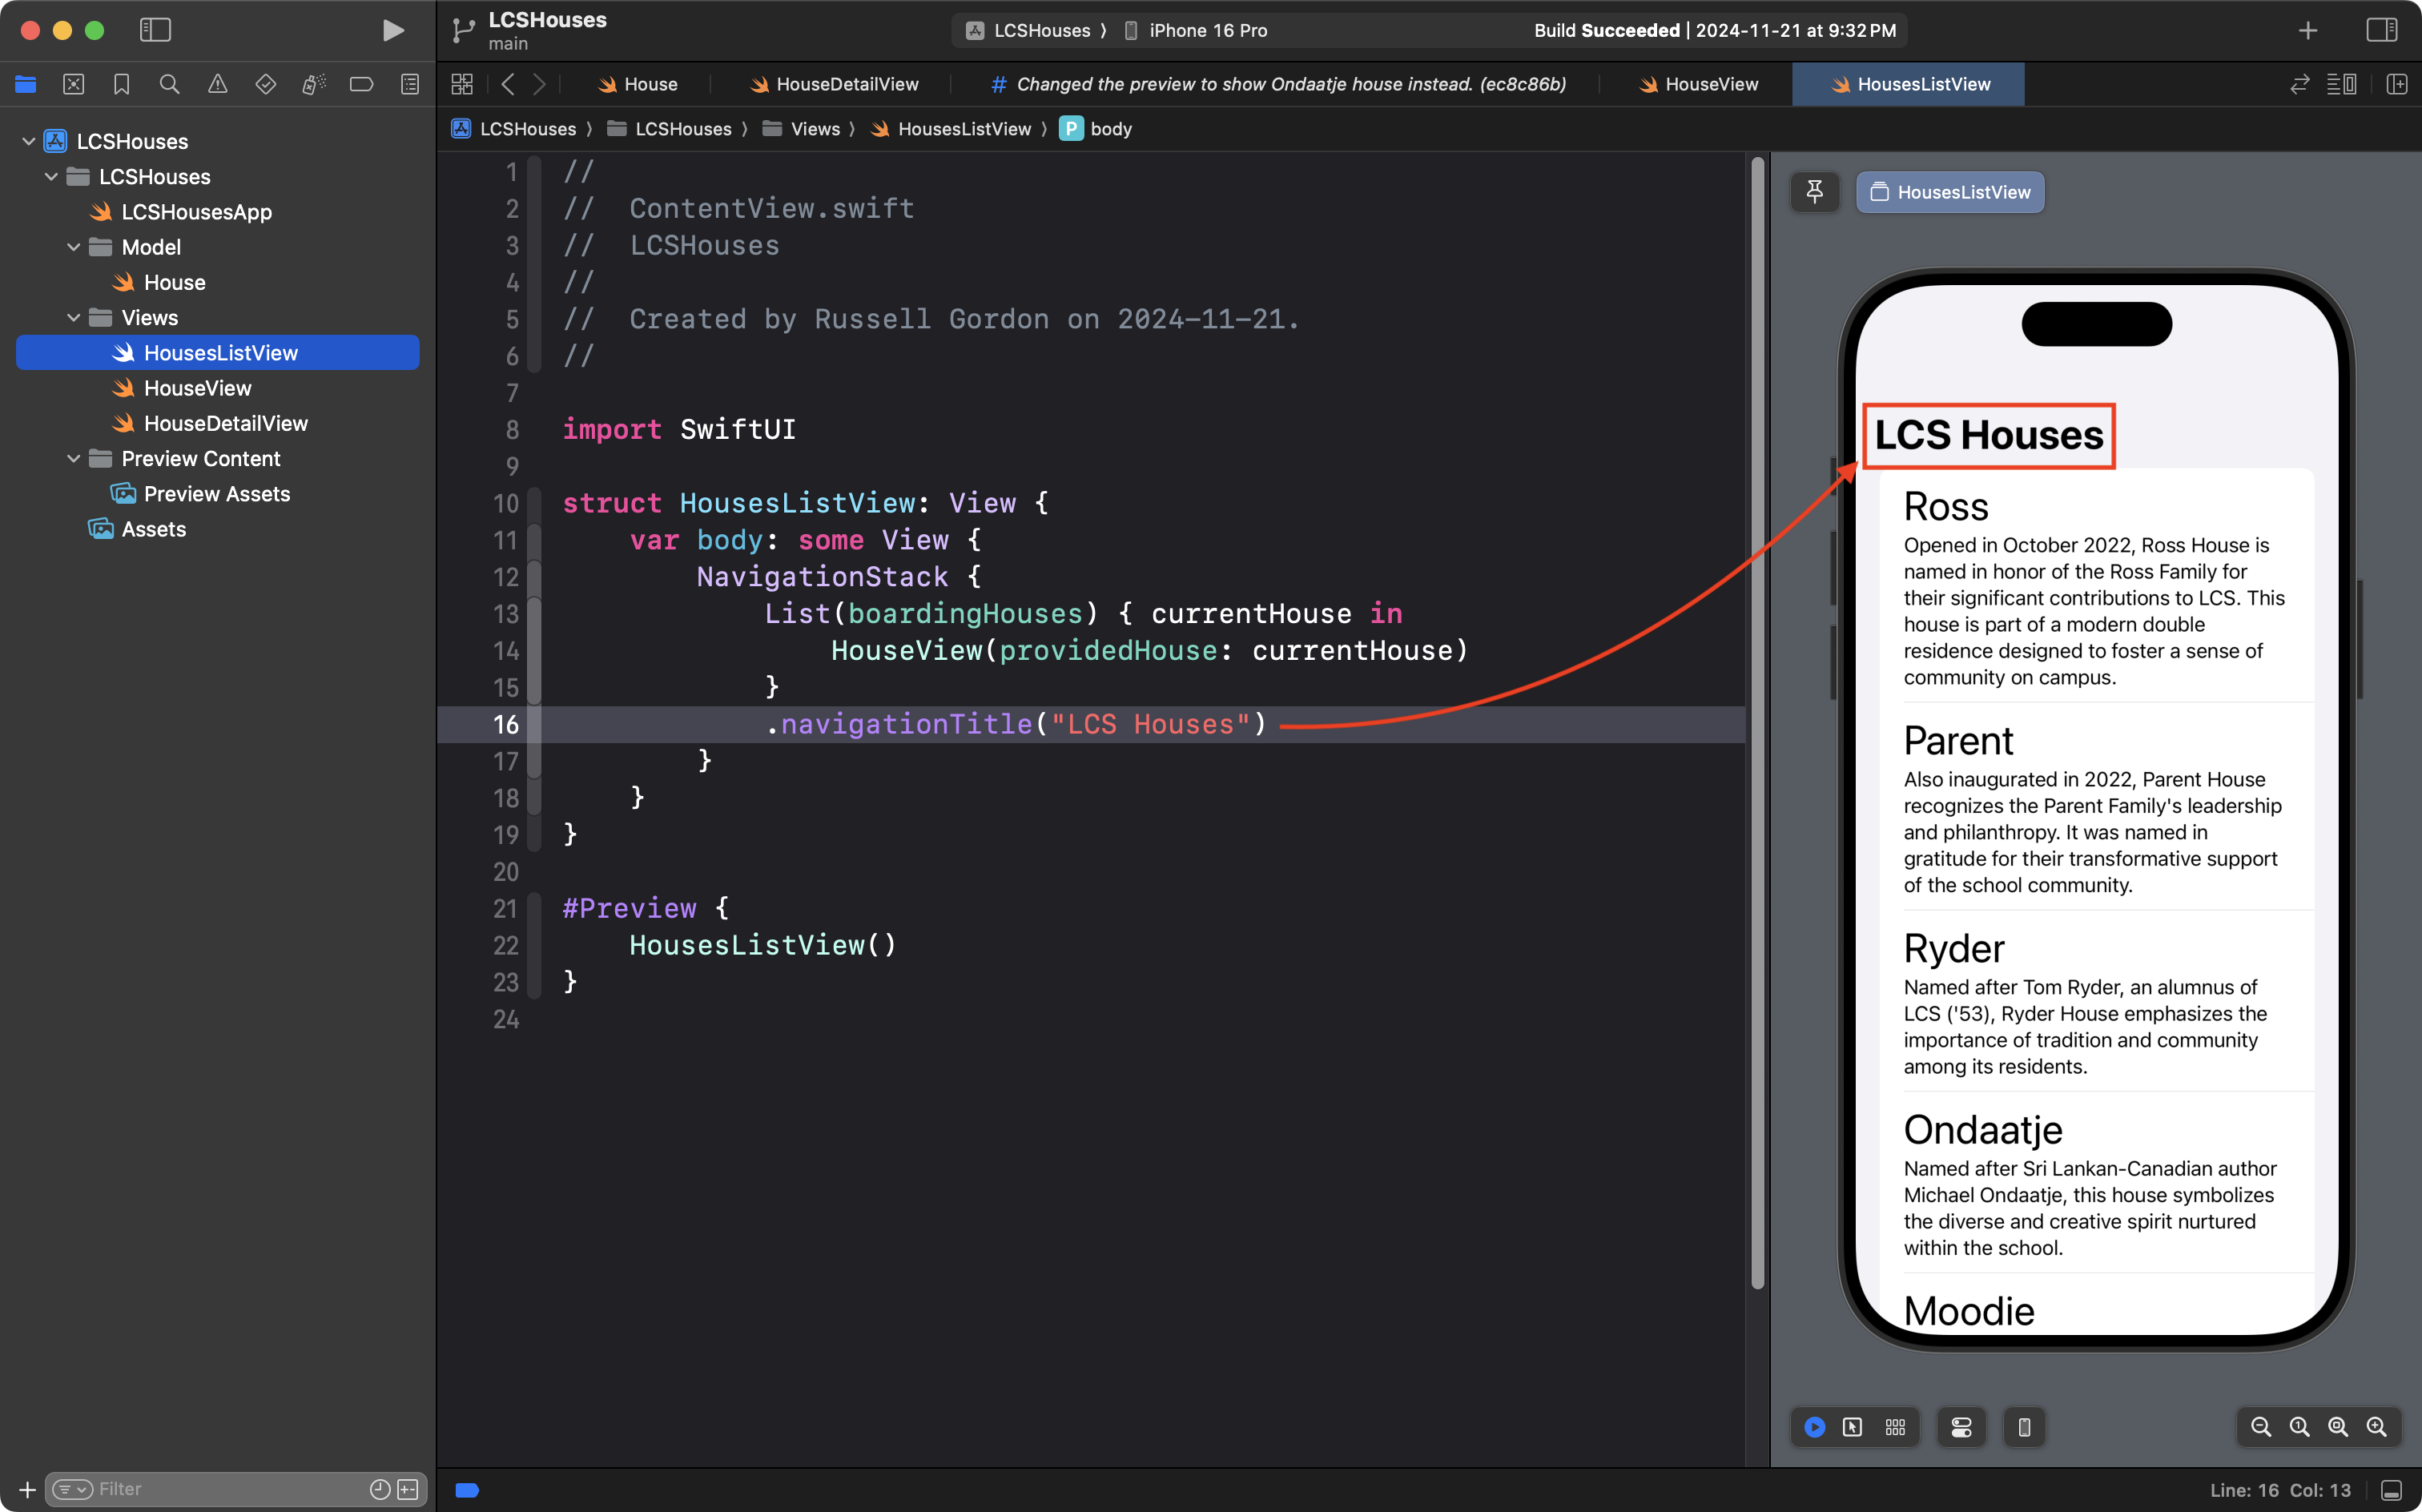
.navigationTitle("LCS Houses")… and since this code is already inside the scope of the NavigationStack:
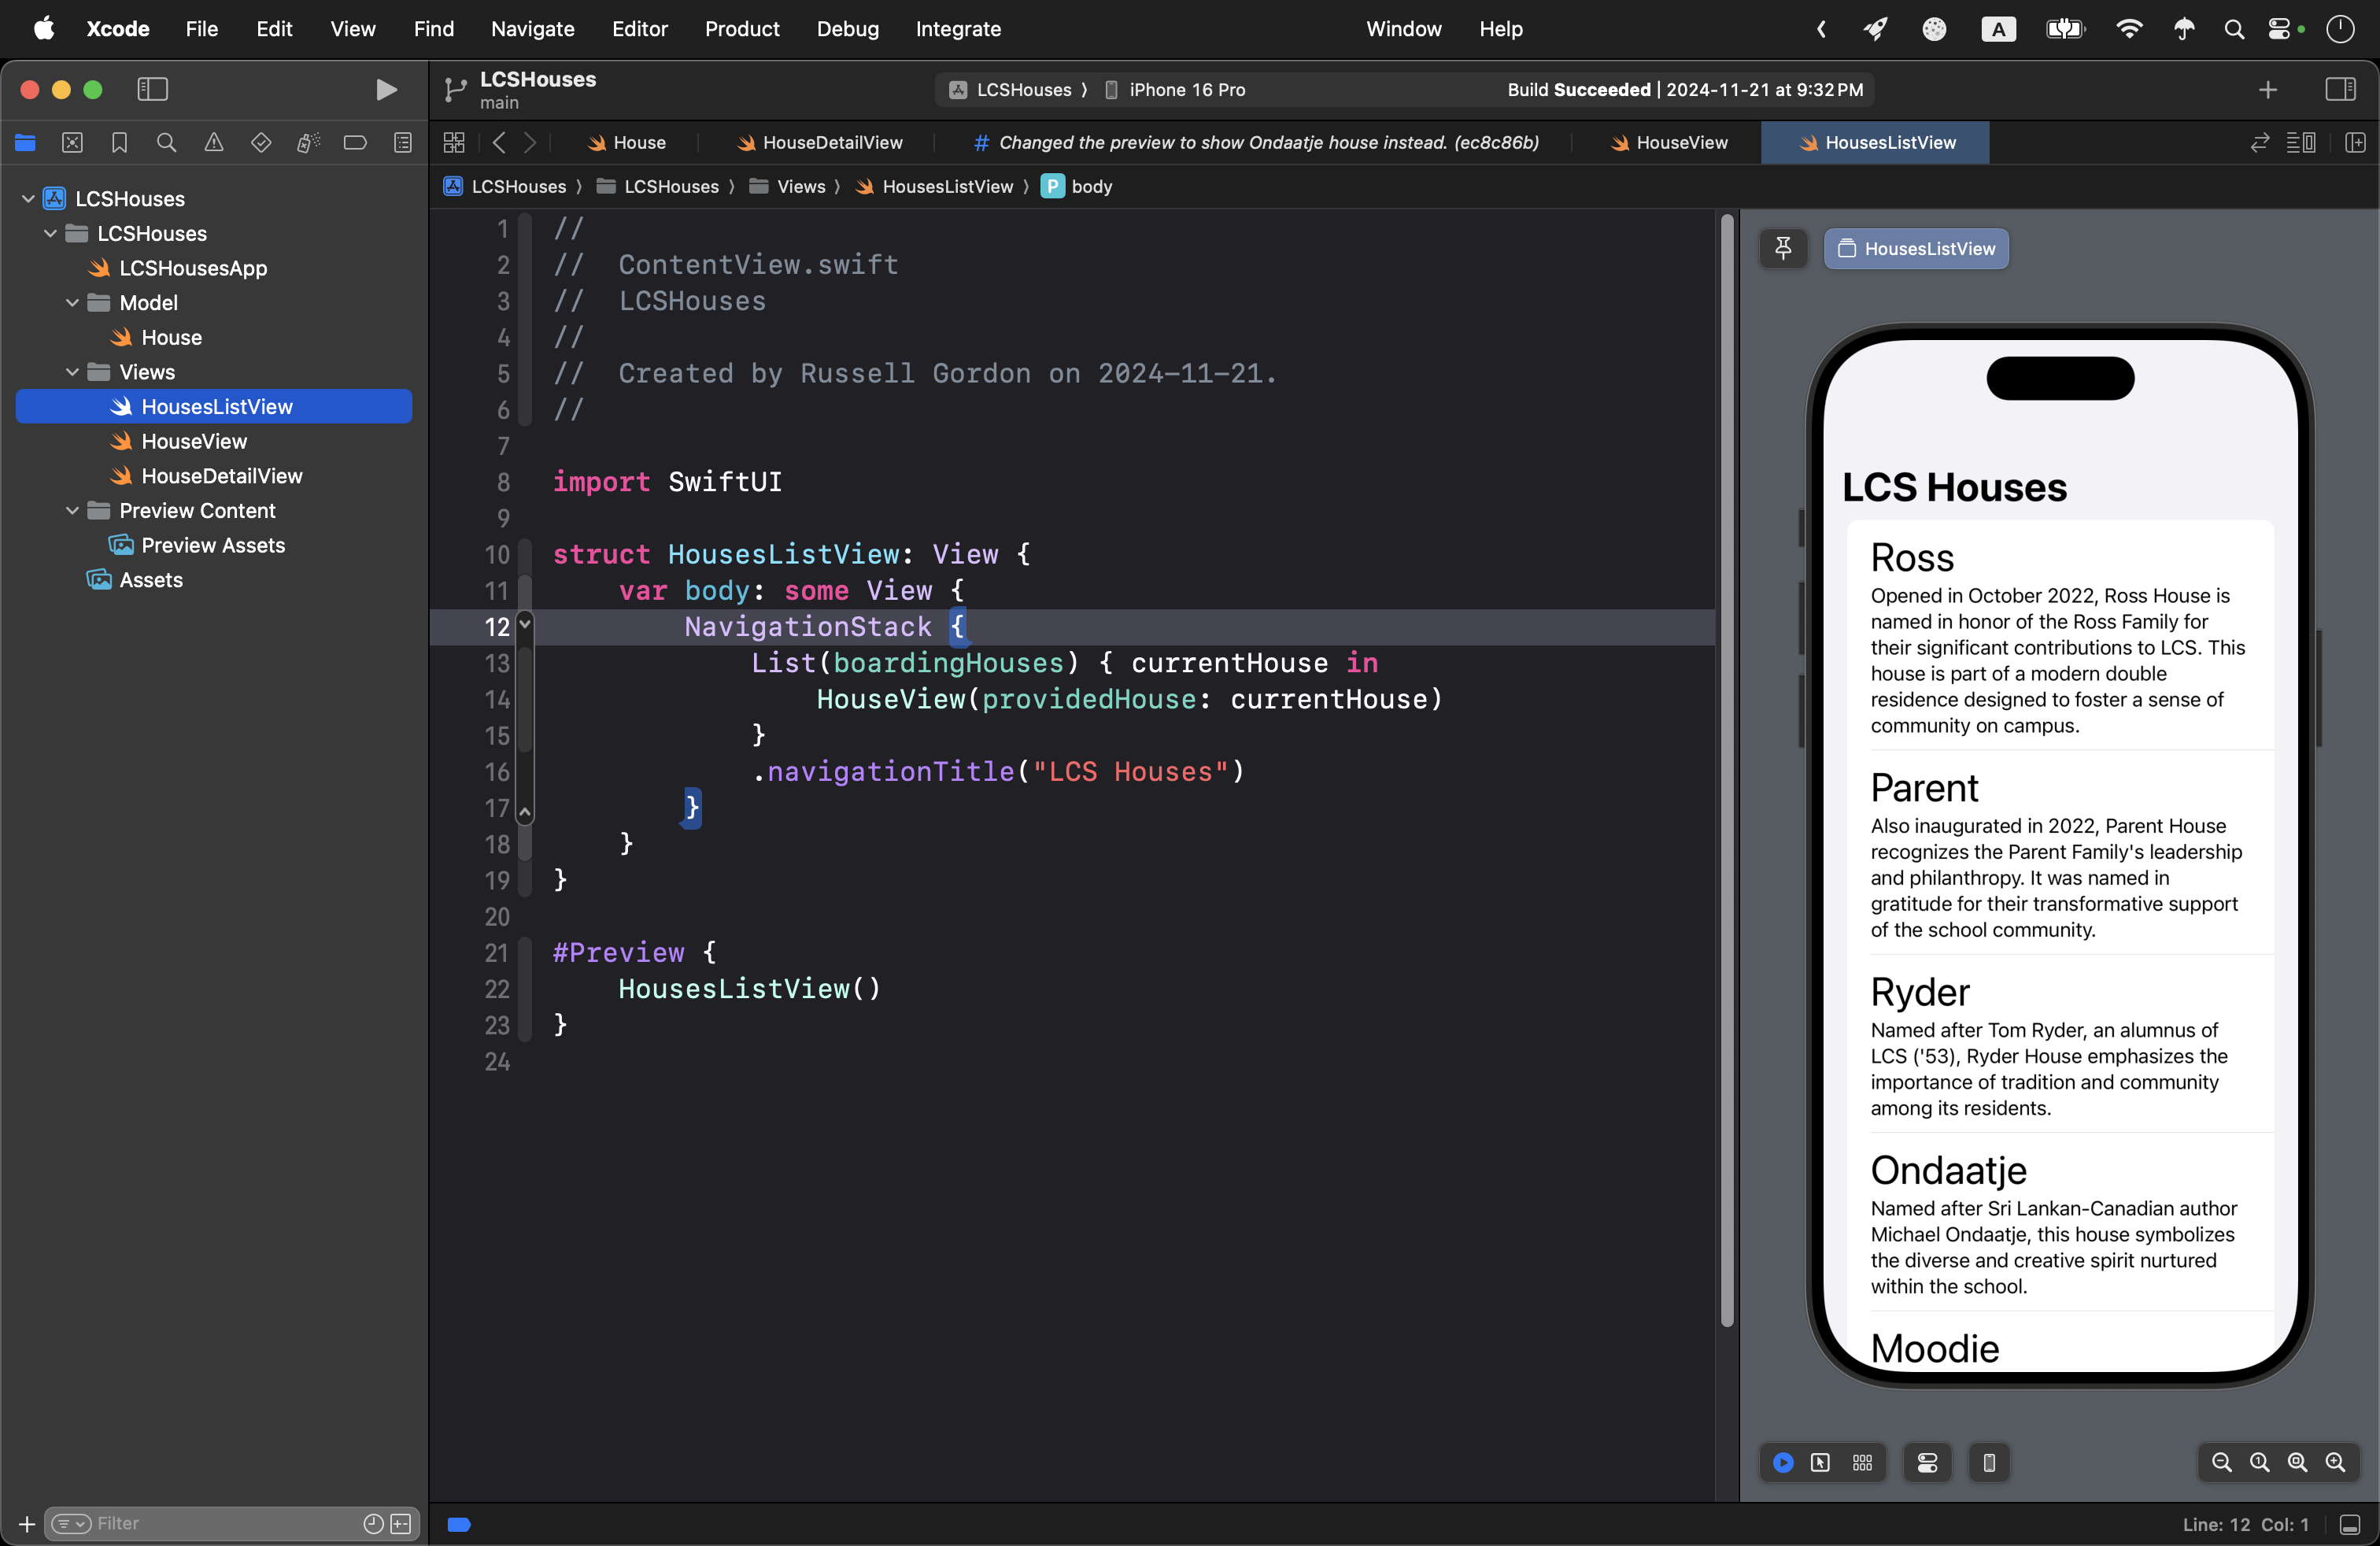
… we see the LCS Houses title at the top of the interface for this view:
NOTE
There are two common errors when creating a navigation title for a view:
- Forgetting to enclose the view within a
NavigationStack.- Attaching the
navigationTitleview modifier to theNavigationStackitself – this is incorrect – the view modifier must be attached to a view inside the scope of theNavigationStack(within the brackets of the navigation stack).
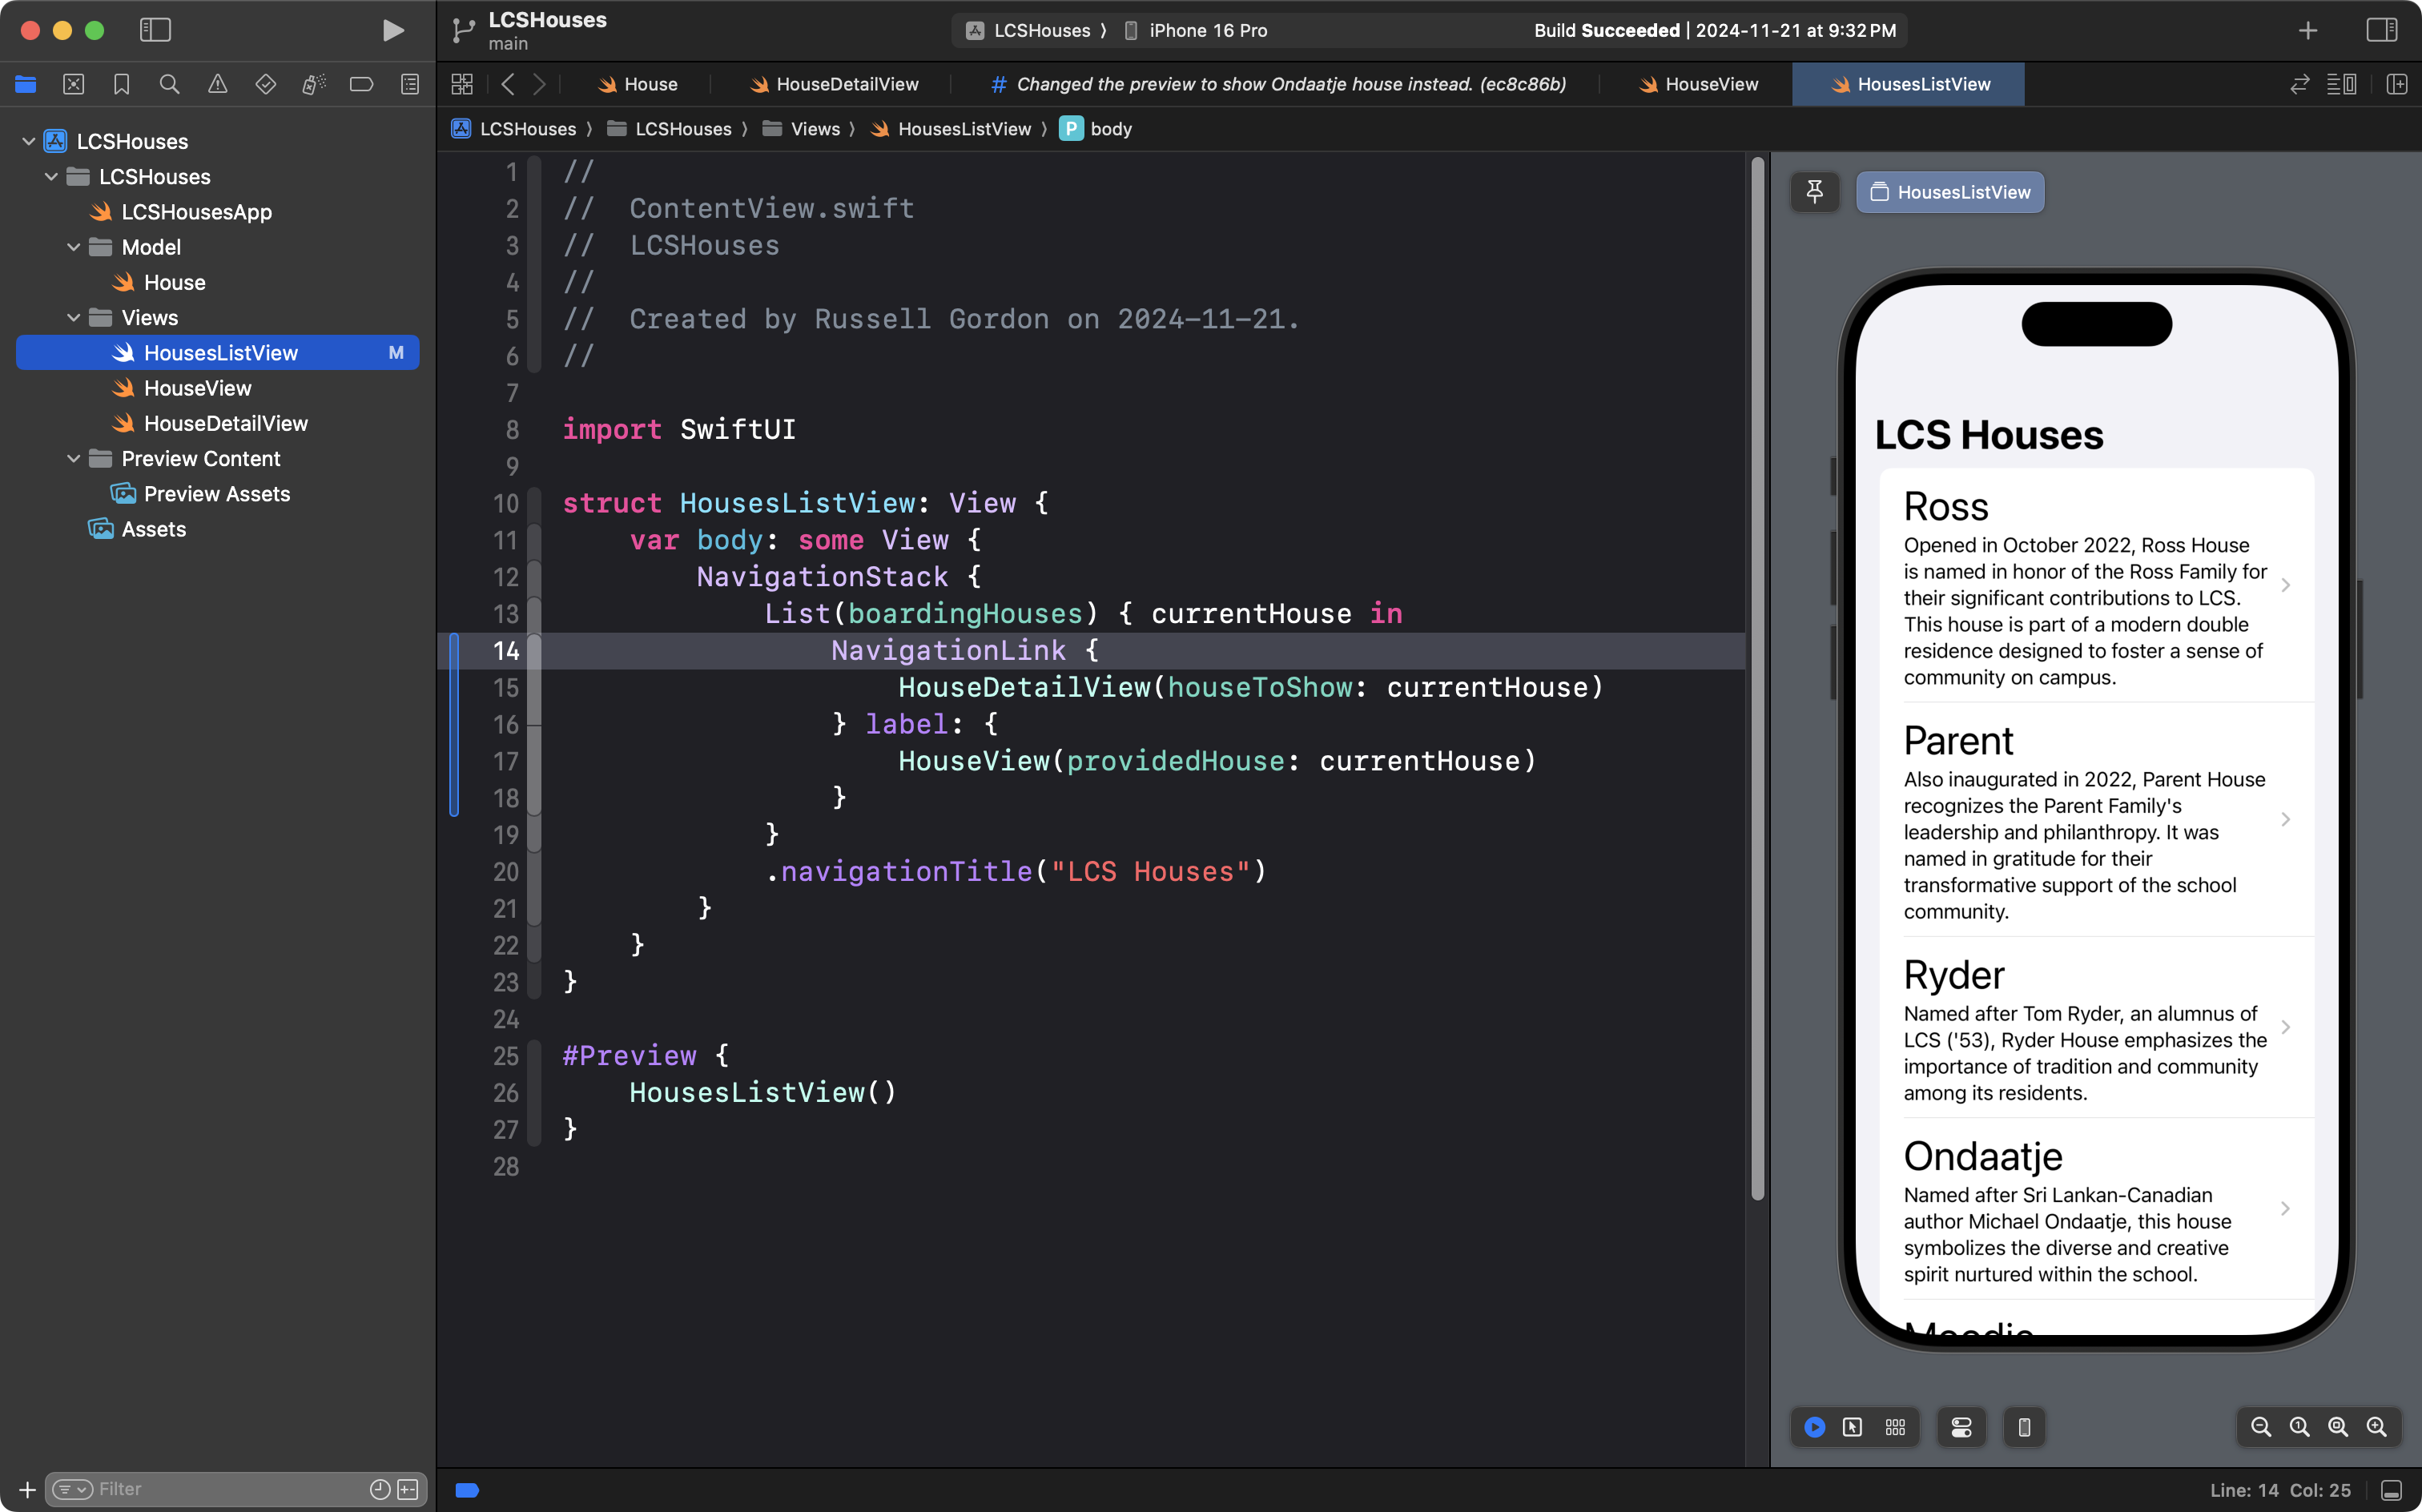
To enable navigation to the detail view, we use the NavigationLink structure, like this:
It’s worth seeing how to use the autocomplete feature of Xcode to type this – please watch carefully and note what keys are pressed:
Summary
A NavigationStack structure creates the ability to navigate down to detail views.
In this tutorial, we were navigating down just a single level, to a simple detail view.
A navigation stack makes it possible to navigate down several levels within an app, as shown here:
Think of that example of repeated navigation to detail views as a stack of pancakes:

As the user taps to navigate down, another view is added to the stack of views the user has visited – just like adding another pancake to a stack.
When the user presses the back button, a view is removed from the navigation stack – just like removing a delicious pancake from a stack in order to eat it.
If the user presses the back button enough times, they will return to where they started.
Exercises
1. Extend LCS Houses
The following web page lists details about the boarding houses we have here at LCS.
NOTE
See if you can spot what is wrong, or out of date, with the details provided for each house. 👀
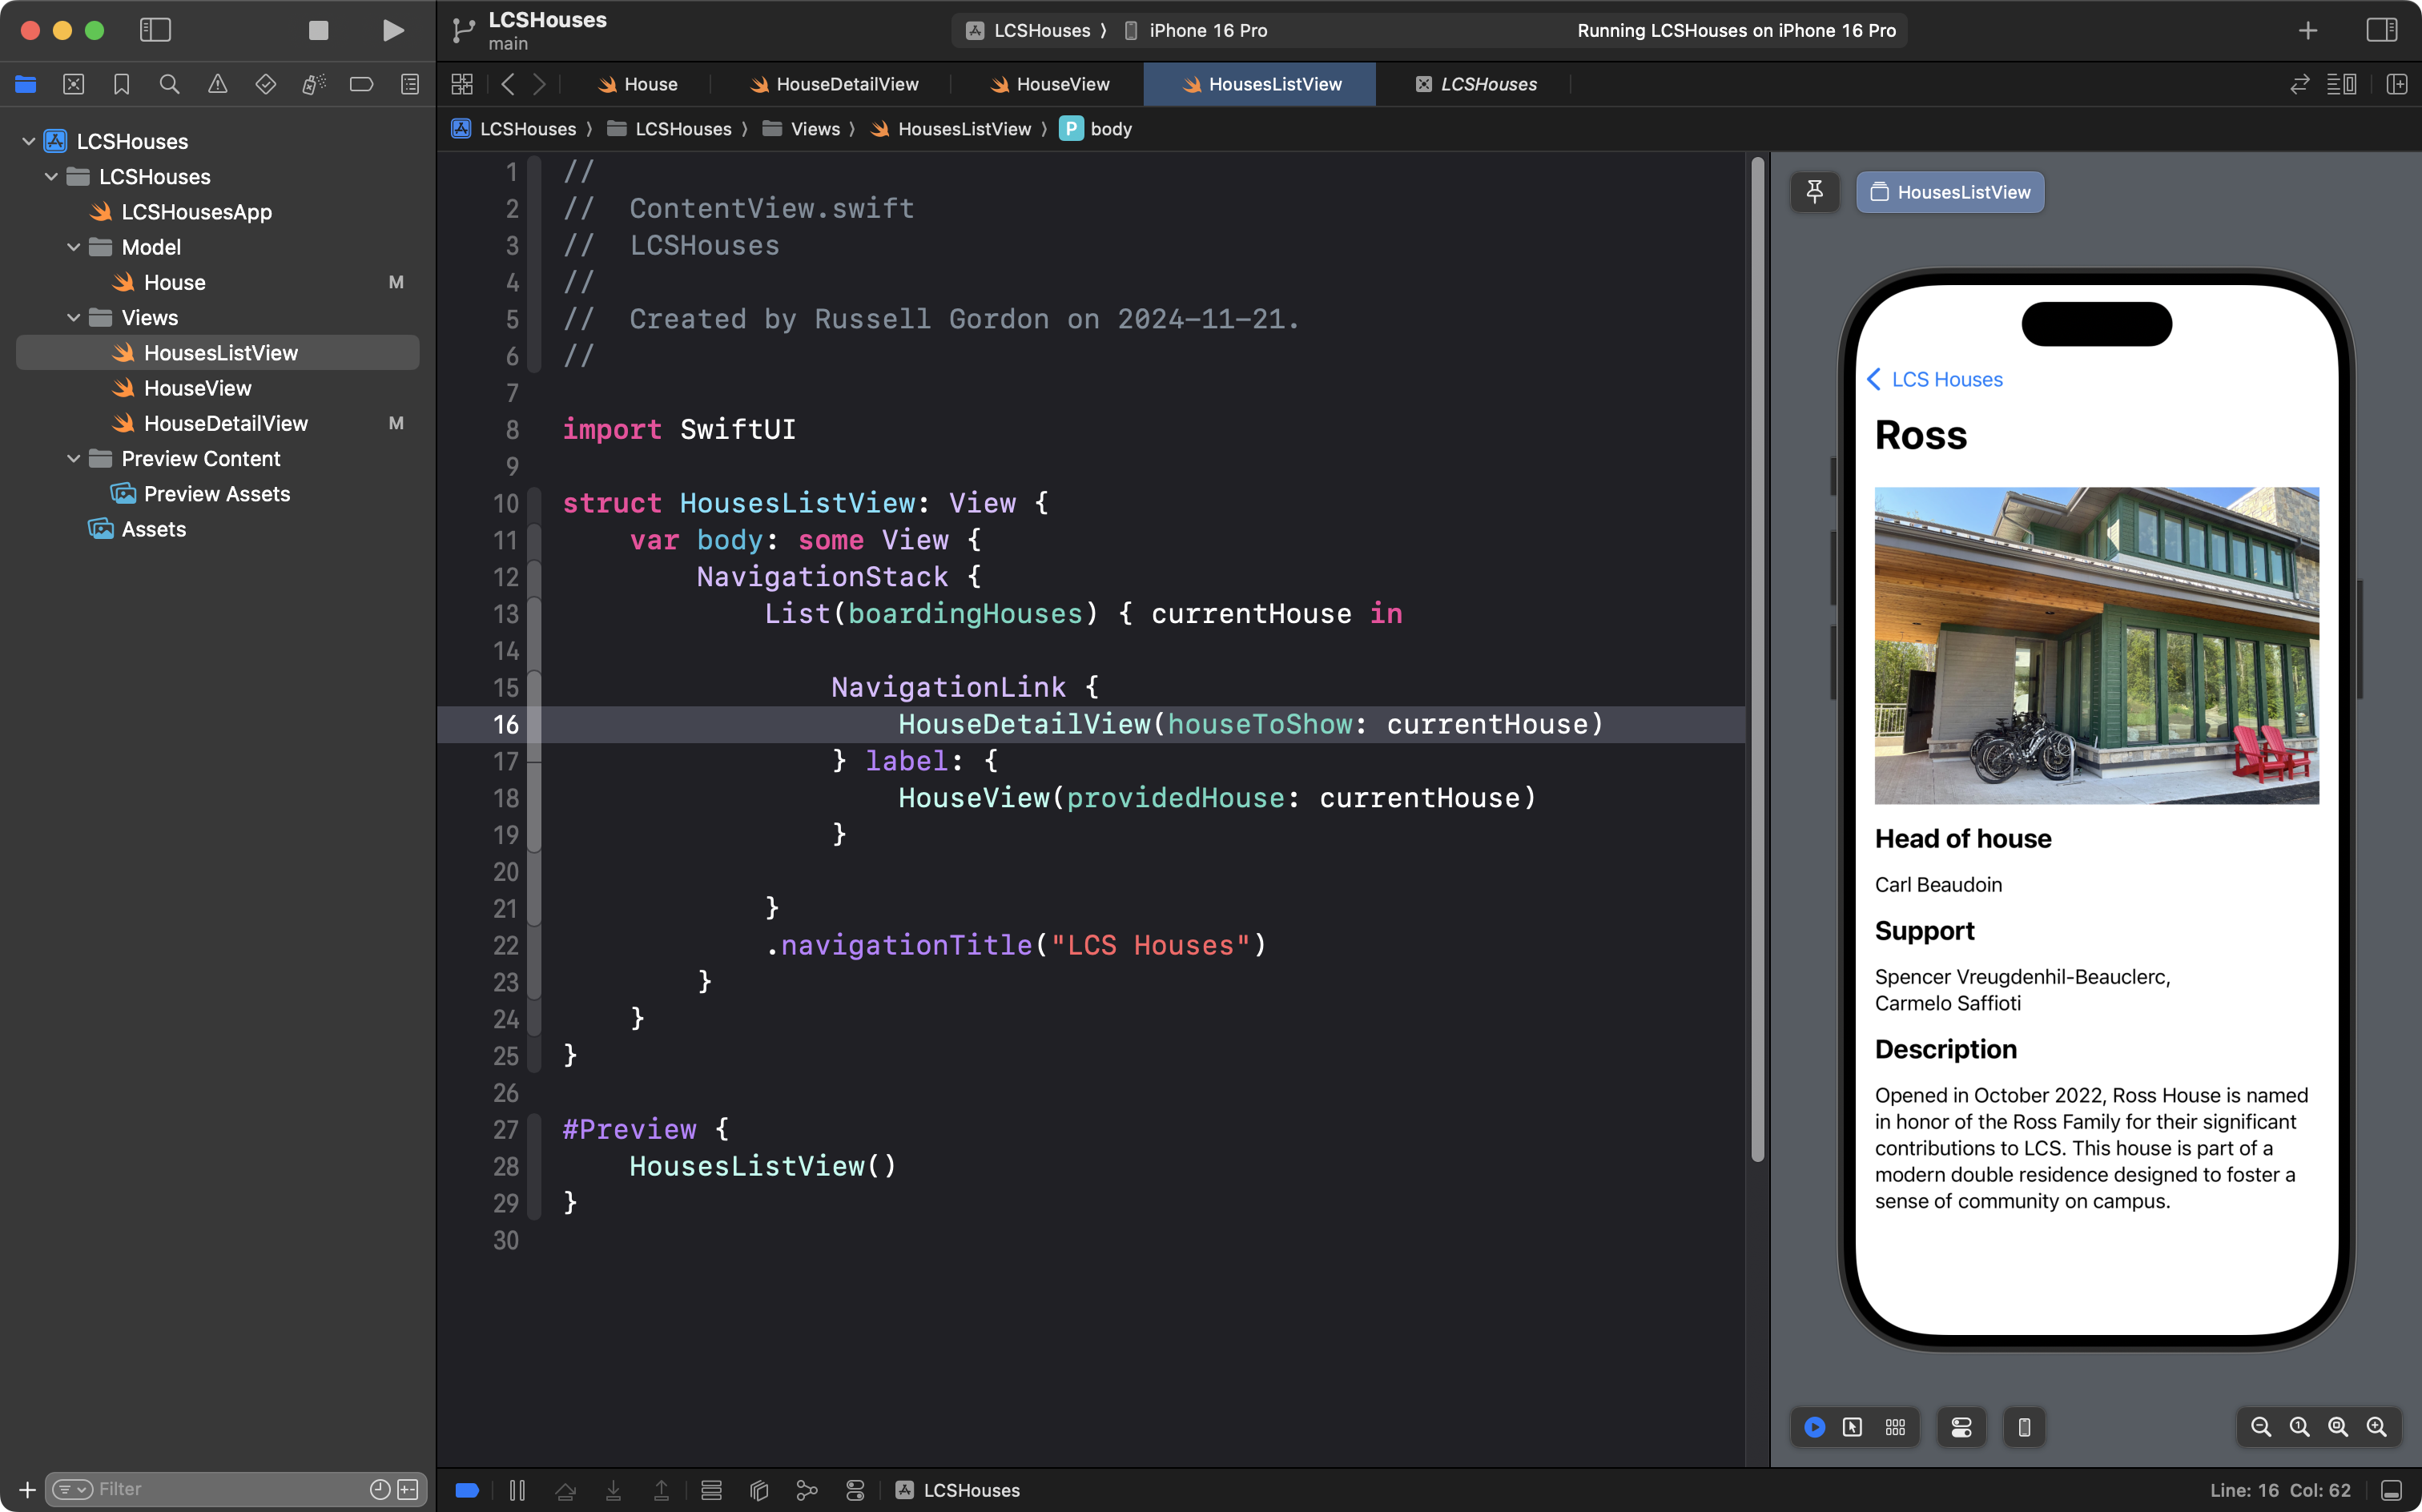
Use the information shown on that web page to provide more information on the detail view for each boarding house, like this:
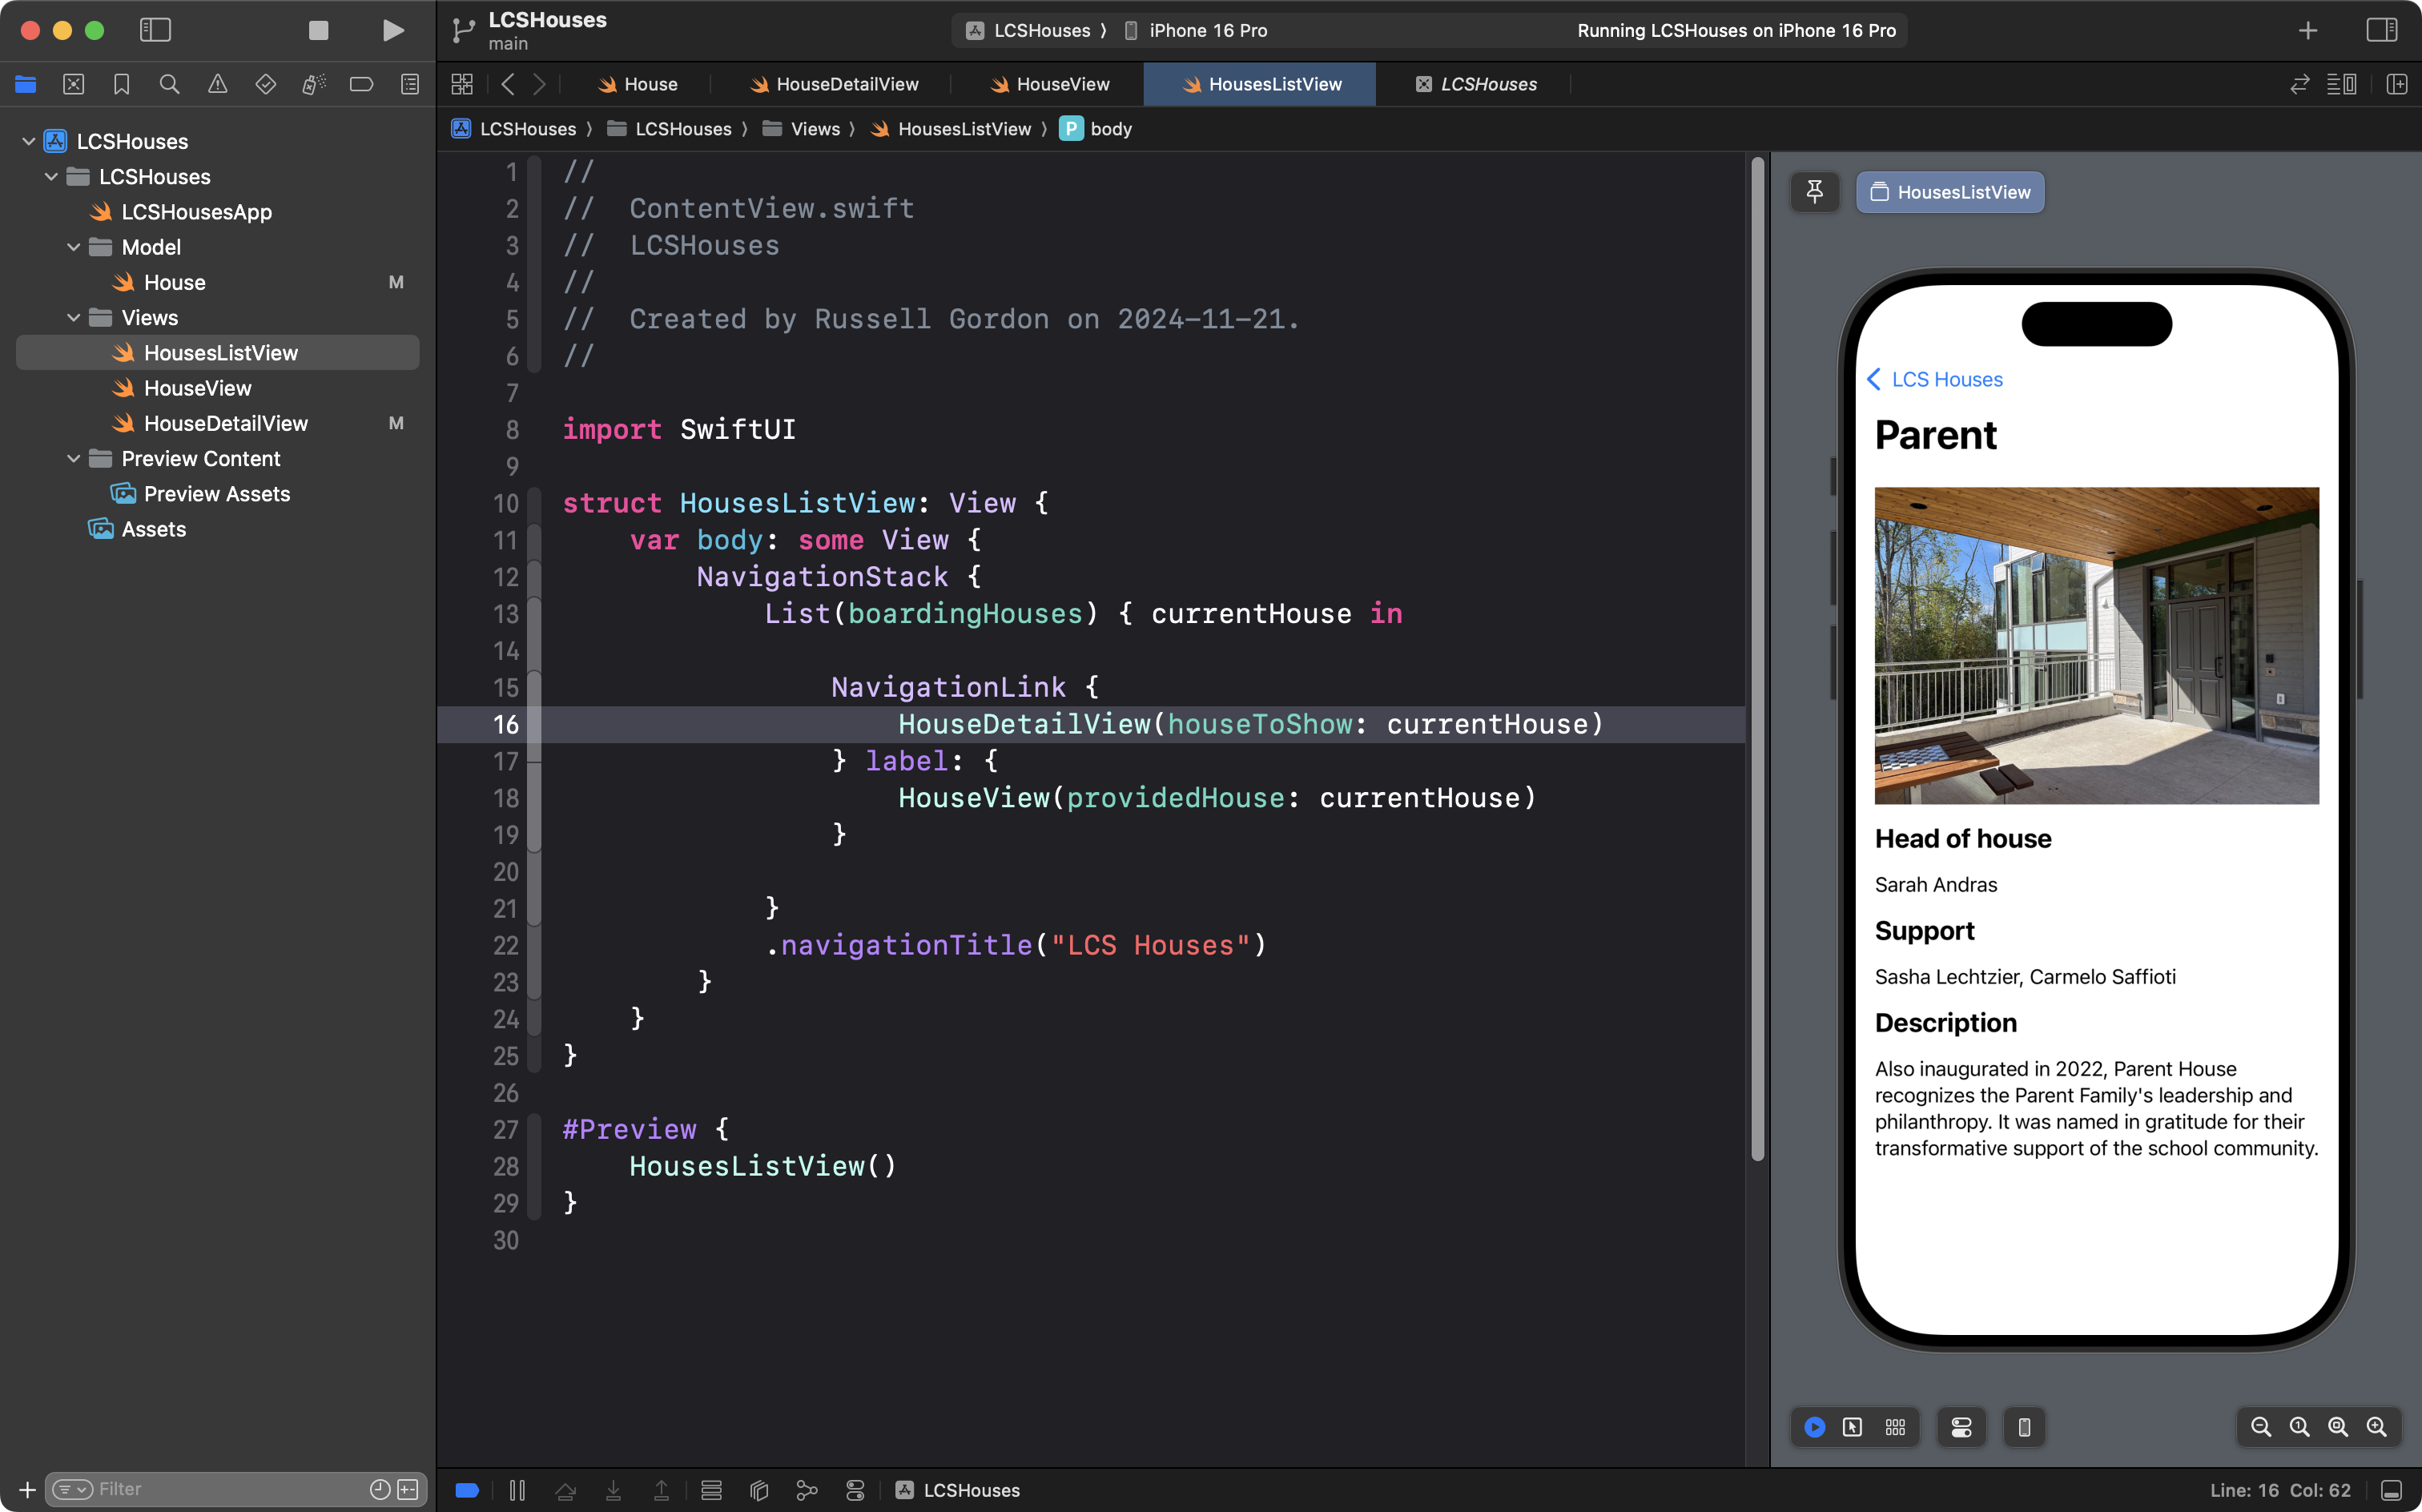
… and this:
HINT
Can you see another place to apply abstraction in the detail view as shown? Think helper views…
2. Extend Favourite Things
Modify your Favourite Things app that you first wrote in our previous class, so that users can navigate to a detail view, and see more information about the things and people you are grateful for in life: