This is a longer video, but it does have chapters so that if desired, you can review only certain parts of the tutorial:
- 00:00:00 Project Organization
- 00:04:06 Create a New View
- 00:06:40 Create a Model
- 00:10:14 Connect the Model to the View
- 00:13:13 Collect Input
- 00:17:22 Show Output
- 00:21:25 Show More Output
- 00:23:38 How to Restart the Preview Window
- 00:24:08 IPO: Input-Process-Output
- 00:25:56 Adding an Image
- 00:31:10 Conclusion and Next Steps
TIP
While you are following along with this video, you will need access to Mr. Gordon’s Circle structure code.
Exercise
Now, return to the structure you created for the Geometric Figures task.
Using the same steps shown in the video above, make:
- a model file that contains your own 2D or 3D structure from the earlier task
- a view file that:
- uses the structure as a stored property
- provides a user interface (one or more sliders) to allow for input
- shows output
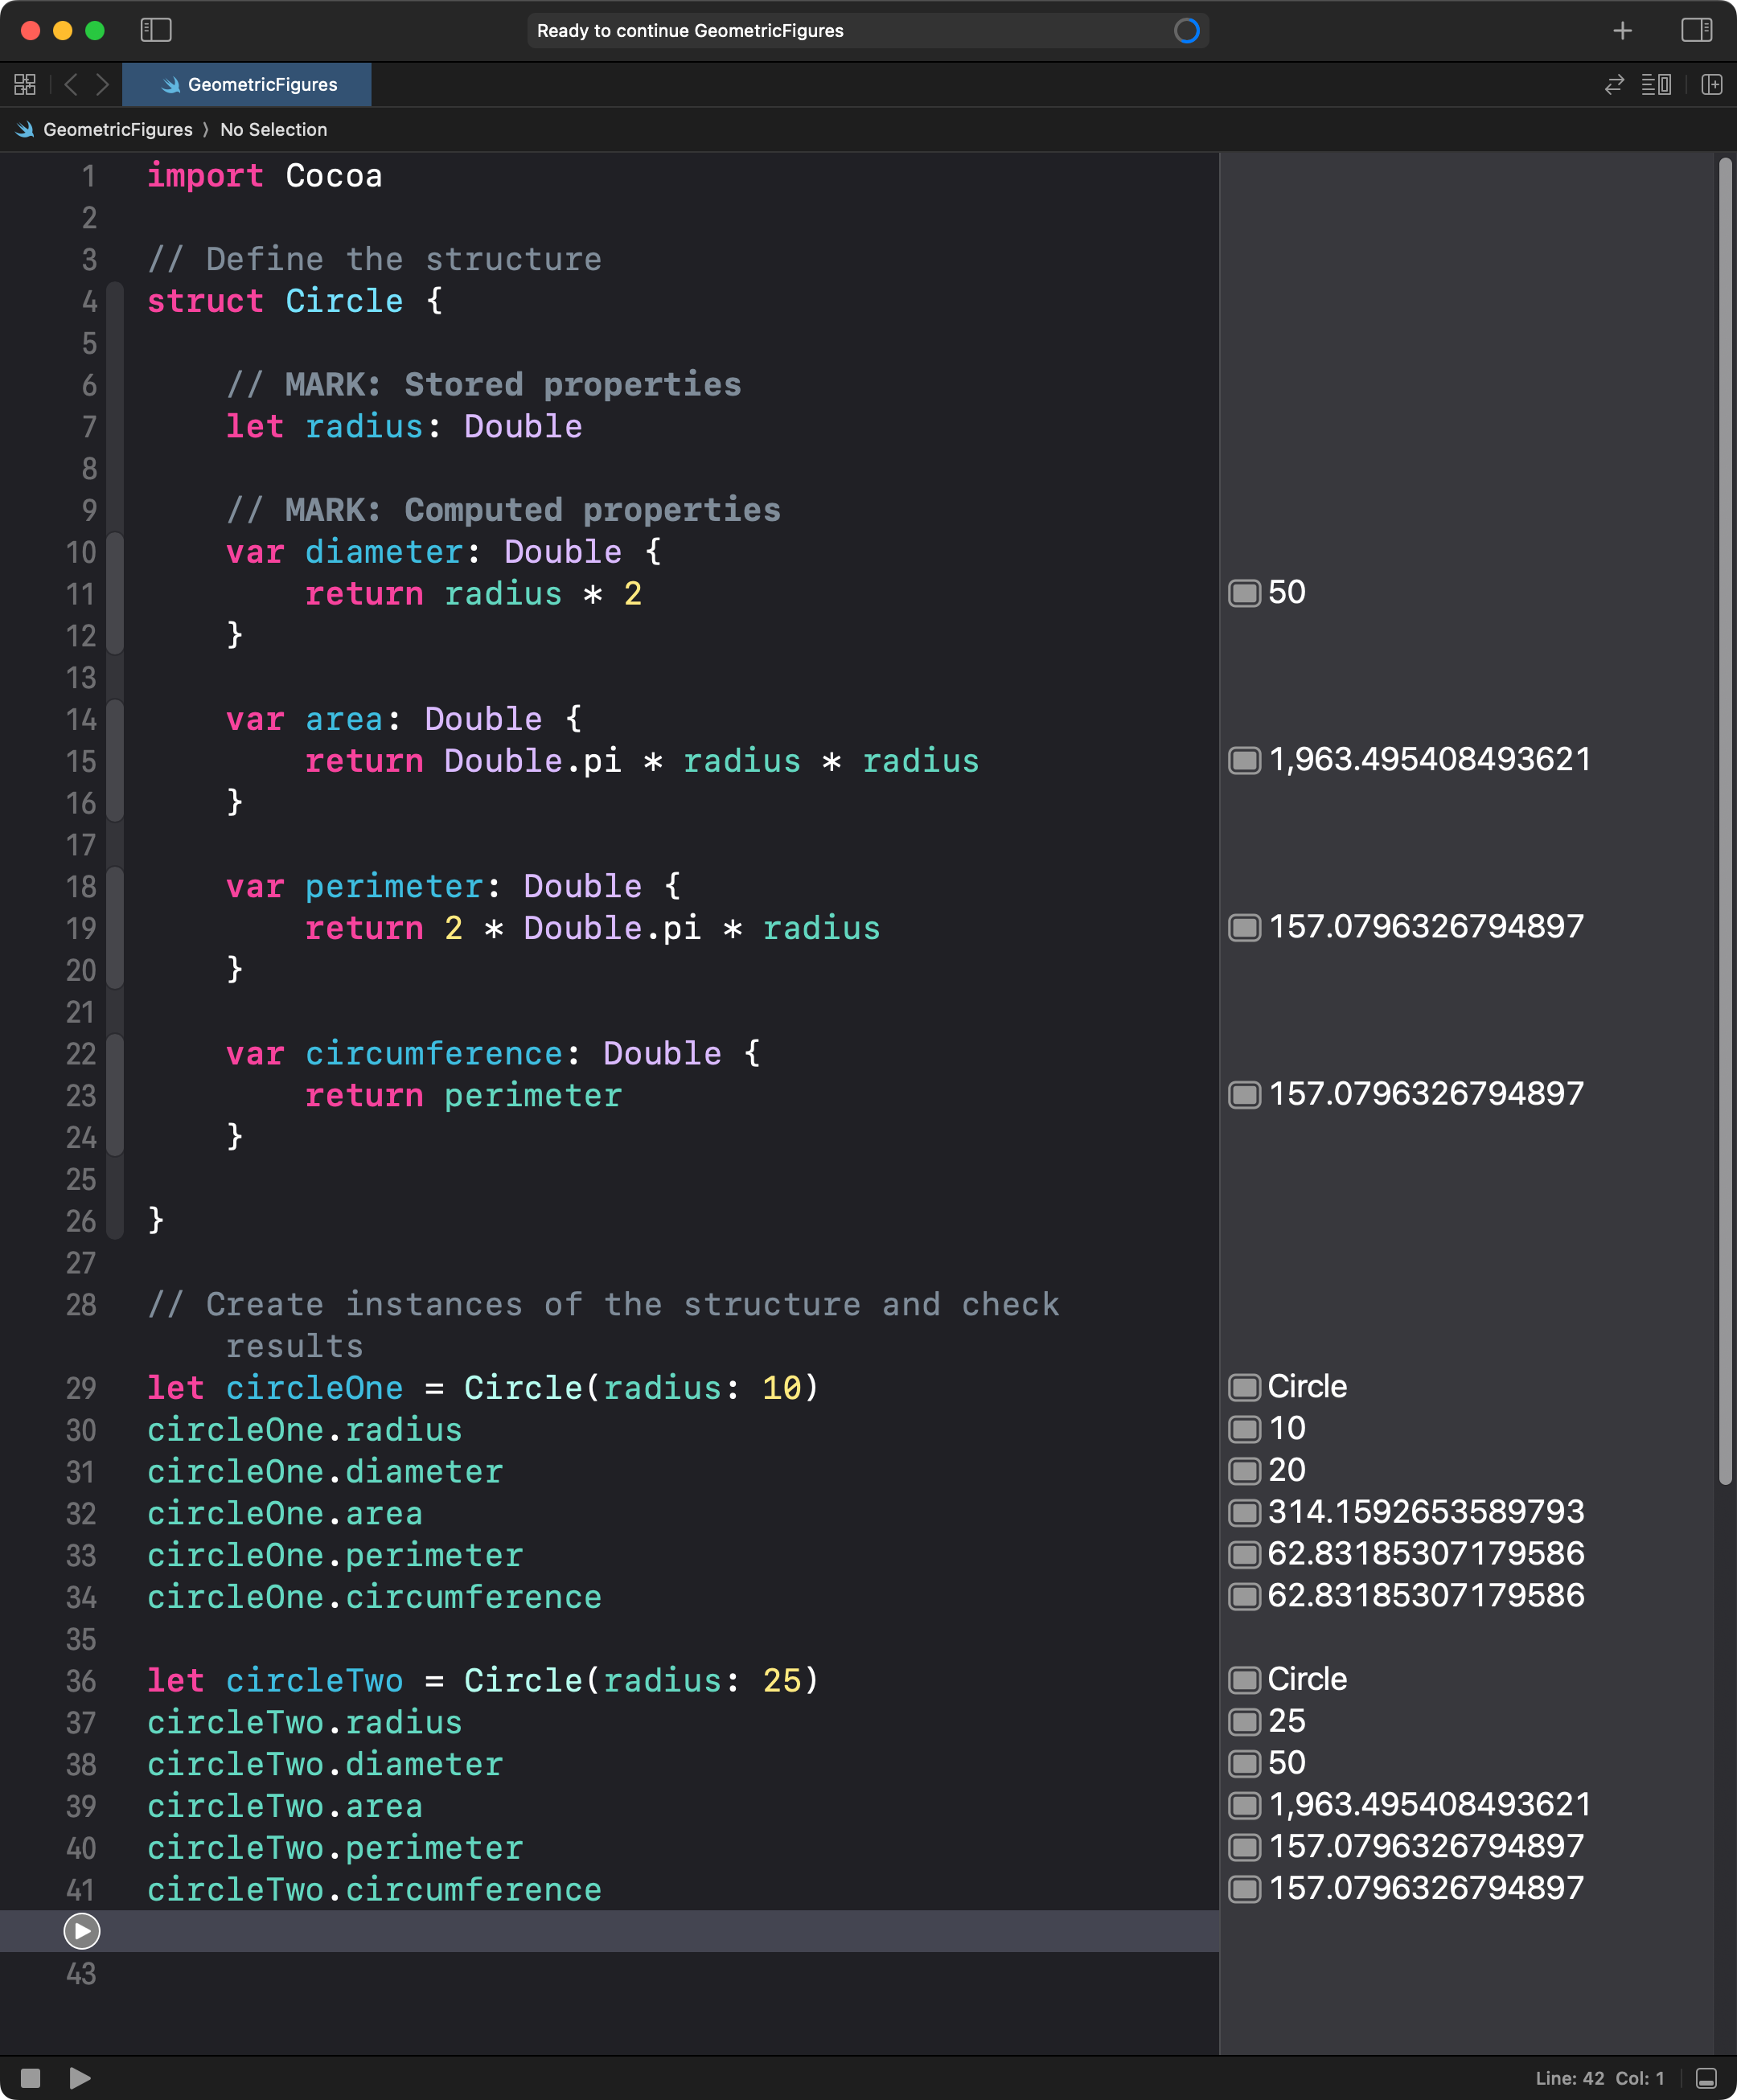
The idea is to move forward from manually interacting with the structure in a playground, like we did last week:
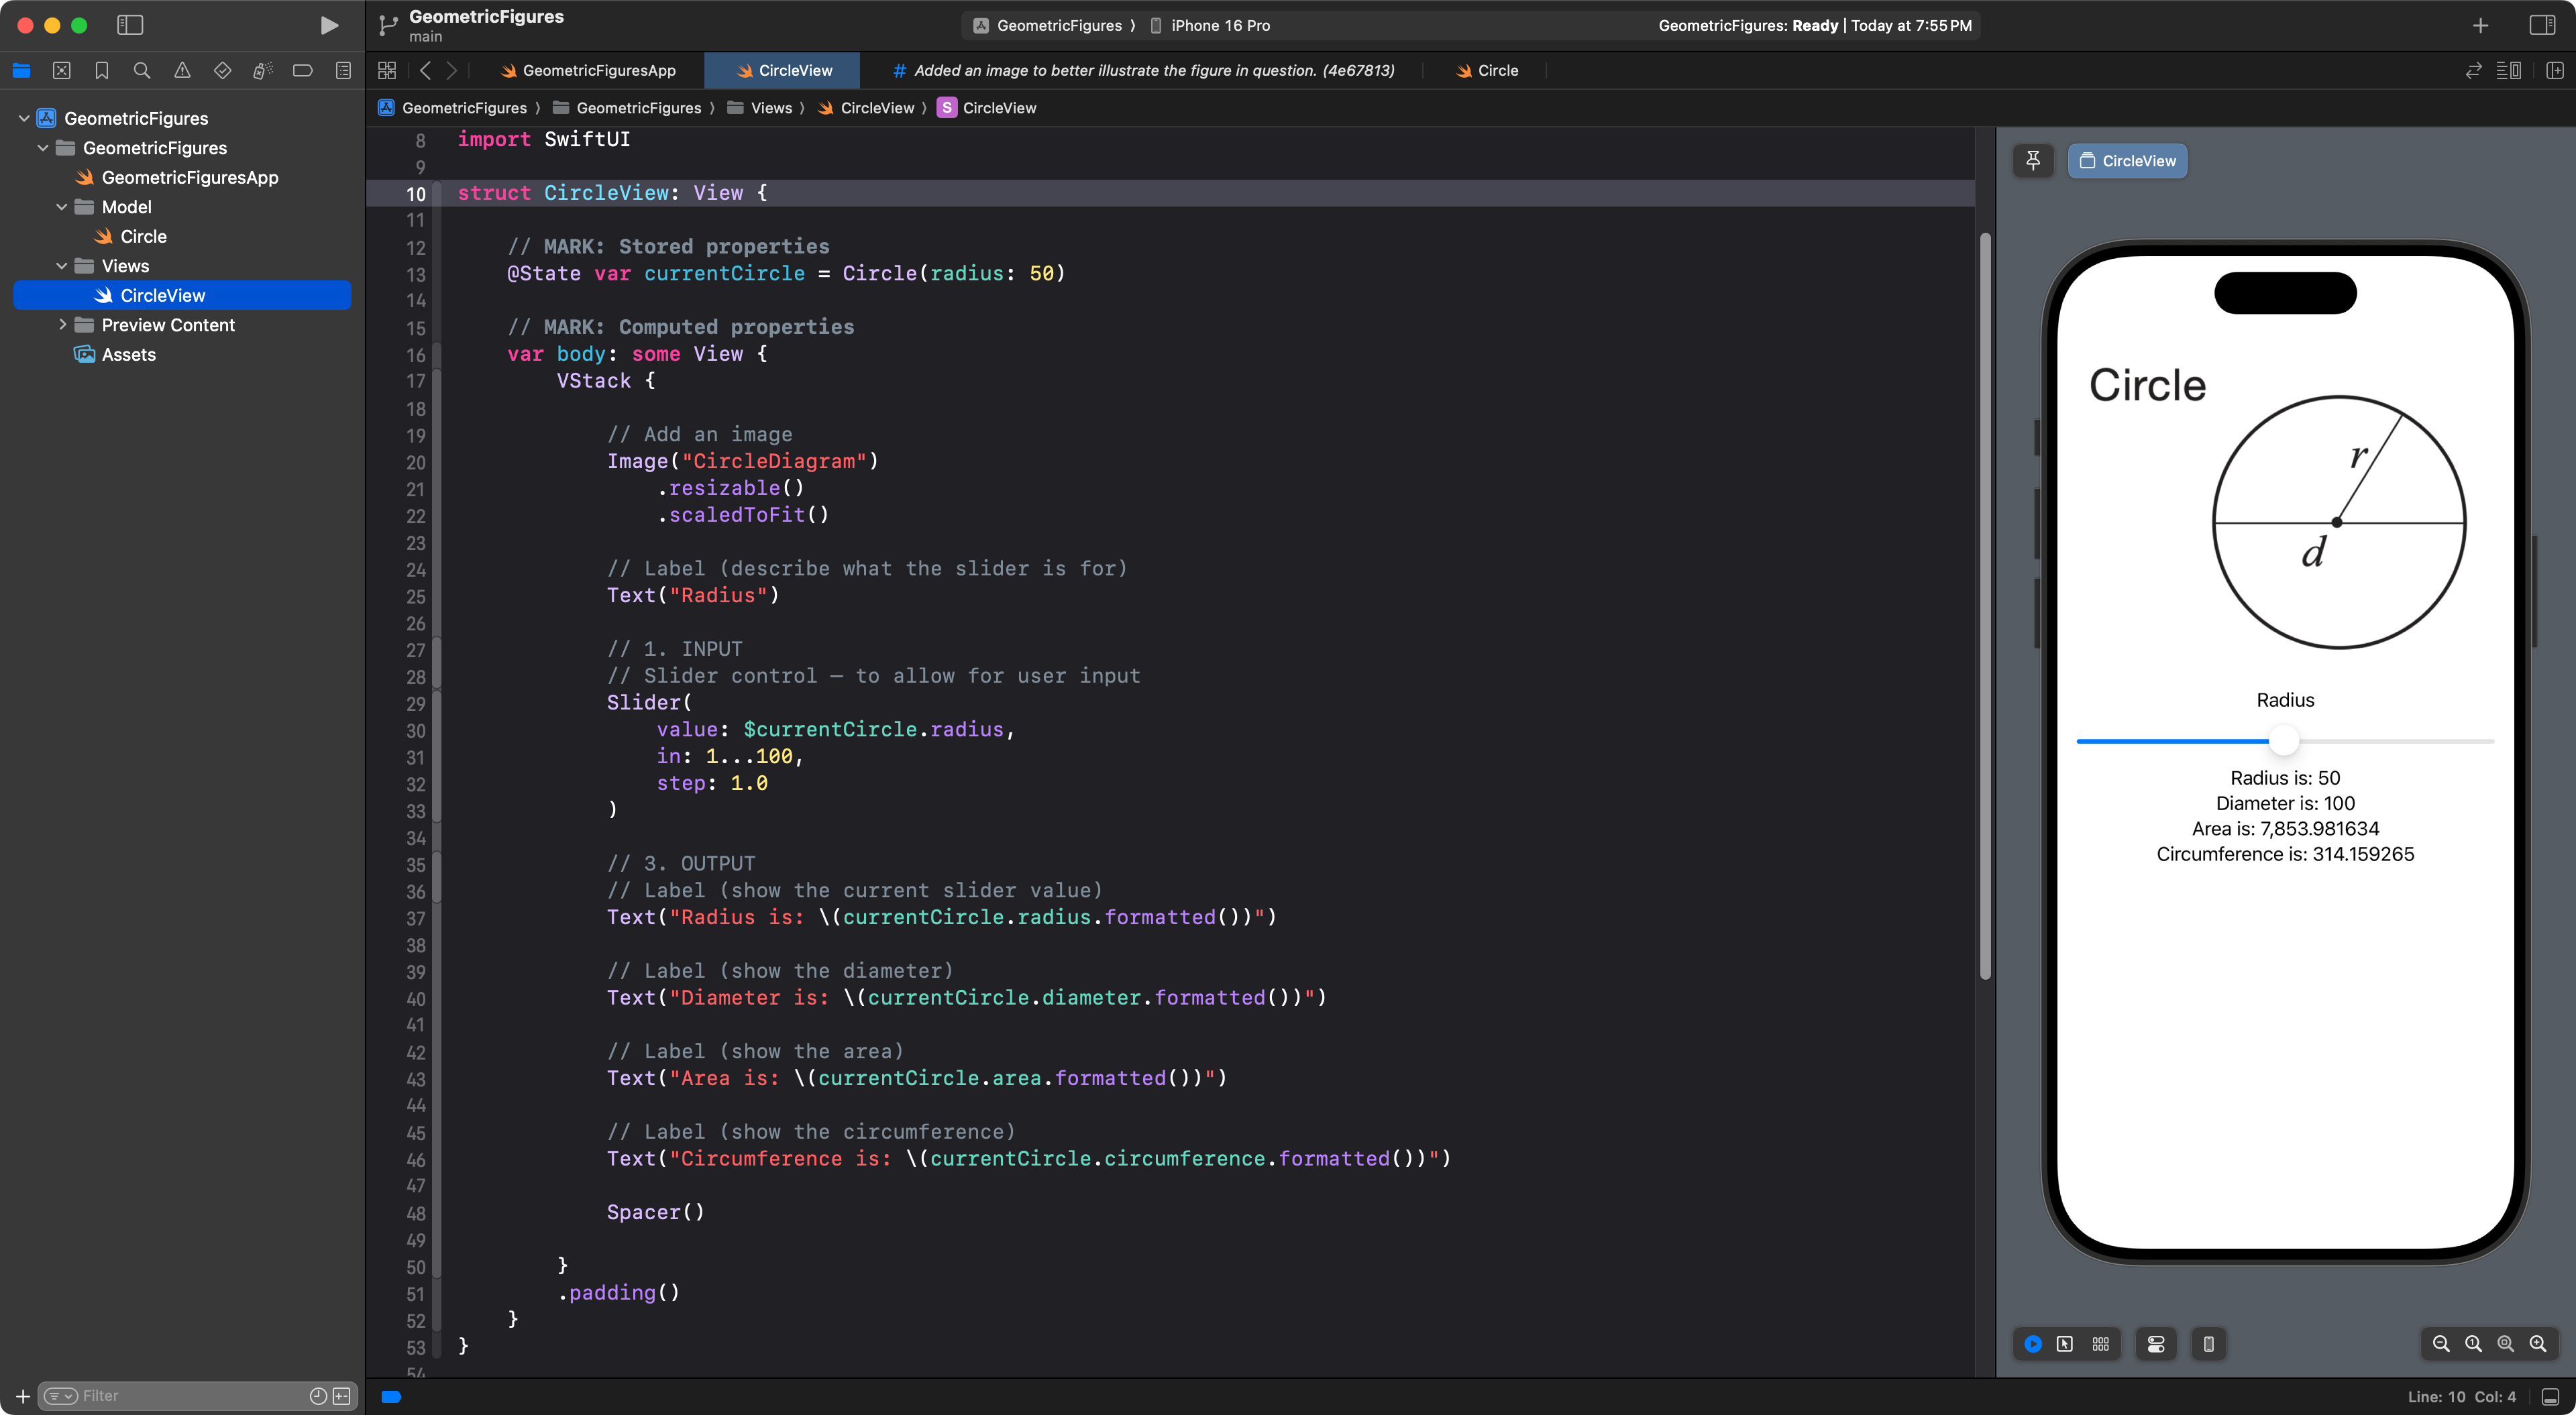
… and instead, build an interactive app, like this, but for your own figure:
TIP
Remember to commit and push your work as you go in Xcode, using the Option-Command-C keyboard shortcut. This was first shown in the video at 19:13. Good use of source control is part of learning goal 2.
Extension
Use the knowledge you developed by building block layouts and this reference on styling text views to improve the user interface of the app. You might try applying a bit of padding, too.
Your interface might look something like this, once you are done:

TIP
Your improved interface need not look precisely like this – this is just an example.