Xcodes is an app used to manage the installation of different versions of Xcode:
This short guide will help you to ensure that you have the correct version of Xcode installed on your computer.
IMPORTANT
When this guide was authored, Xcode 15.4 was the most recent version of Xcode available.
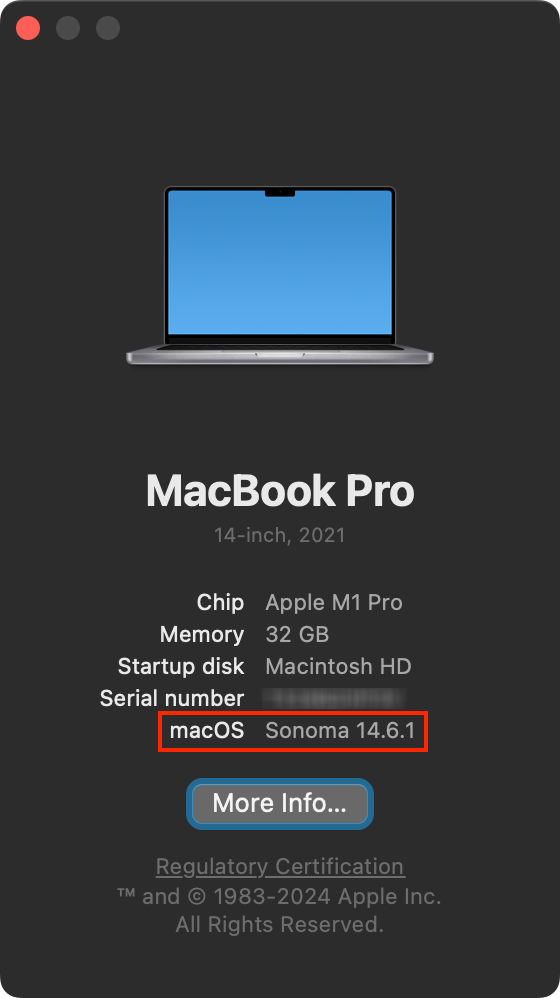
Check > About This Mac…:
If your computer is running macOS 14.5 or greater, please follow the steps below, but install Xcode 16.0.
If you do not yet have macOS 14.5 or greater, please install Xcode 15.4.
At some point later on, you can update to macOS 14.7, then use Xcodes to install Xcode 16.0.
Either version of Xcode is fine, at this point in time, for use in Grade 11 Introduction to Computer Science.
App Store Distribution
It is possible to install Xcode via the Mac App Store, but this is not recommended.
Before continuing, check your Applications folder:
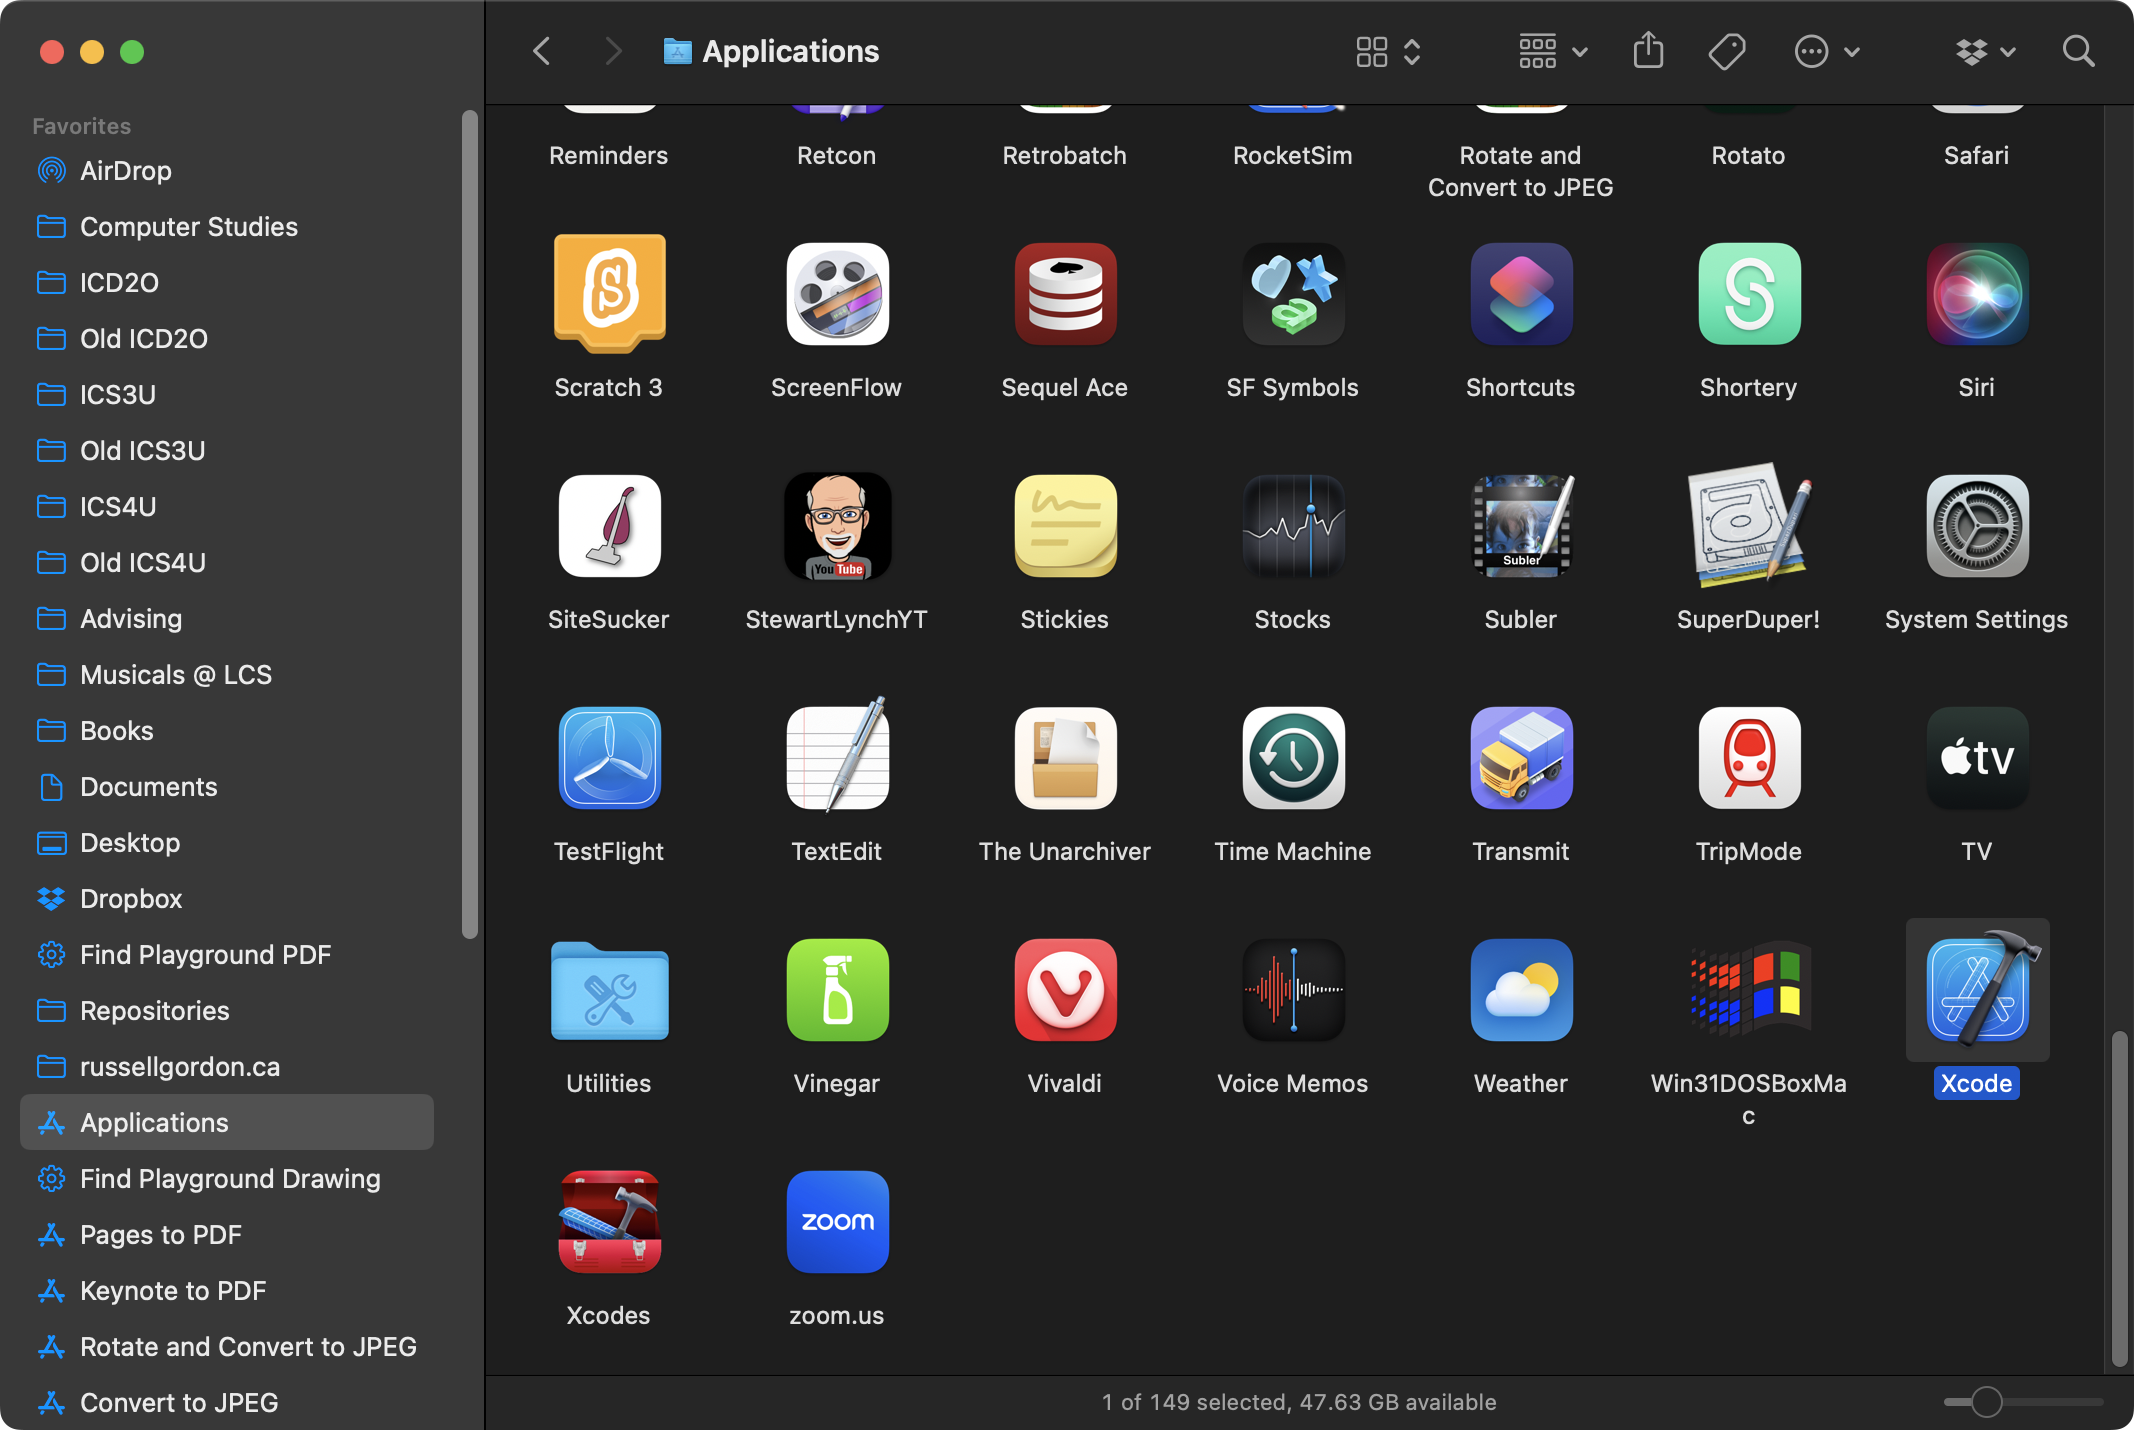
If you see Xcode installed as shown – with the name Xcode alone – please move that version to the trash on your system:
.png)
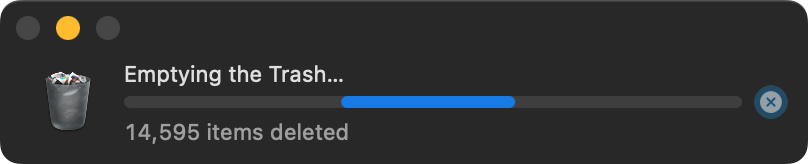
Then empty the trash on your system to free up disk space:

Emptying the trash may take a couple of minutes to complete:
IMPORTANT
Deleting Xcode, the application, will not delete any of the projects you have previously authored. When you install a new version of Xcode, you will be able to open and use all of your previously authored projects.
Installing Xcodes
Here is a direct link to download Xcodes.
Once downloaded, you will have a compressed file:
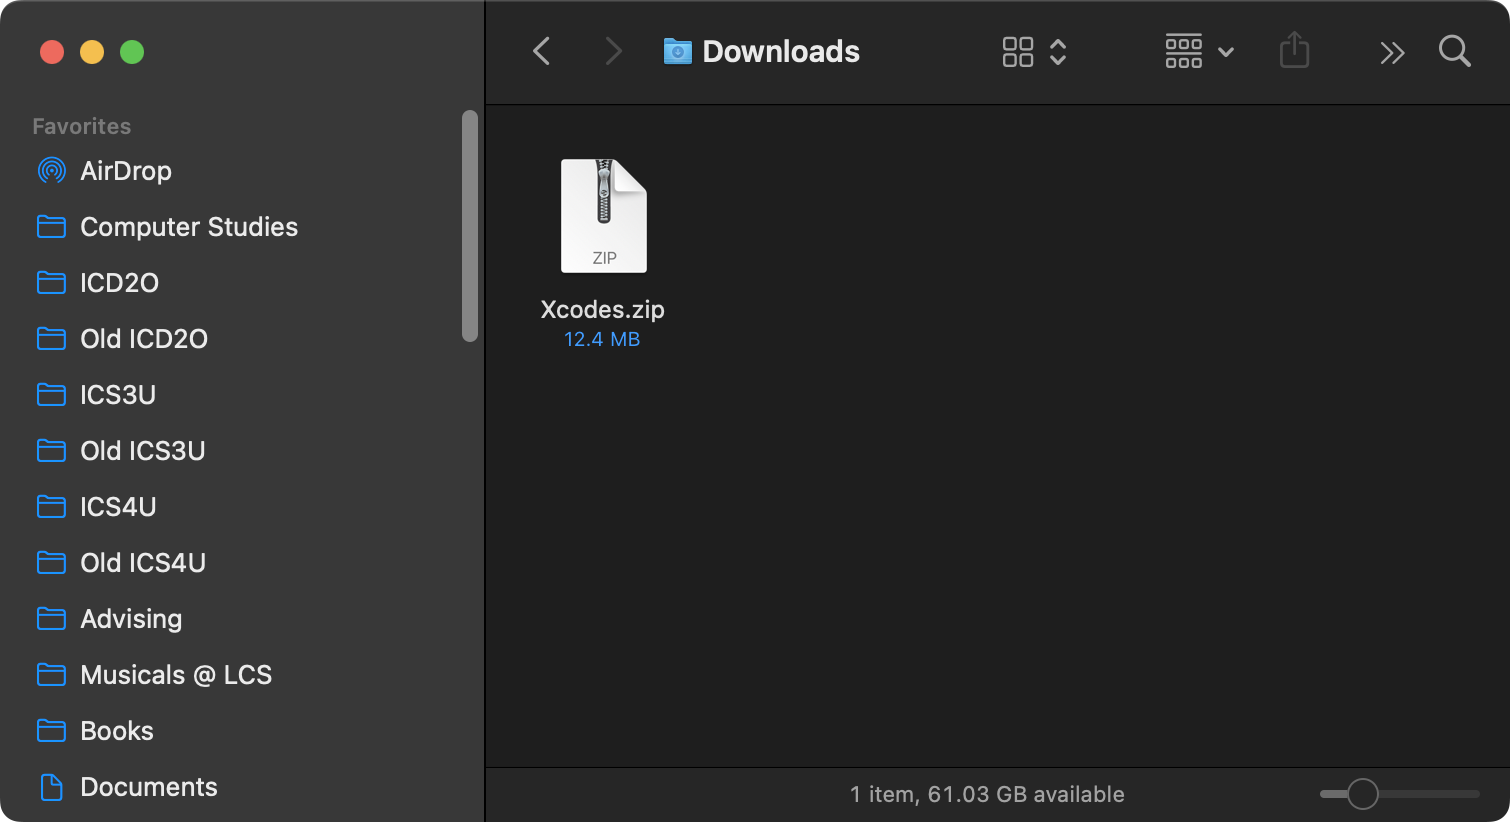
Double-click the file to decompress it:

Now drag the resulting Xcodes app to your Applications folder:
Show release versions only
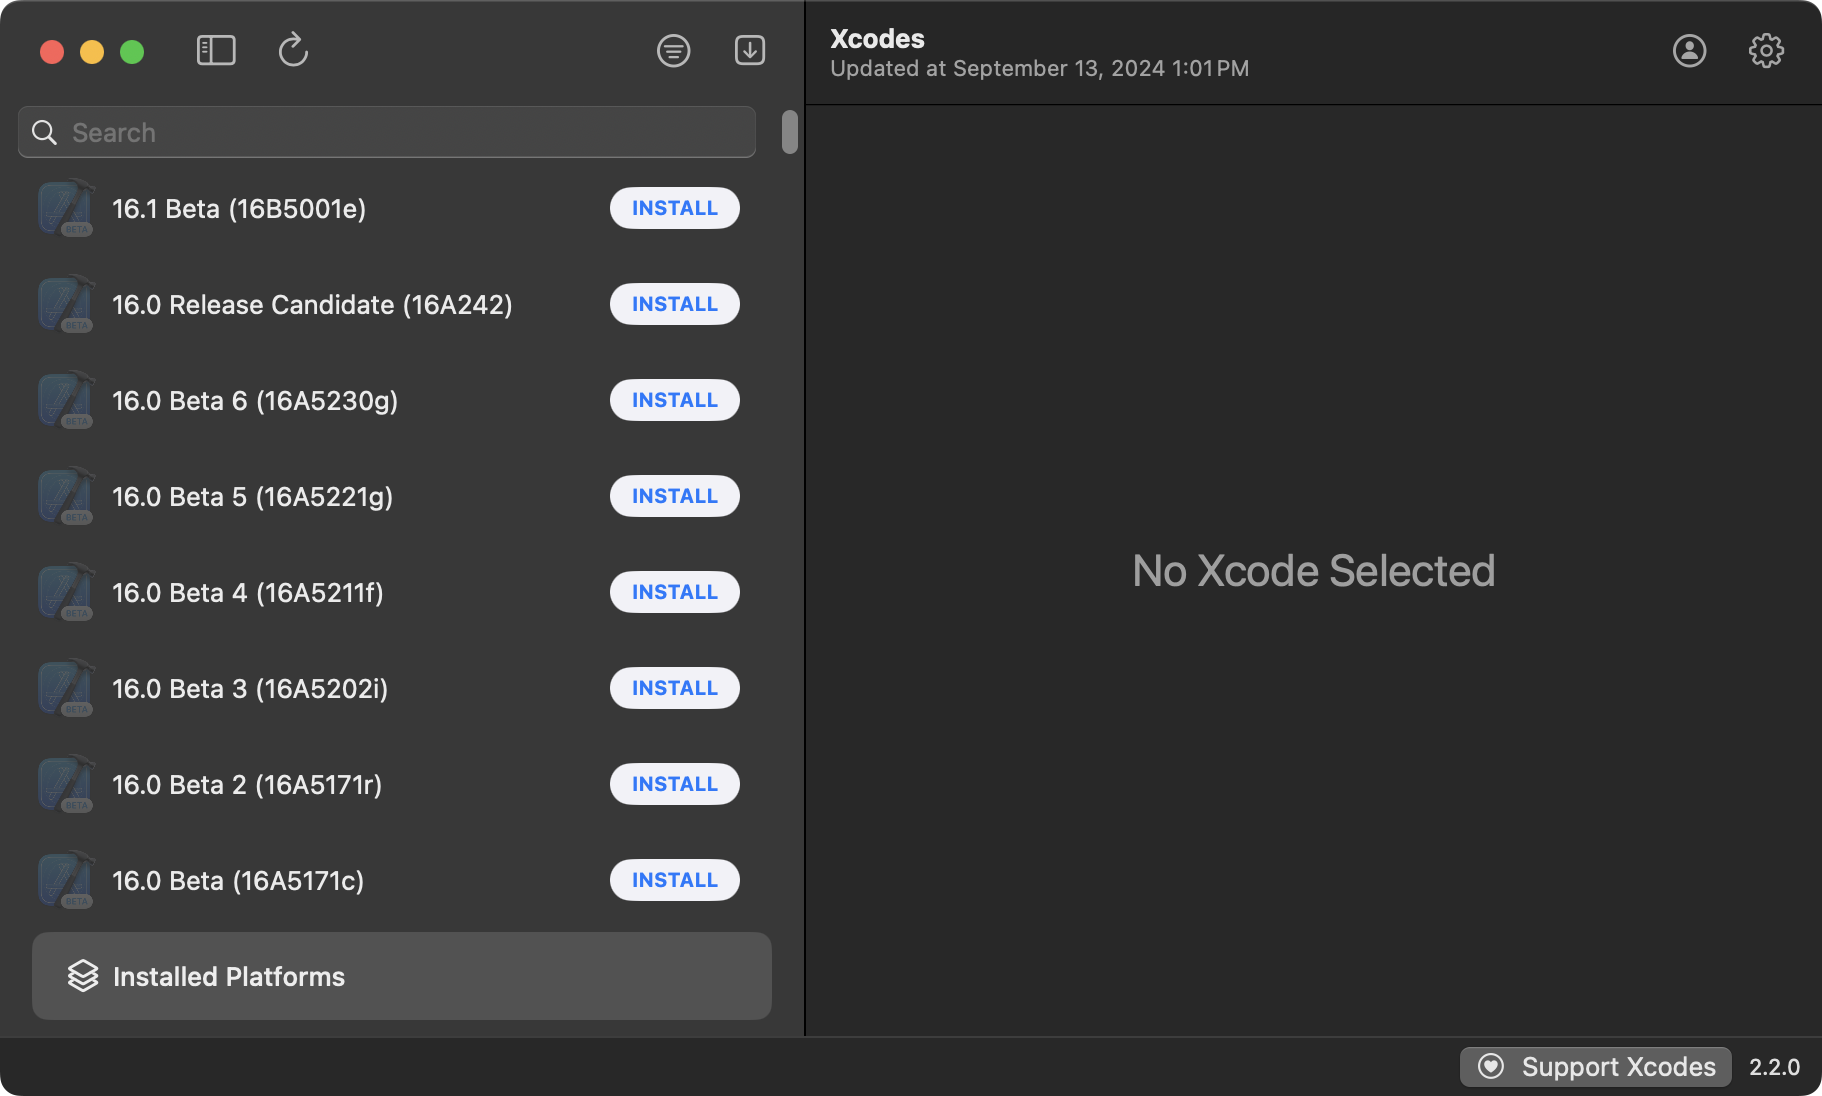
By default Xcodes shows all versions of Xcode – versions that are official releases, as well as beta versions:
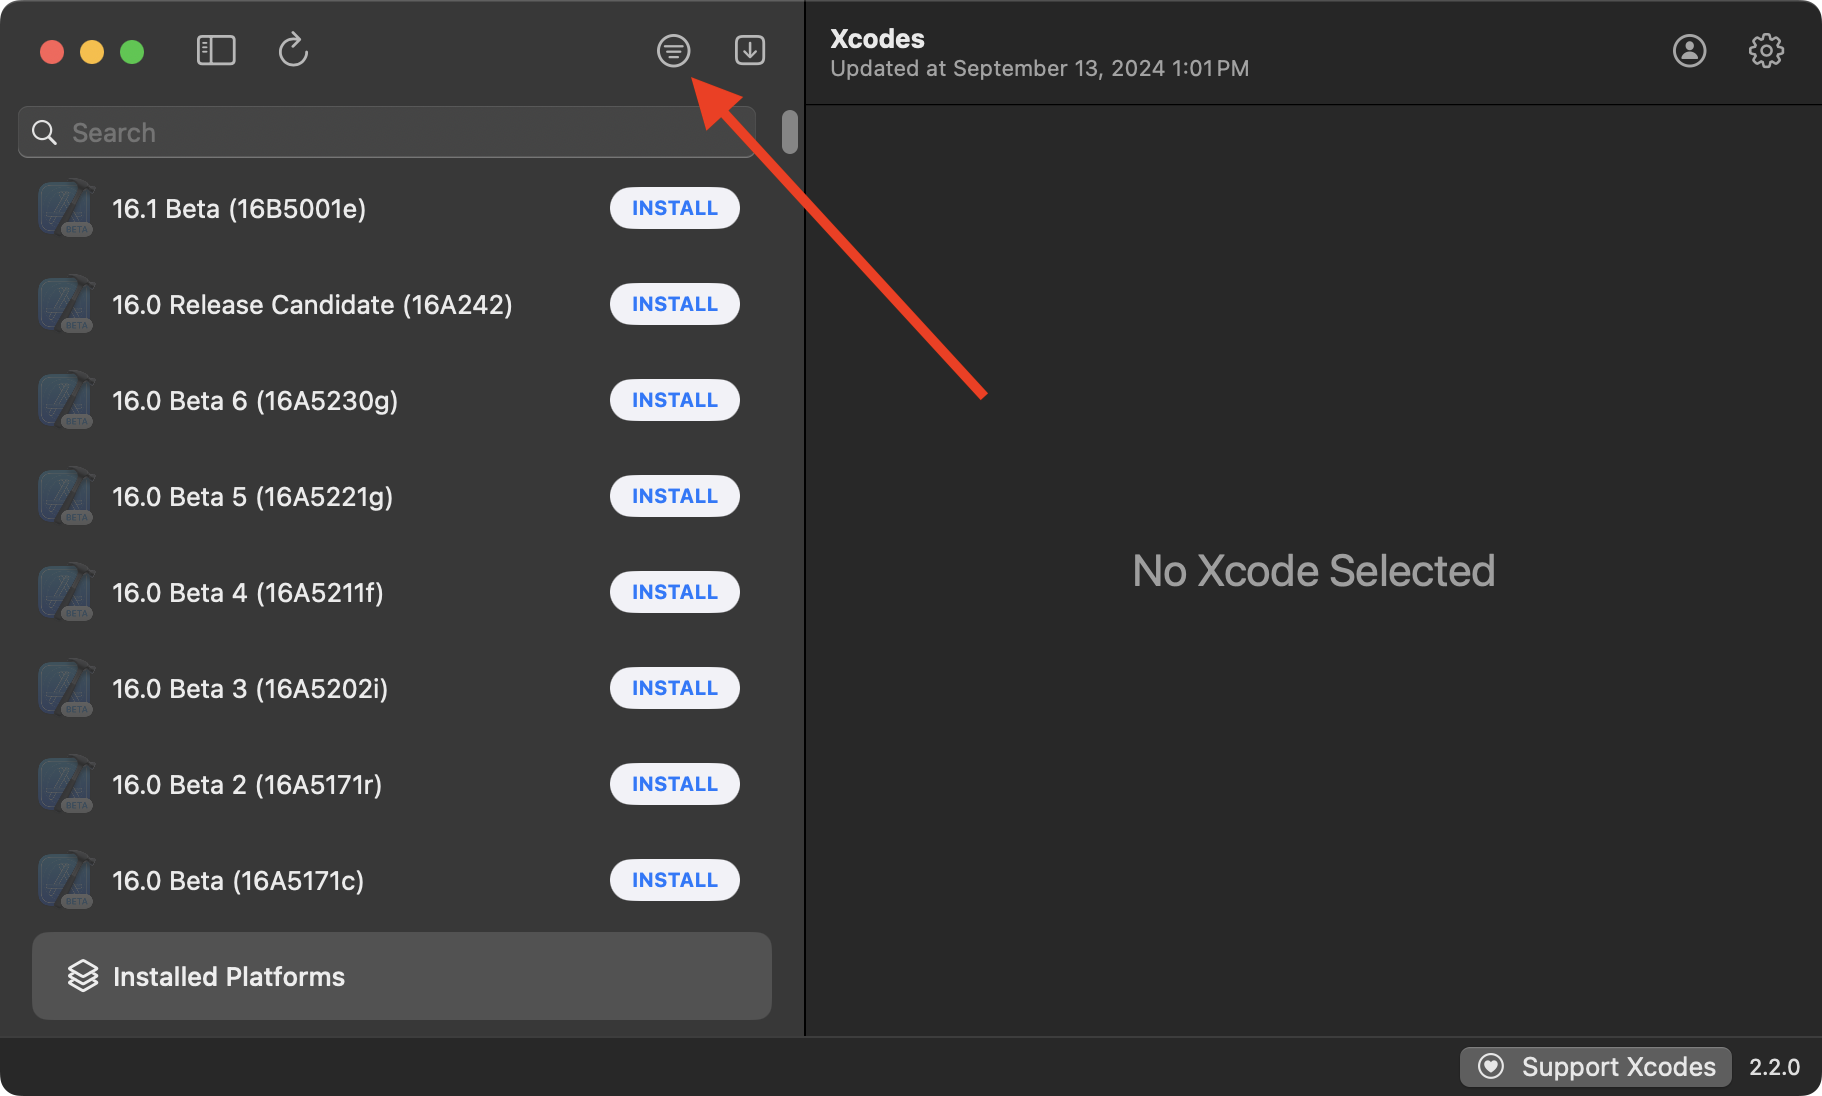
Press the Filter button once so that only released (non-beta) versions of Xcode show up:
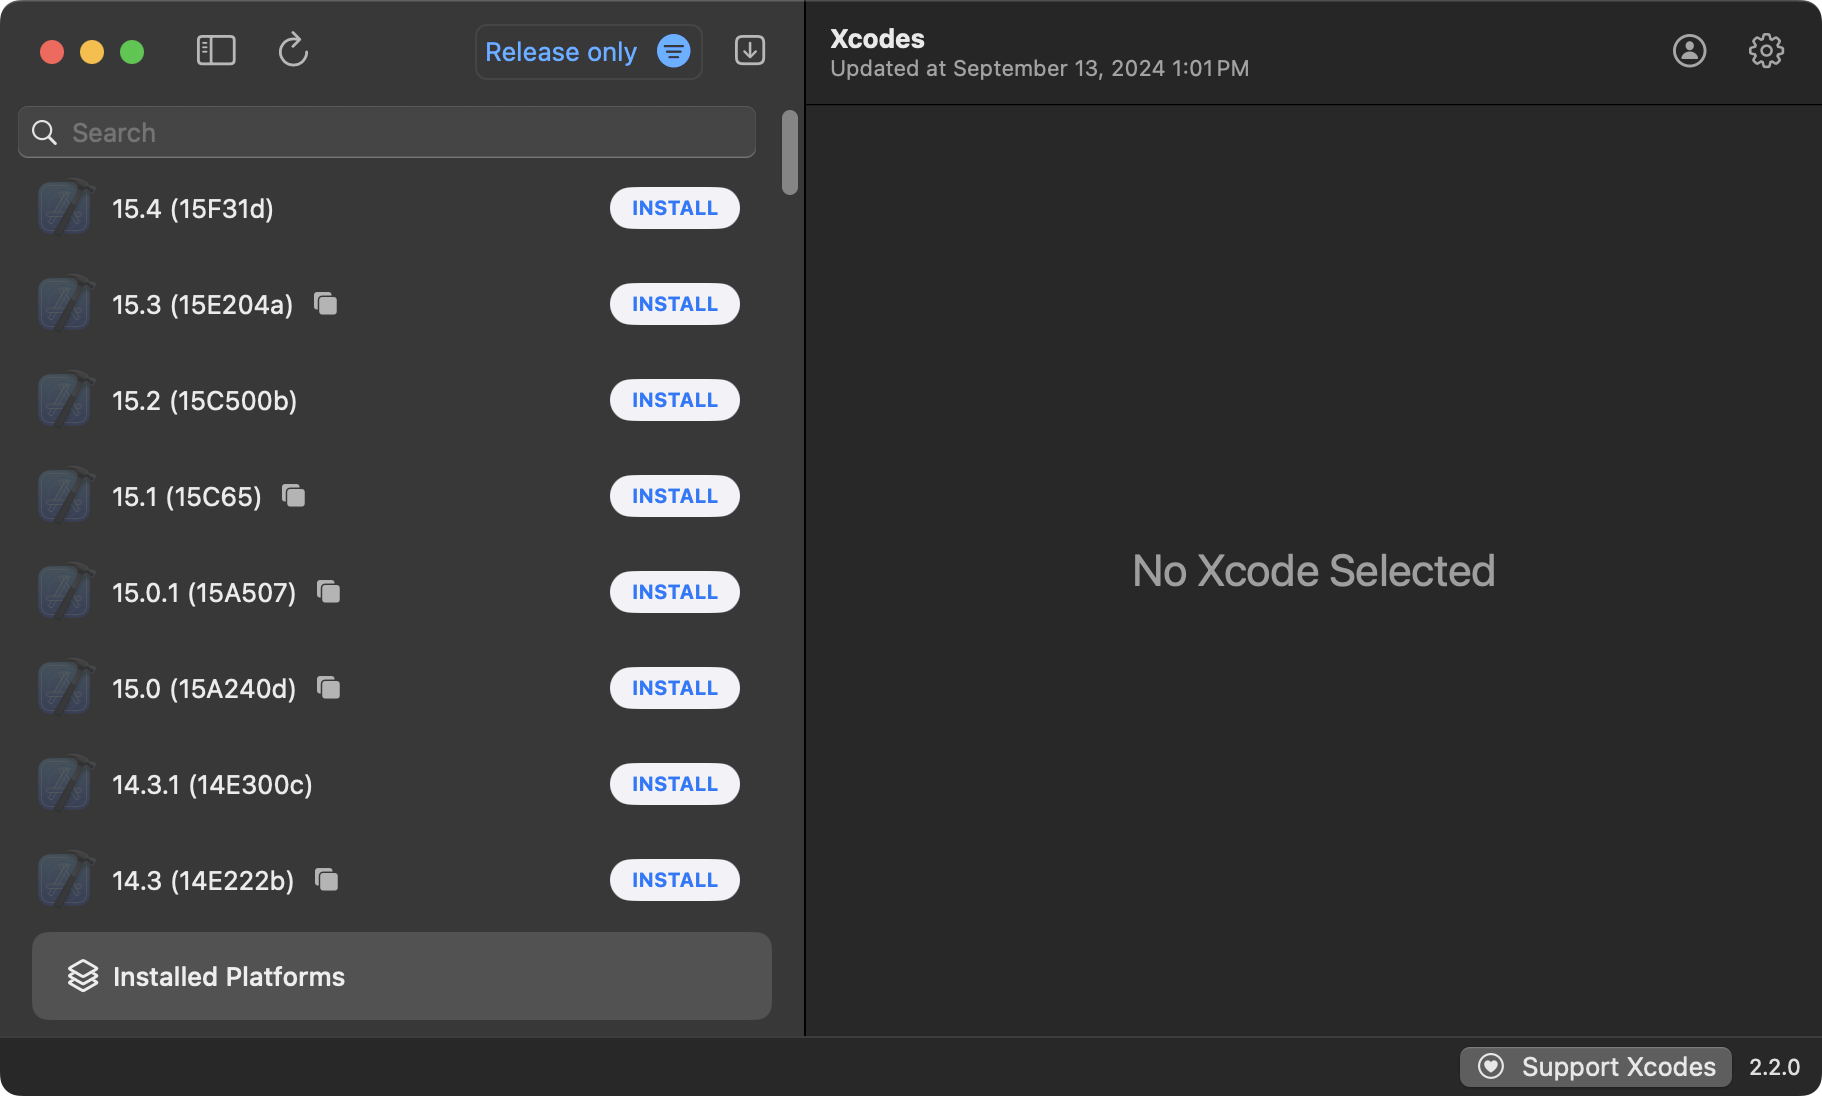
The list of versions of Xcode available will look something like this afterwards:
Sign in
You created an Apple ID tied to your LCS email address that you used to access the Apple Developer Program.
Use that username and password to sign in to Xcodes, like this:
Install Xcode
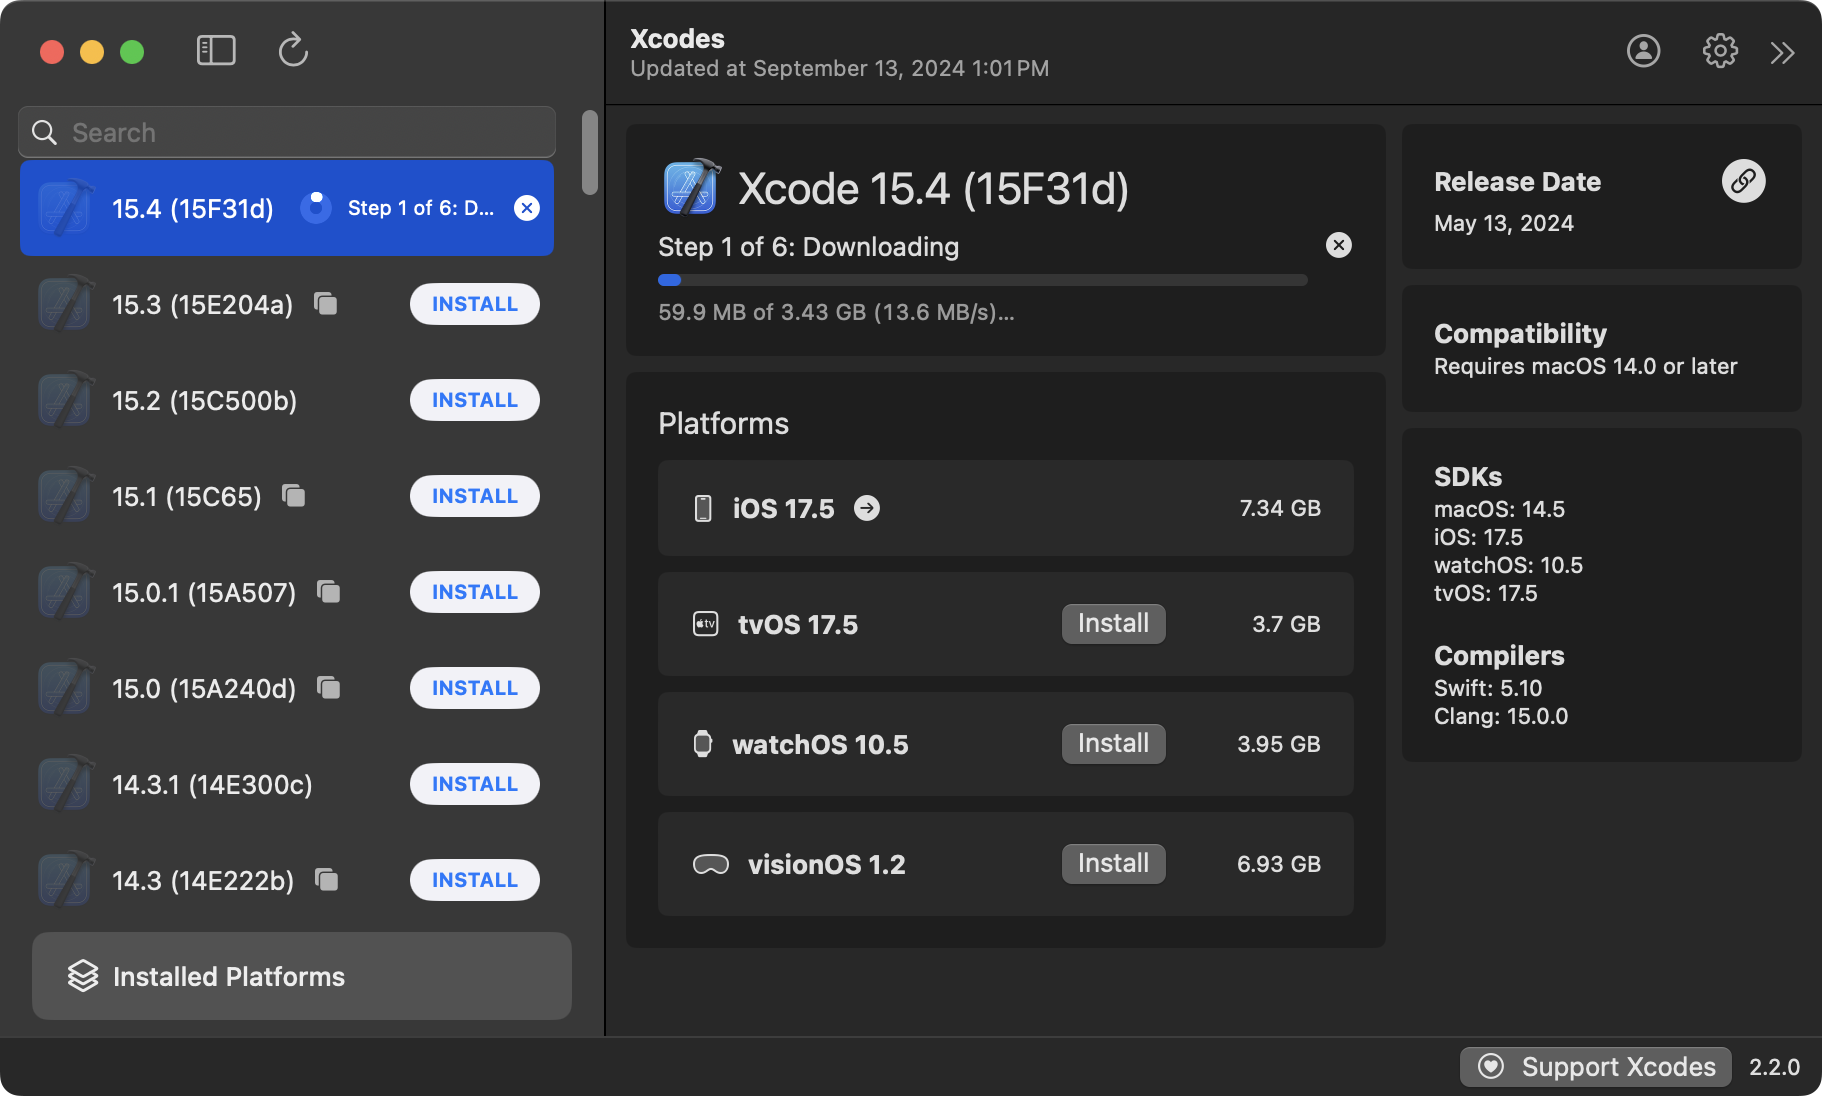
Now that you have signed in, you can use Xcodes to install the latest version of Xcode:
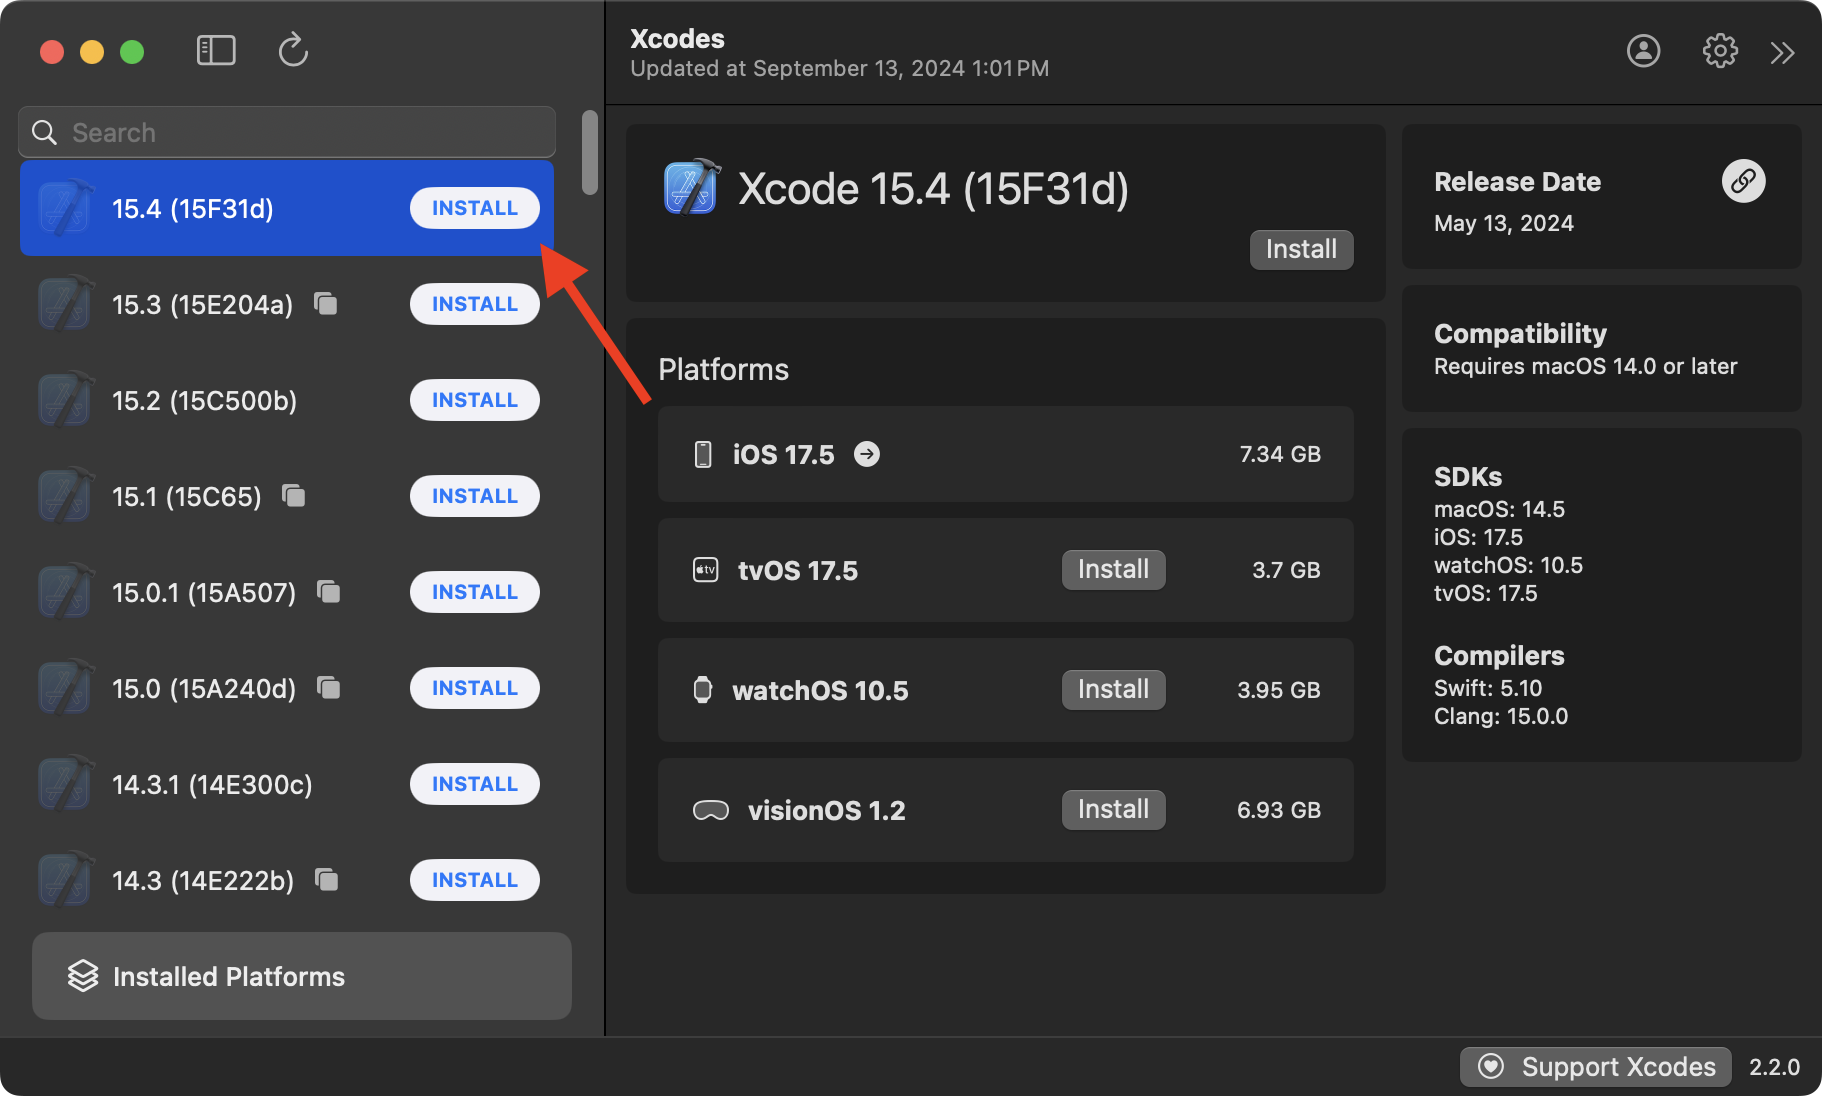
This will take a few minutes:
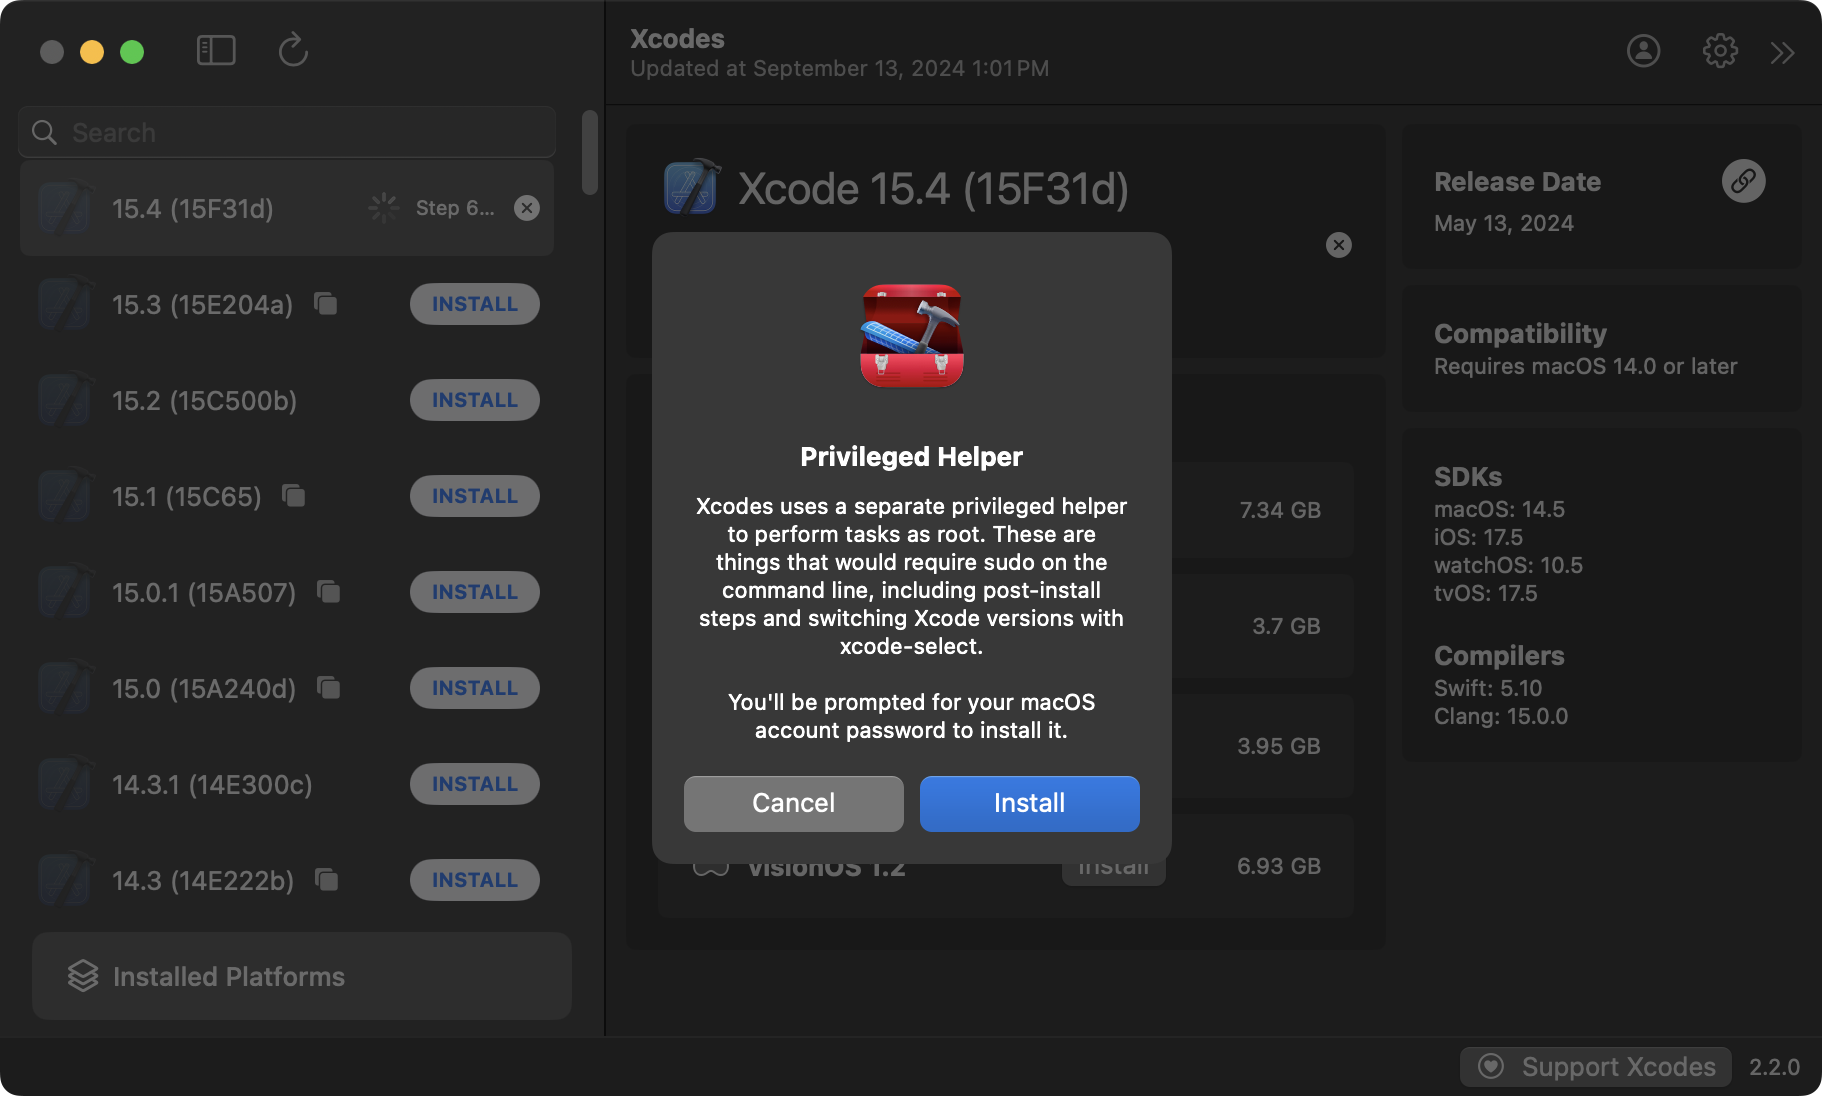
Once Xcode has been downloaded, if this is the first time you’ve used Xcodes in a while, you may see this message regarding the need to install a privileged helper tool – allow this to occur by pressing Install:
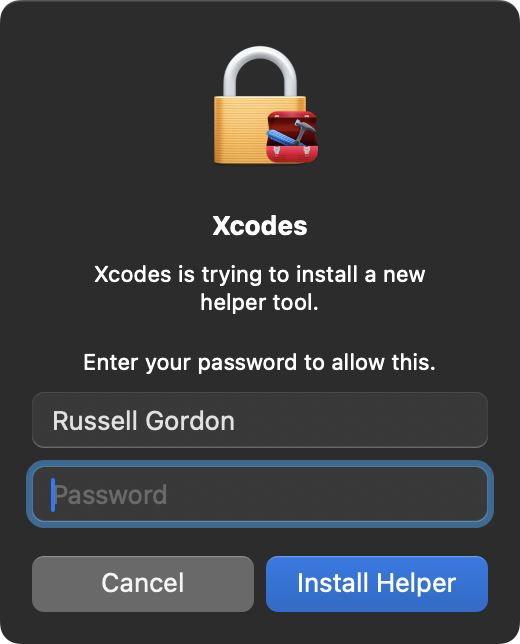
You will then see this dialog – provide the password that you use to log in to your computer, then choose Install Helper:
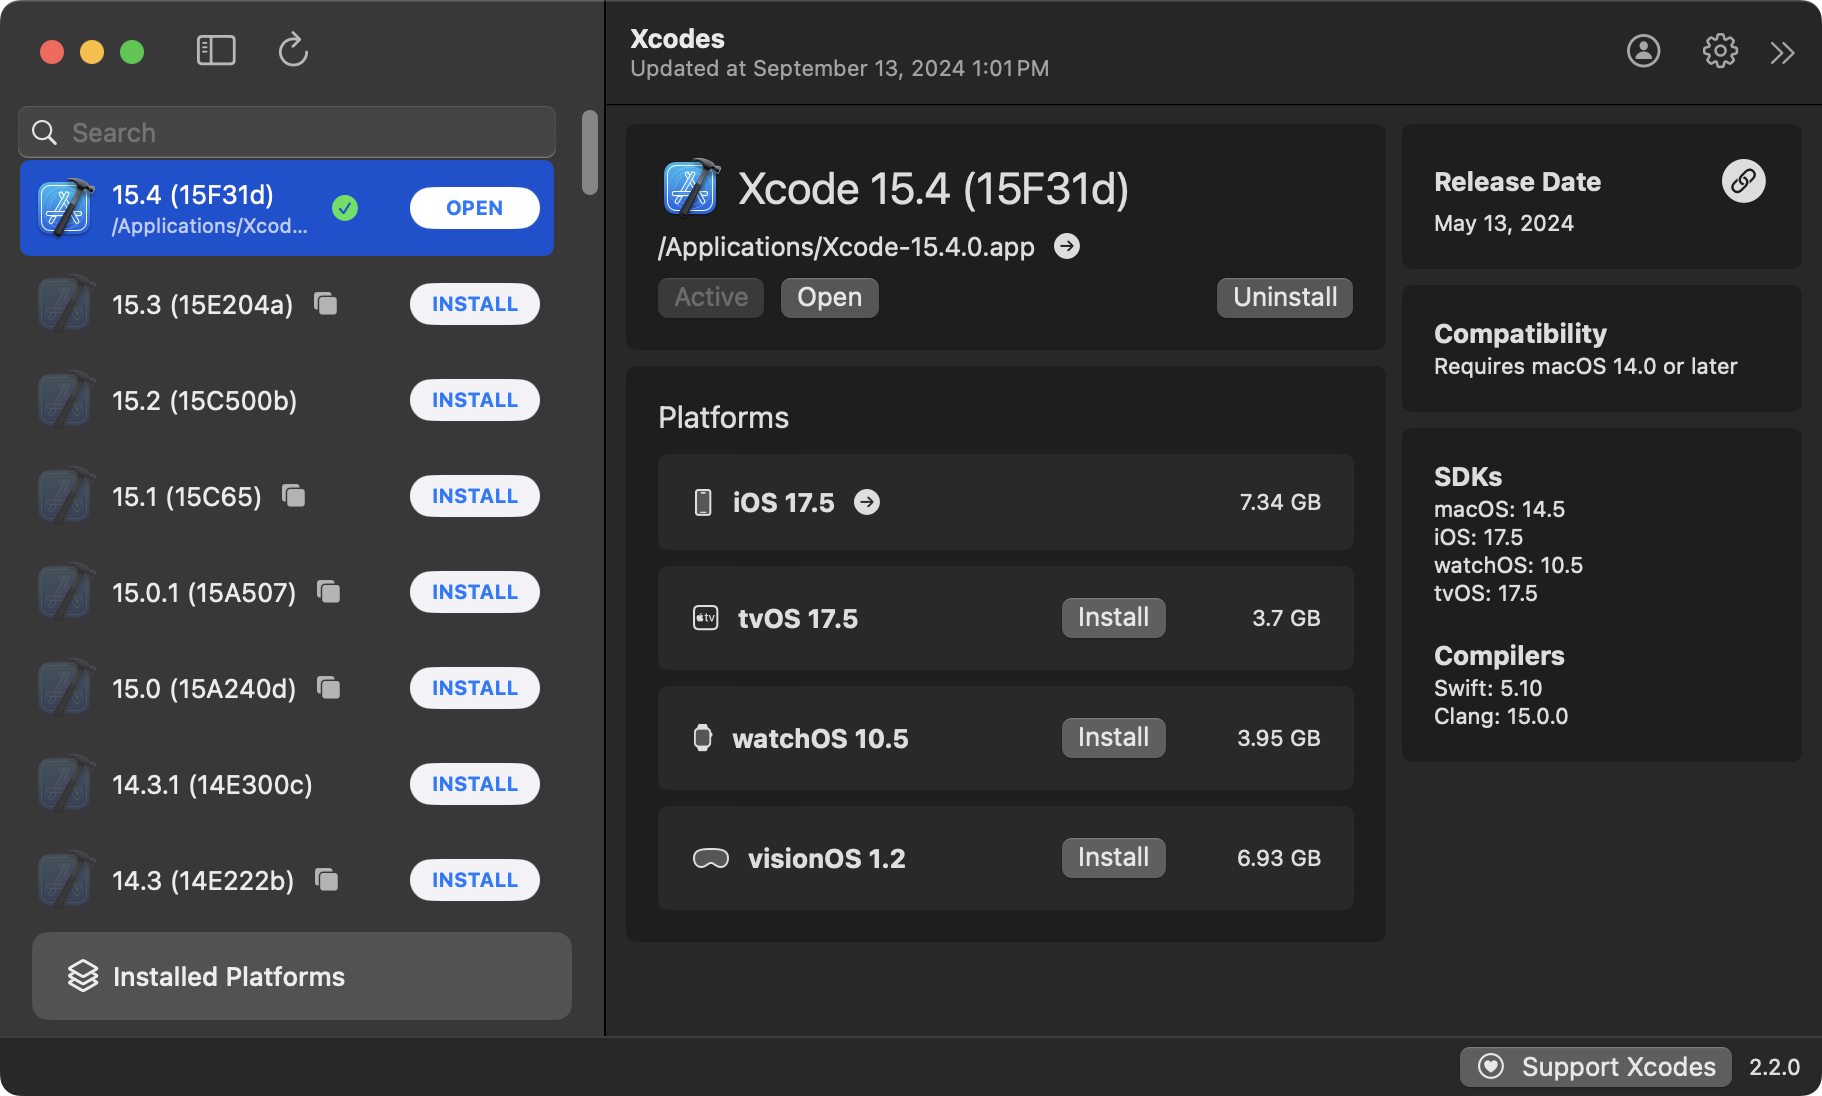
After Xcode has been installed, you should see something like the following:
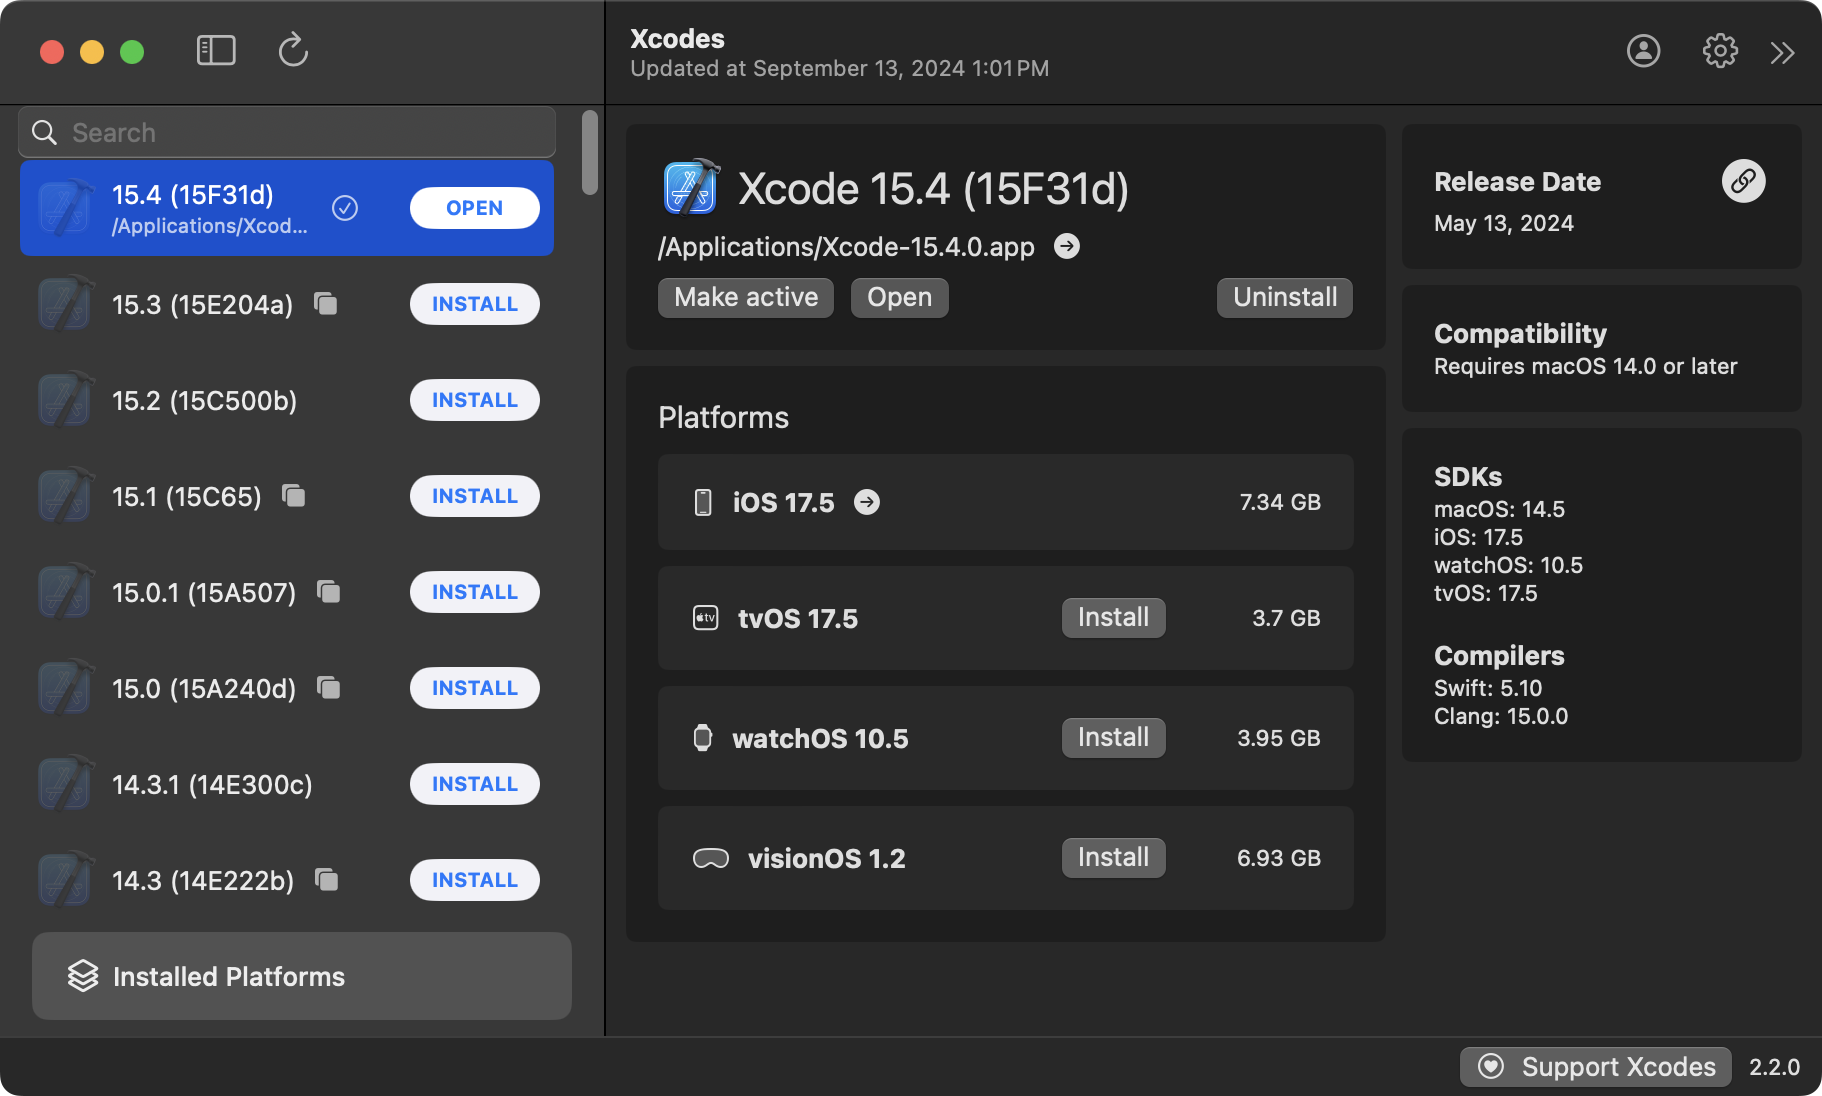
Press the Make active button so that Xcode 15.4 becomes the default version of Xcode – this means that when you double-click a .xcodeproj file, Xcode 15.4 is what will open:
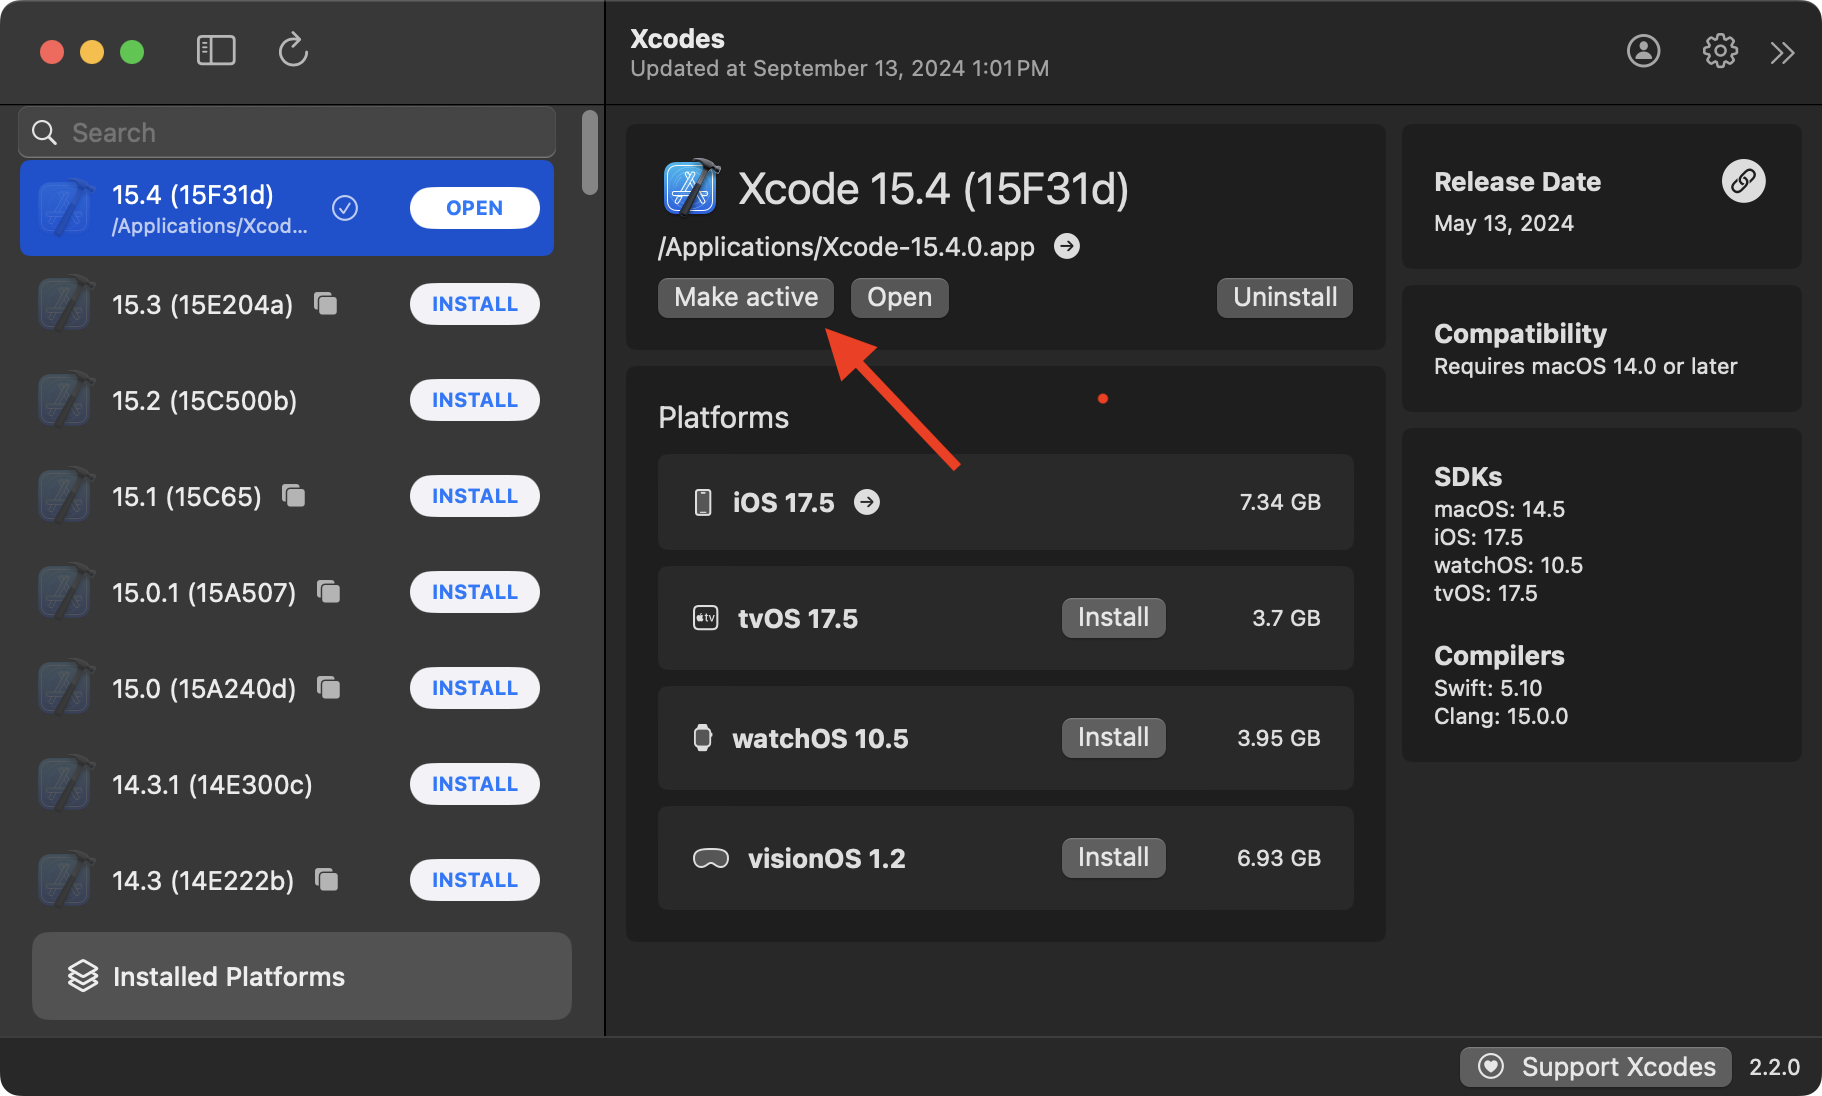
After pressing the Make active button, you will see a green checkmark beside Xcode 15.4:

Finally, you will also see this alert:
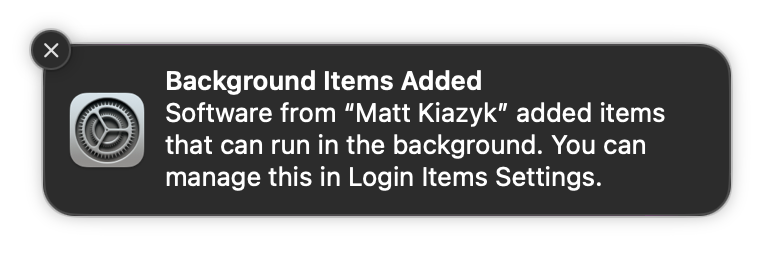
Matt Kiazyk is the developer of Xcodes – what is running in the background is the privileged helper tool we just installed a moment ago – that helper allows you to easily switch between active versions of Xcode without having to repeatedly type your account password to do so. That ability will be helpful later on this year when you may have multiple versions of Xcode on your computer.
You can dismiss the alert. You are now ready to open and use Xcode! 🚀