Introduction
Mathematics has been described as the universal language – so it is only natural that we would seek to find ways to use symbolic mathematics in applications we write to help others.
(pronounced “lay-tech”) is a “document preparation system” that sits atop Donald E. Knuth’s TeX typesetting sytem. In academia, LaTeX syntax is widely used for expressing symbolic mathematics or scientific formulae on a computer. If you proceed into post-secondary studies in science, technology, engineering, or mathematics, it is virtually certain that you will see, and perhaps write, LaTeX to express mathematical concepts at some point during your studies.
The purpose of this tutorial is to explain how to use LaTeXSwiftUI package, which makes it possible to use LaTeX within an app that uses the SwiftUI framework to show a user interface.
NOTE
There are other third-party packages that make it possible to use LaTeX in a SwiftUI app, but LaTeXSwiftUI is the one that Mr. Gordon has generally found the easiest to use.
Syntax
It is beyond the scope of this tutorial to explain LaTeX syntax, but the following reference sheet is useful.
TIP
In a pinch (remembering that large language model usage is extremely energy intensive and should only be used when you really need it) you could use ChatGPT to obtain LaTeX syntax.
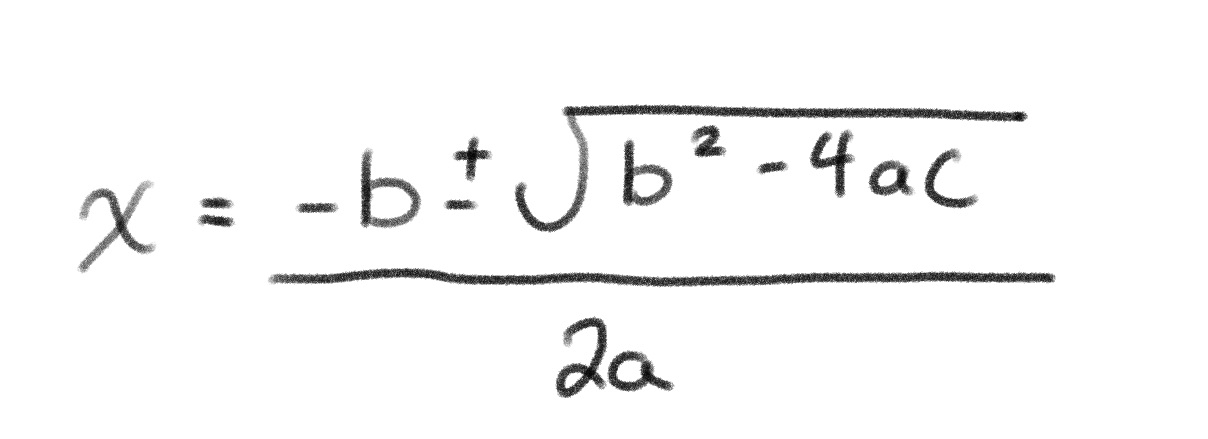
First, write out the formula by hand on paper or by using an iPad:
Then ask the LLM to convert that formula into LaTeX syntax:

Create the project
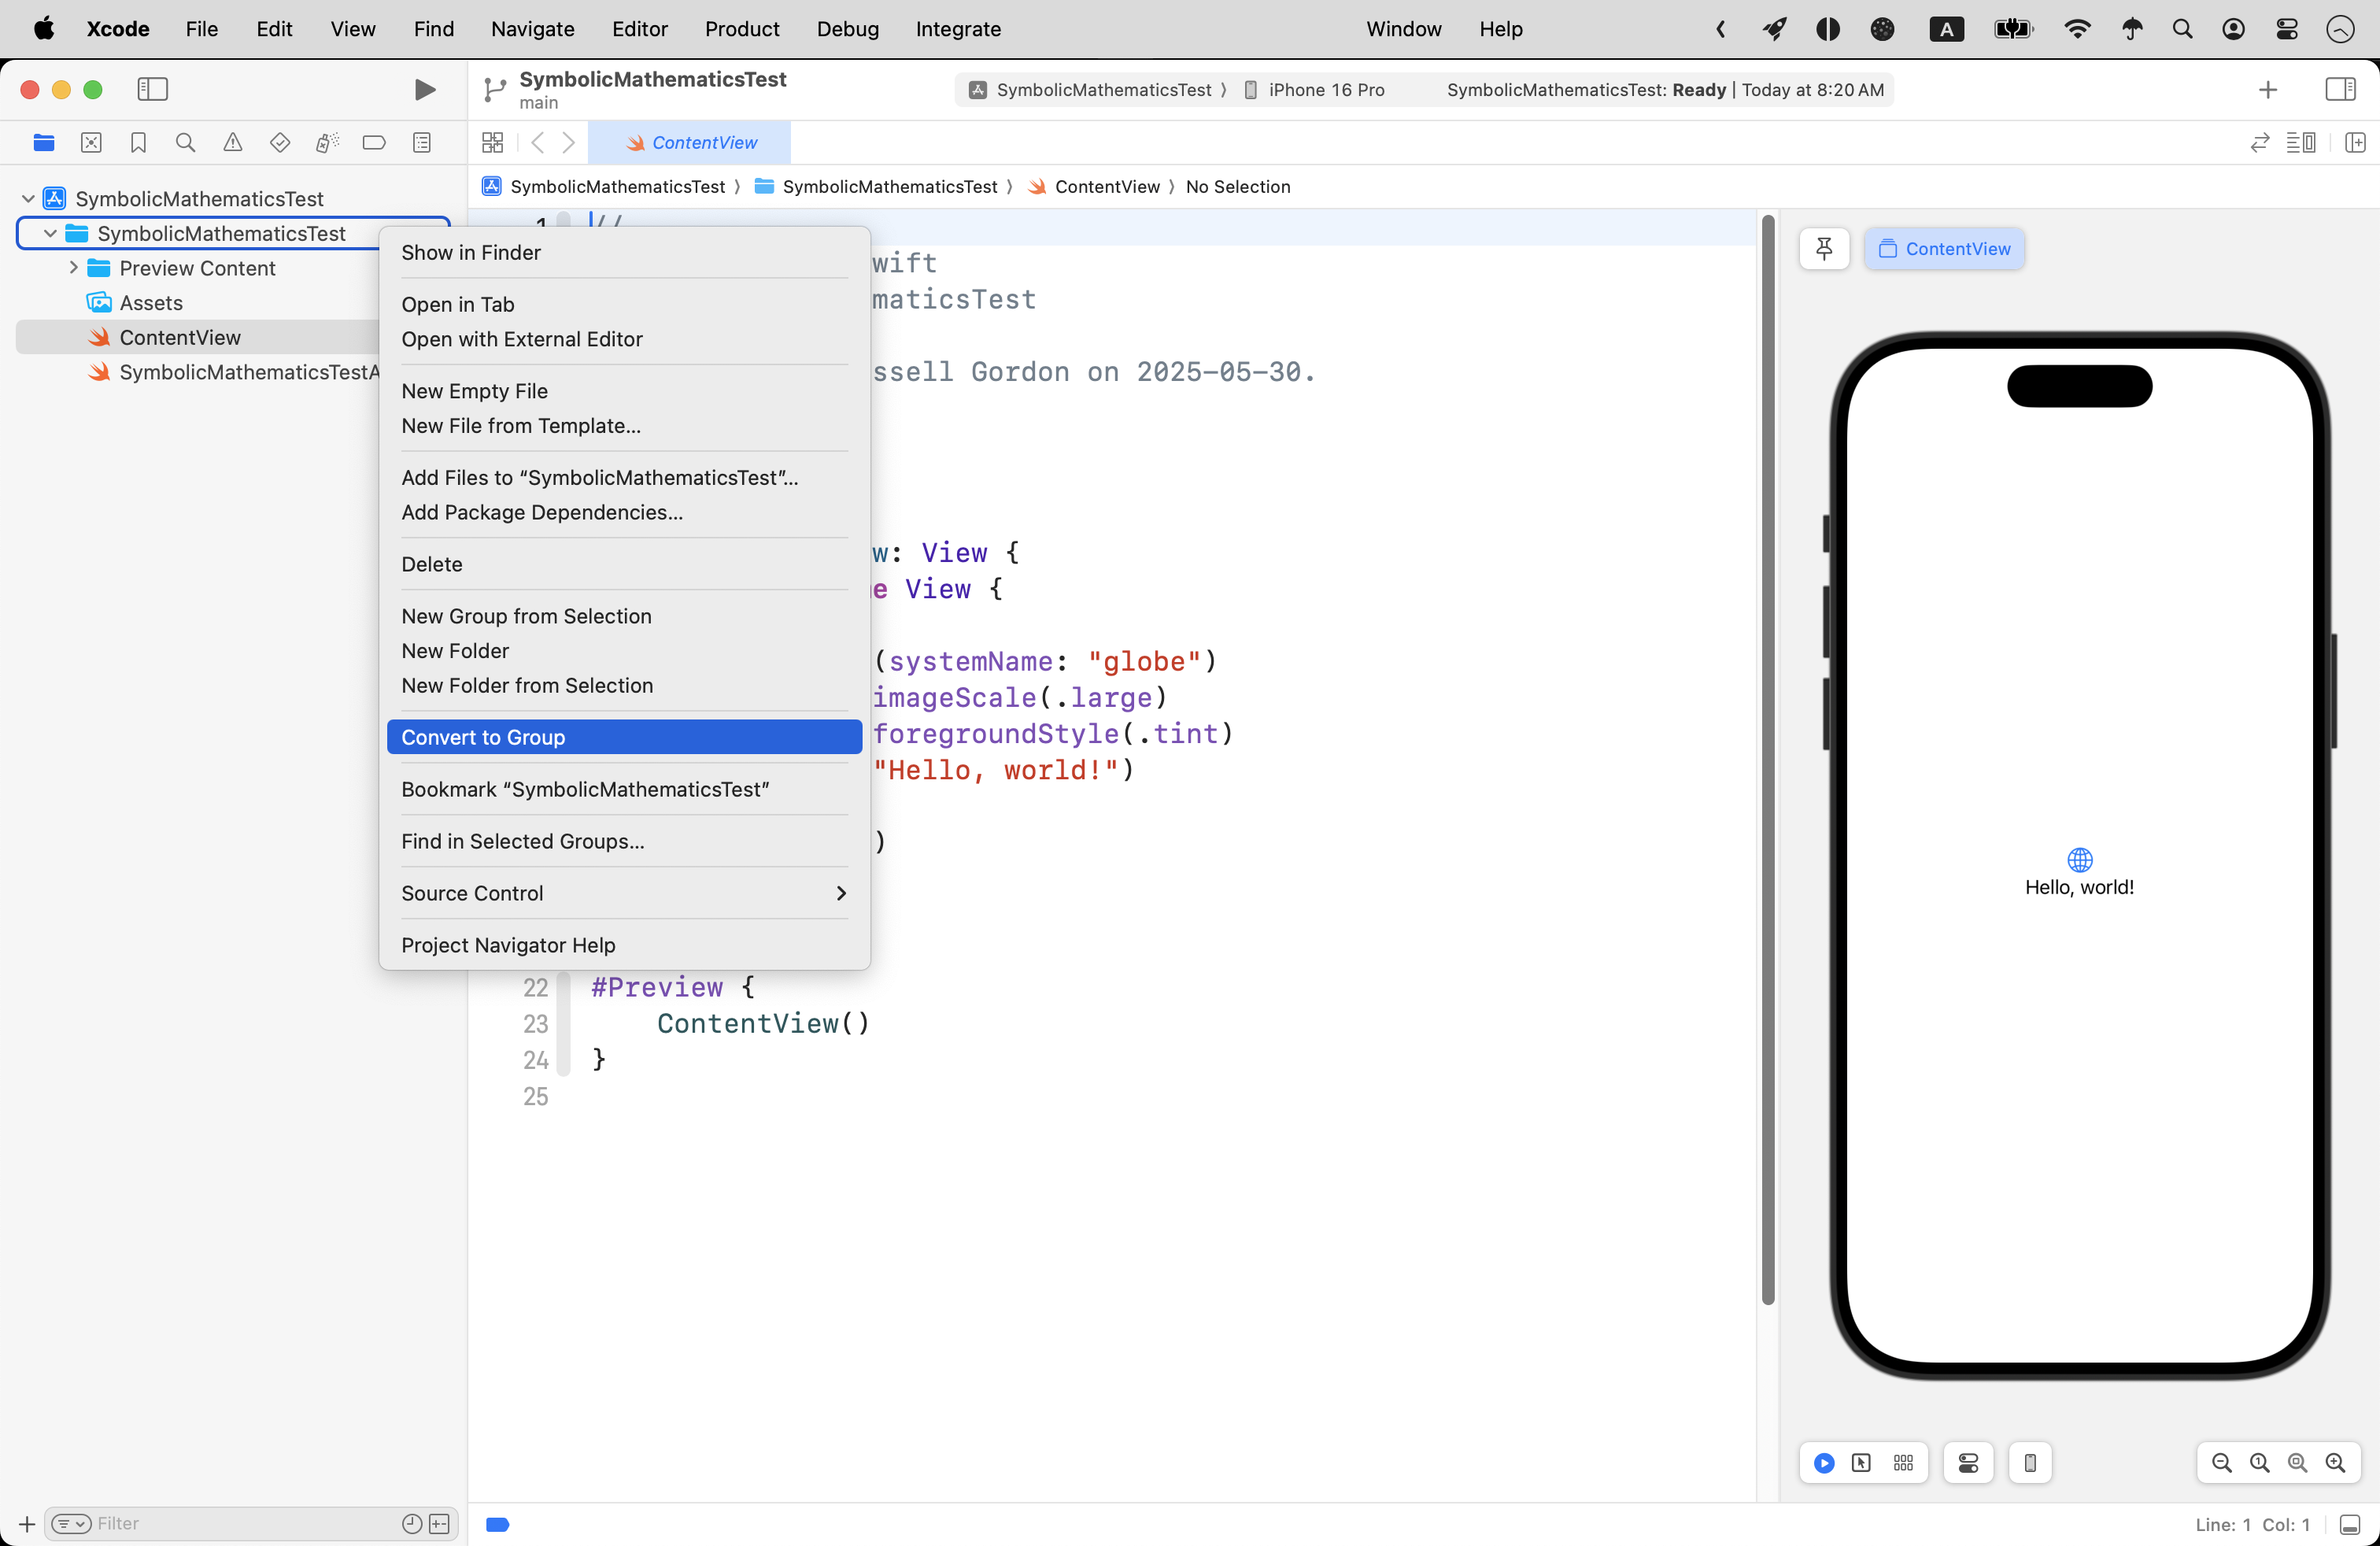
Create a new new iOS project named SymbolicMathematicsTest:

Organize the project
Next we can go ahead and change the blue folders to grey groups:
… which makes it easier to organize our project:

NOTE
For this example, we will only need two groups – Model and Views.
Install the package
Next, we must install a specific version of the LaTeXSwiftUI package – version 1.3.2.
Please select File > Add Package Dependencies…:

Then paste this address in the field in the top-right corner of the dialog that appears:
https://github.com/colinc86/LaTeXSwiftUI
For the Dependency Rule option, be sure to select Exact Version and then type 1.3.2 in the textfield, then press Add Package:

In the next dialog that appears, be sure the LaTeXSwiftUI package is being added to the target, then press Add Package again:

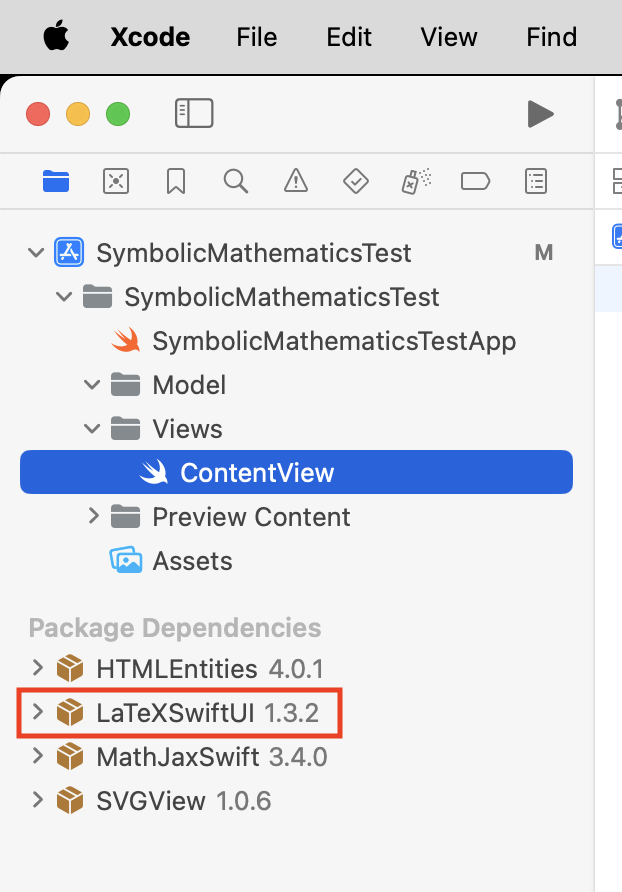
If all is well, you should see something like this in the bottom left-hand corner of your project – specifically, you should see that version 1.3.2 of LaTeXSwiftUI has been added to your project (along with some additional packages that it in turn depends upon):
Example code
Model
Please copy this code:
import Foundation

struct Circle {

    // MARK: Stored properties
    var radius: Double = 0.0

    // MARK: Computed properties

    // Radius formatted to two decimal places
    var formattedRadius: String {
        return radius.formatted(.number.precision(.fractionLength(2)))
    }

    // Area of a circle, given the radius
    var area: Double {
        return Double.pi * radius * radius
    }

    // Area formatted to one decimal place
    var formattedArea: String {
        return area.formatted(.number.precision(.fractionLength(1)))
    }

}
… and add it to a file named Circle.swift in the Model group:

… like this:

TIP
This code should look familiar – it’s the kind of structure we wrote very early on in the Grade 11 course. The structure accepts input which describes the radius of a circle. It has a computed property to determine the area, and then two computed properties that take the numeric values of
radiusandareaand format them as strings with a limited number of decimal places.
View
Please copy this code:
import SwiftUI
import LaTeXSwiftUI

struct ContentView: View {

    // MARK: Stored properties

    // The current circle being described by the user
    @State var currentCircle = Circle()

    // MARK: Computed properties

    // The user interface
    var body: some View {
        VStack(alignment: .leading, spacing: 10) {

            // INPUT

            Text("Radius")
                .font(.title3)
                .bold()
            Text("\(currentCircle.formattedRadius)")
                .font(.title3)
            Slider(value: $currentCircle.radius, in: 0...100, step: 0.01)
                .padding(.bottom, 20)

            // OUTPUT

            // Plain output...
            Text("Area of a circle")
                .font(.title3)
                .bold()

            Text("\(currentCircle.formattedArea) square units")
                .padding(.bottom, 20)

            // Formatted output, using LaTeX...
            Text("Area of a circle (formatted)")
                .font(.title3)
                .bold()

            LaTeX("$A=\\pi r^2$")
            LaTeX("$A=\\pi (\(currentCircle.formattedRadius))^2$")
            LaTeX("$A=\(currentCircle.formattedArea) \\text{ square units}$")
        }
        .padding()
    }
}

#Preview {
    ContentView()
}
… replacing the code in the ContentView.swift file that already exists in the project, like this:

Now you should be able to try out the app – drag the slider to provide input and see the output change:
Review
Let’s review how this code works a little bit…

Here we have:
DISCUSSION
- To avoid the need for a view model to validate input, we use a
Sliderstructure directly bound to the radius of an instance of theCirclestructure defined in our app’s data model.- We output the radius that has been provided via the slider using a regular
Textstructure.- We output the area that has been computed by the instance of the
Circlestructure using a regularTextstructure.- We use the
LaTeXstructure provided by the LaTeXSwiftUI package to display symbolic mathematics describing how the area of a circle is computed.
On line 49, we display static (non-changing) output – the formula for finding the area of a circle.
On line 50 we replace in the formula with it’s actual value.
On line 51 we show the computed area value.
Essentially, we can use aLaTeXstructure the same way we do a regularTextstructure – with string interpolation syntax\()to show the live value of a variable win our app.
As needed, you can review more usage examples for LaTeXSwiftUI.
Conclusion
That’s it! If you have any further questions about this, Mr. Gordon is happy to help out. 🚀