Paul Hudson has an ultra-brief tutorial on how to play sounds using the AVAudioPlayer structure which is provided through the AVFoundation framework authored by Apple.
In this case, however, a bit more explanation might be helpful, so let’s dive in.
First, here is the example we’ll review in this tutorial – watch the video to see what happens – this is an example of a “sound board app” where users can play different sound effects by clicking on various buttons:
Obtaining sound files
There are many different places on the Internet from which one can obtain sound files.
Mr. Gordon likes to use FreeSound – it is well-organized, and the license under which a sound file is made available is clearly presented.
TIP
You need to create an account with FreeSound to download their sound files.
Example code
You can download a copy of this project and try it out.
In the sections below, the code will be explained further, and we’ll look at how to extend this app to add more sound effects.
Model
The app defines a structure named Sound which has five stored properties:
- A unique identifier (required so we can later iterate over an array containing instances of this data type).
- The exact filename of the sound file that exists in our project – this must match precisely, and is case-sensitive.
- A name to describe the sound file (e.g.: “Doorbell rings” or “Cows Moo”).
- A longer description that might be useful to show or search against in our app.
- Text that describes the source of a sound file (attribution).

As you can see above, several instances of the model are created, which will be used throughout this app.
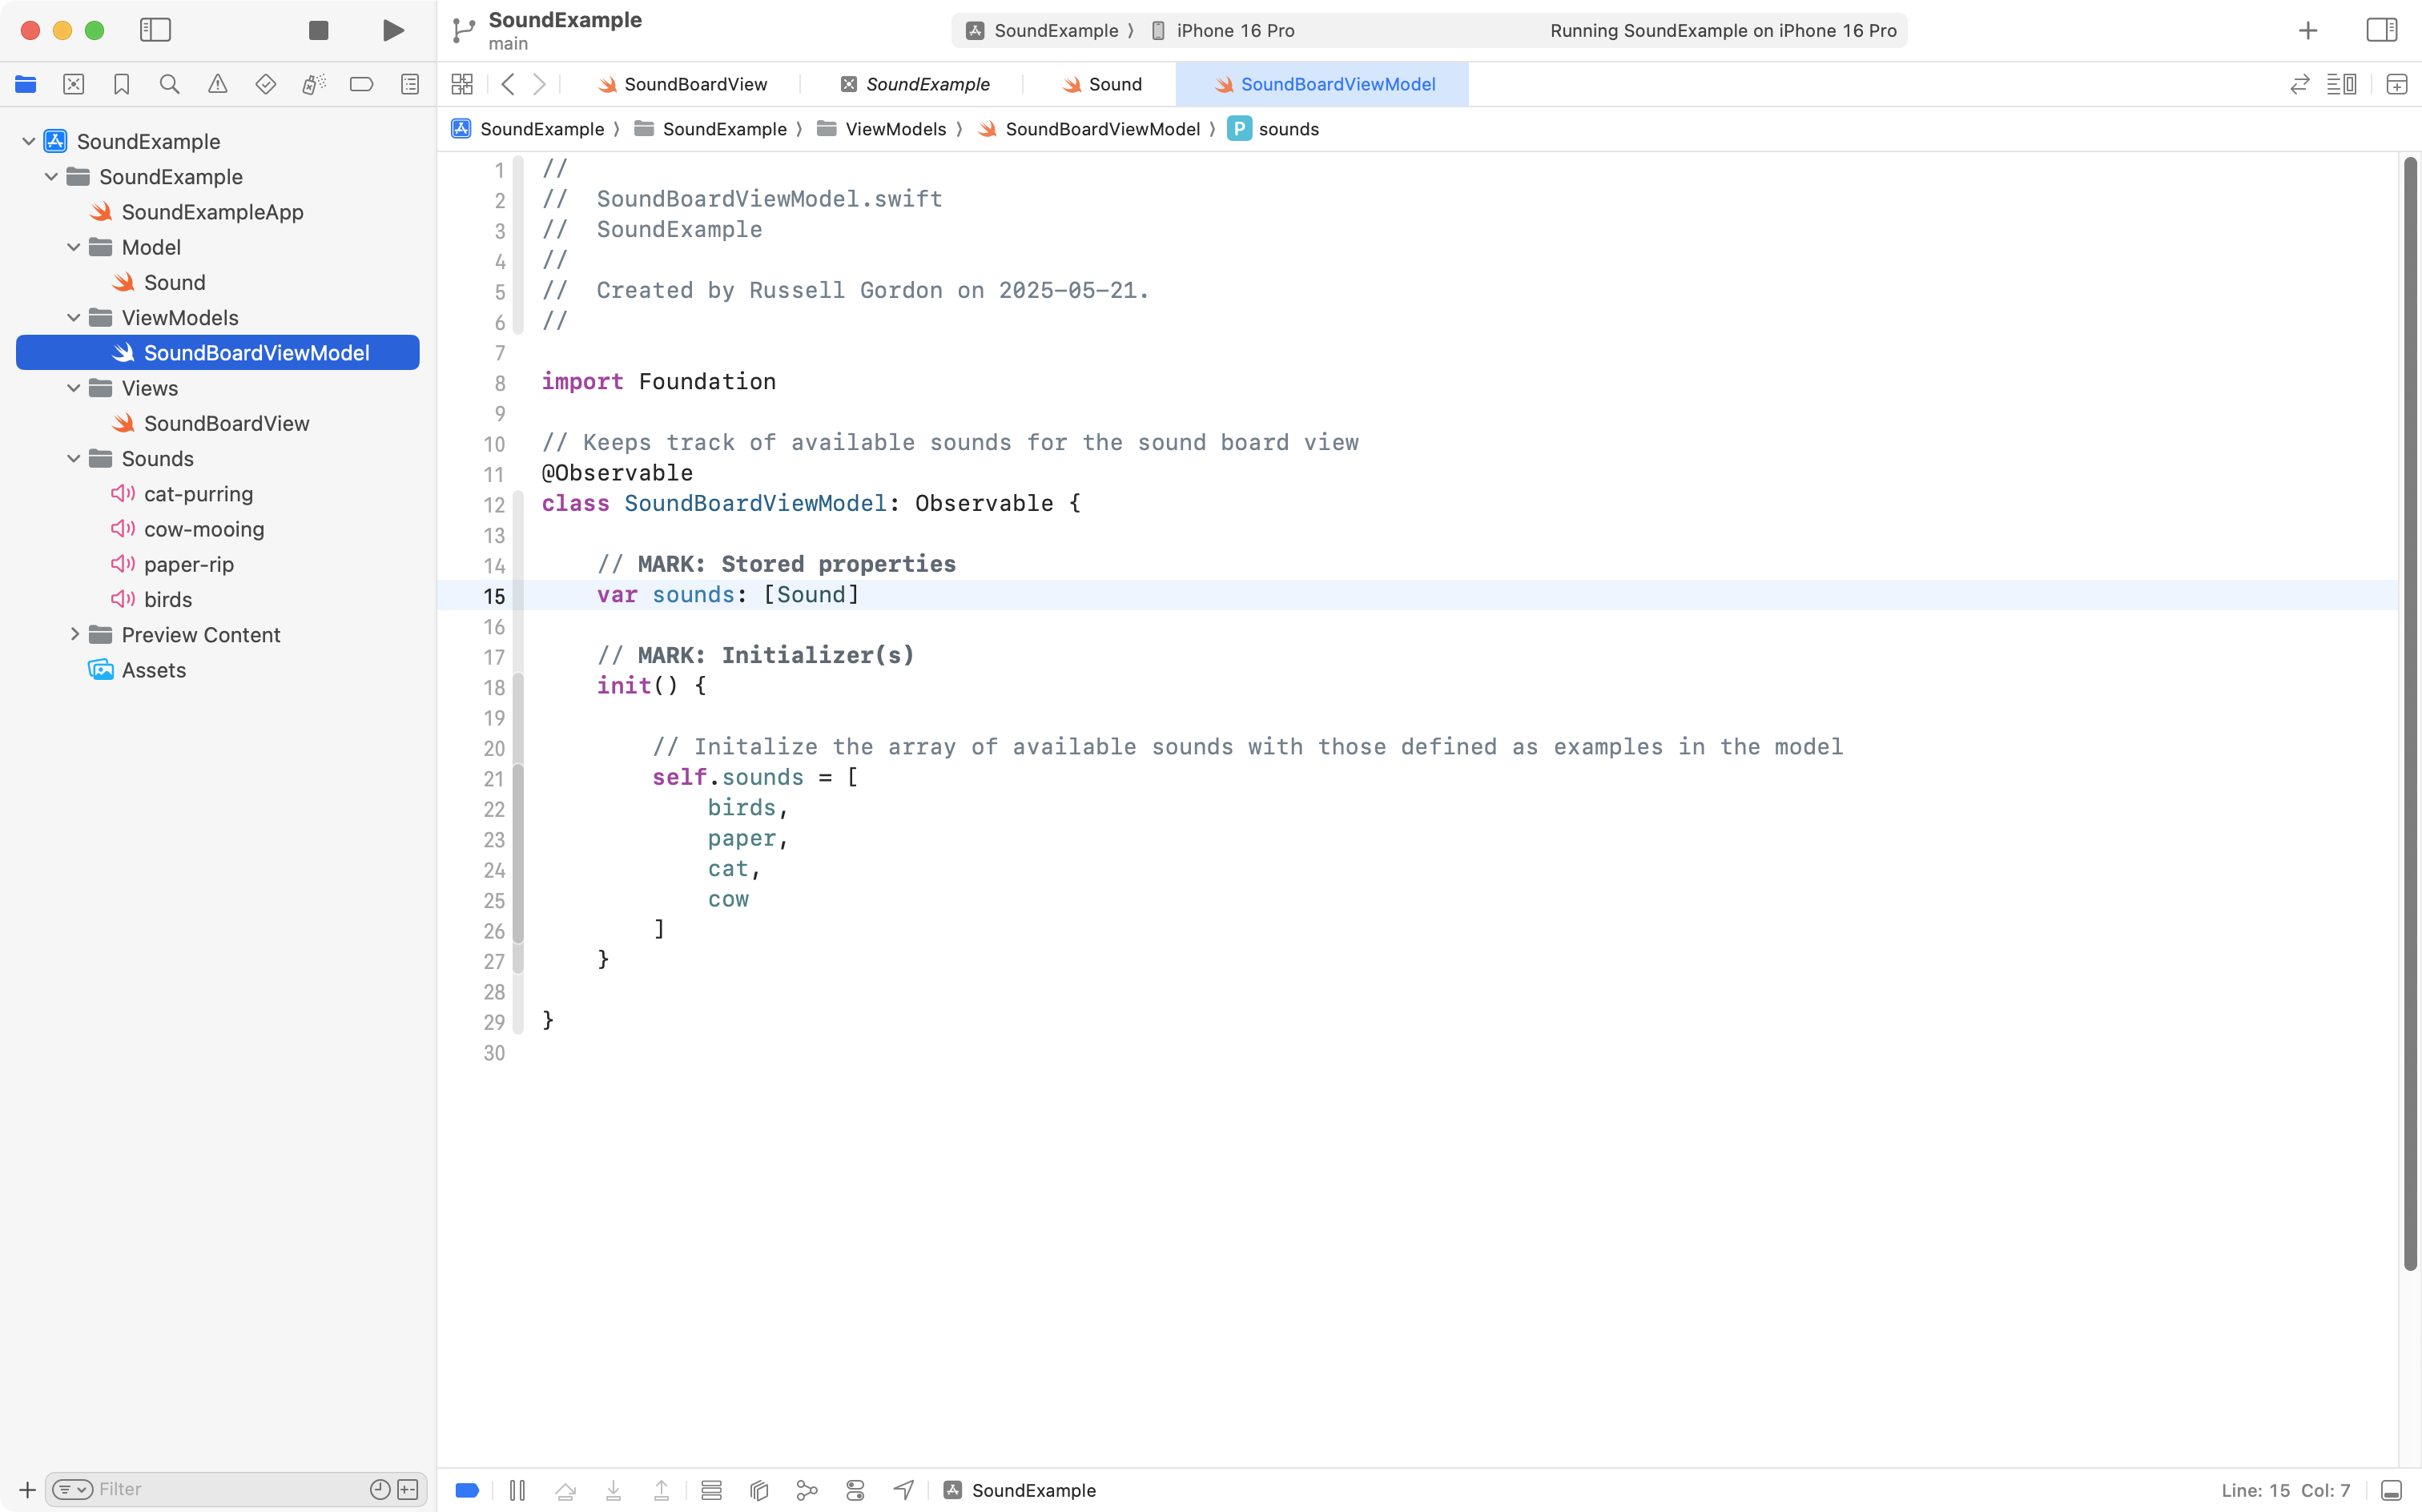
View model
A very simple view model for the app provides an array that contains all available sound effects:
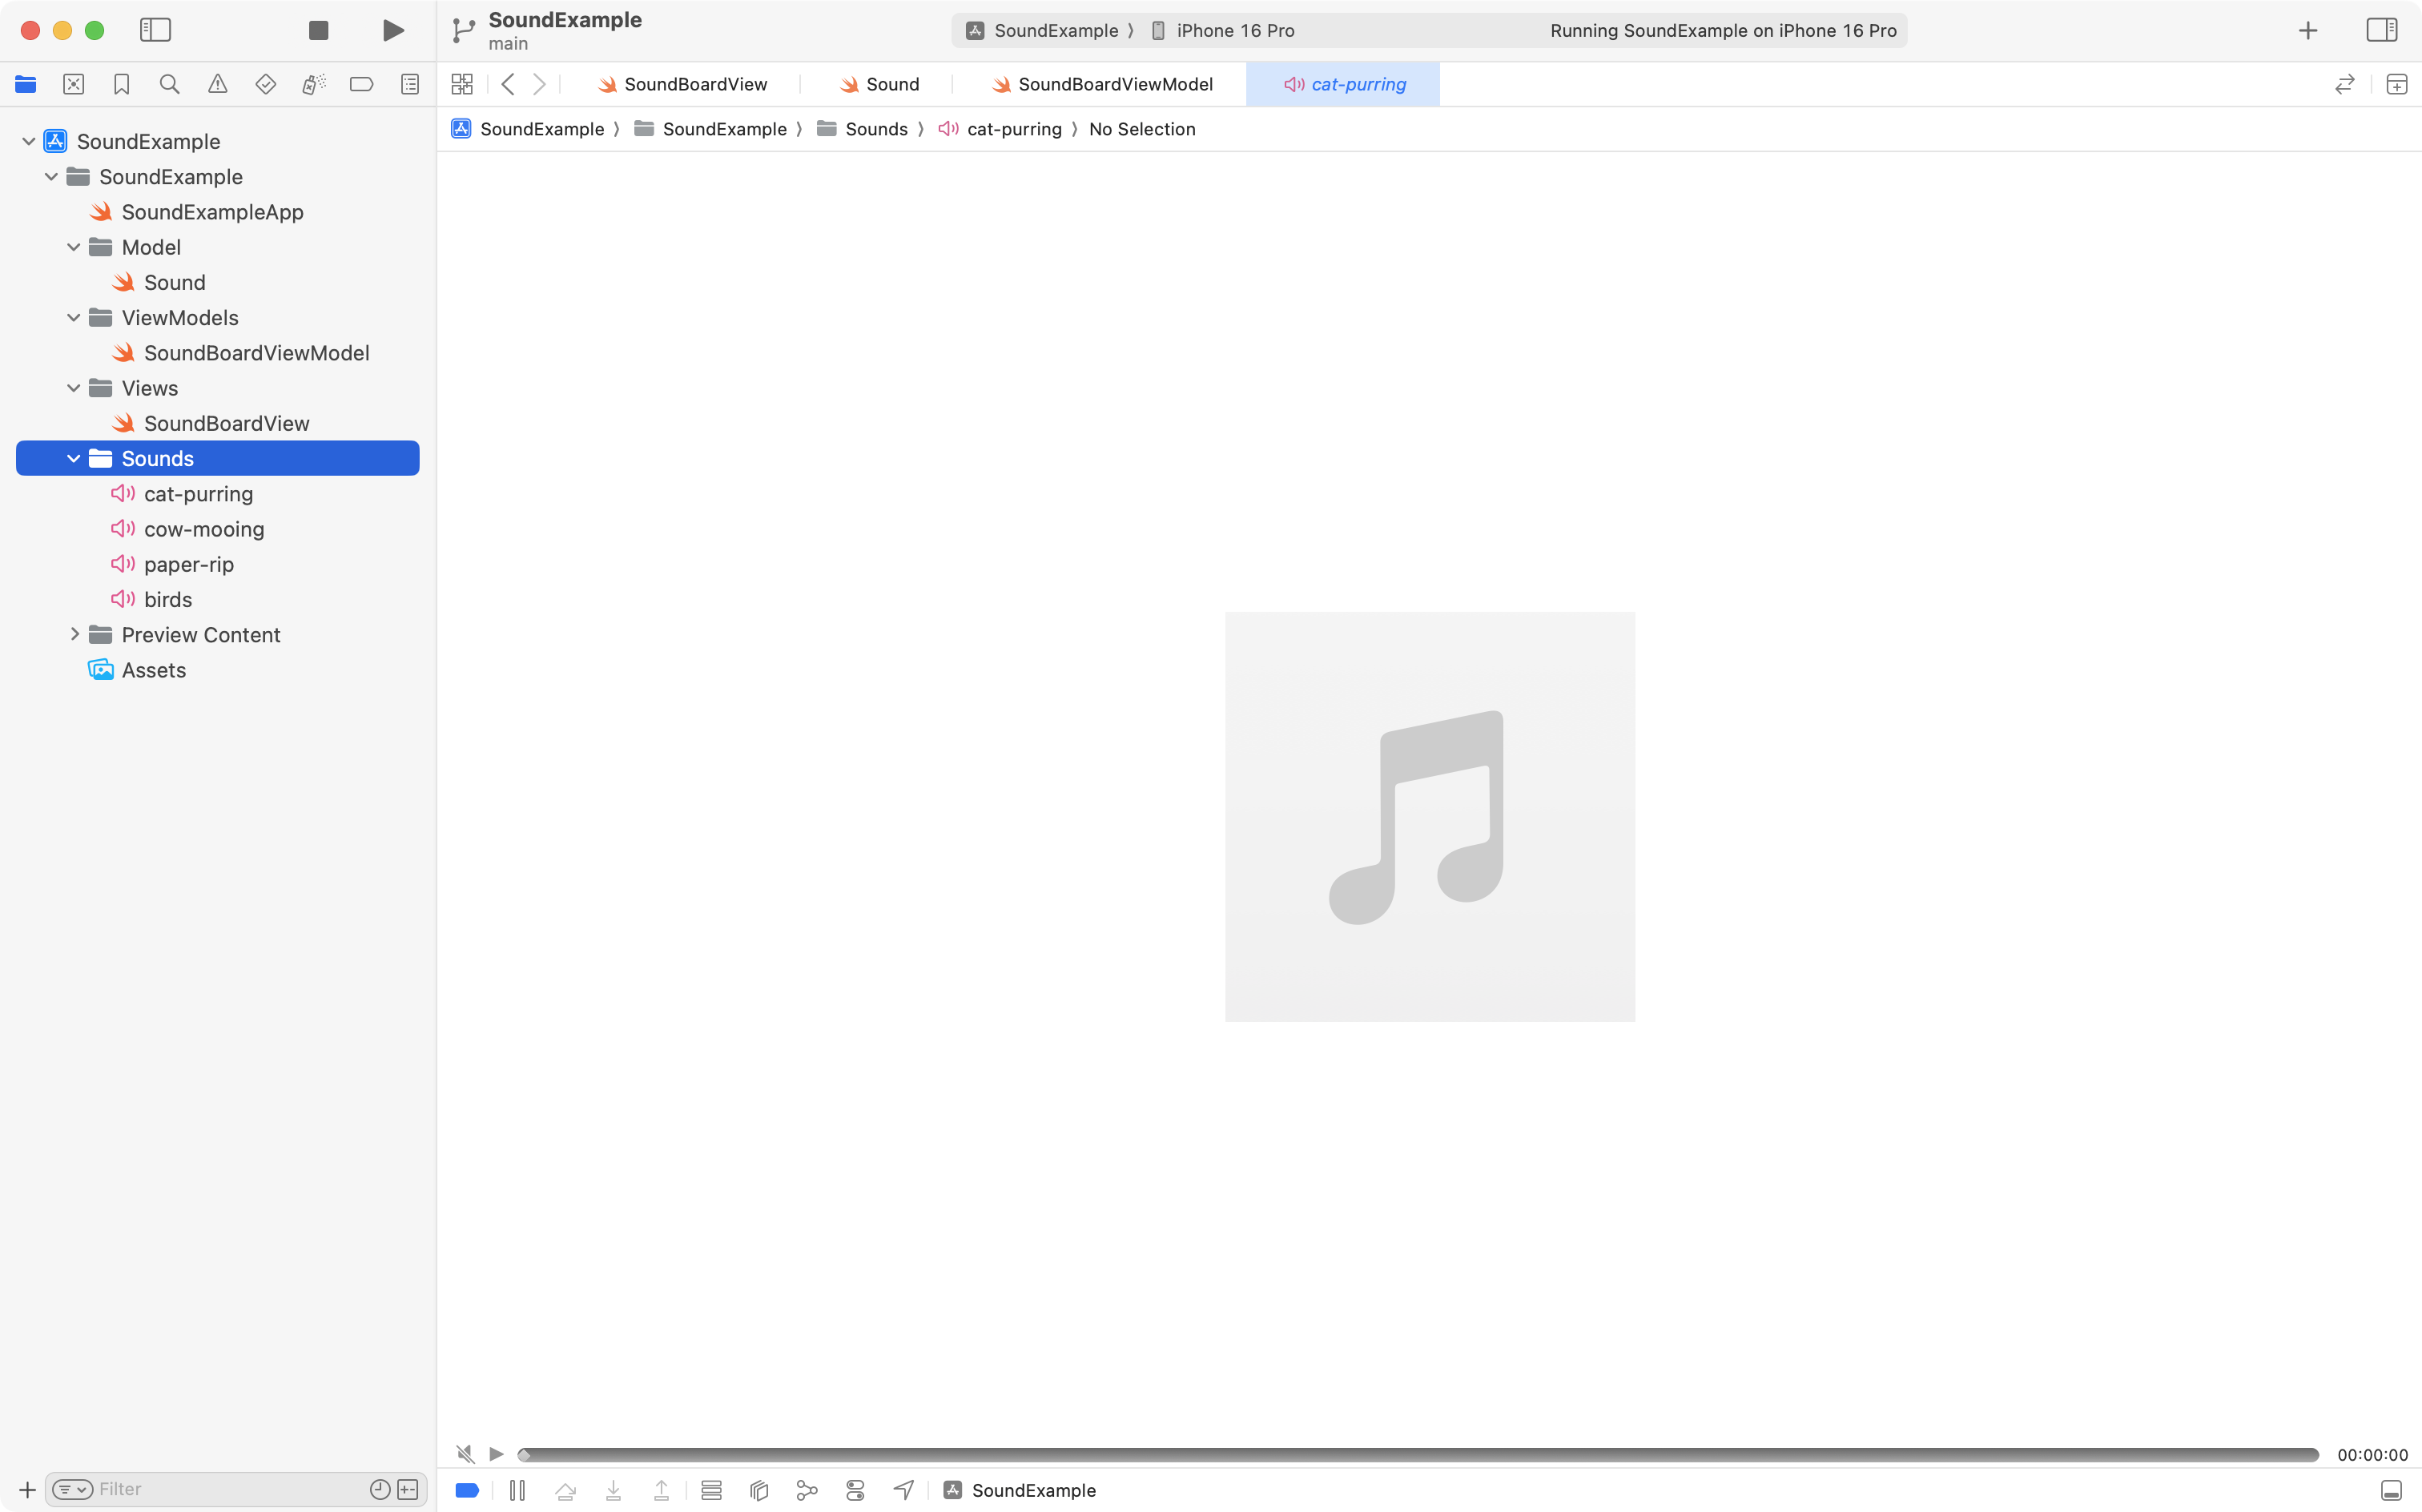
Sounds
A Sounds group is defined within our project just to keep things organized. This holds all of the sound files we have imported into the project:
View
Let’s examine the view code, which is where most of the logic for this app exists.
Some parts of the code – the details of the LazyVGrid and the code inside the buttons that we can click to play a sound – are deliberately folded up right now.
We will take a look at that hidden code shortly.
For now, let’s look at other significant parts of the code in this view:
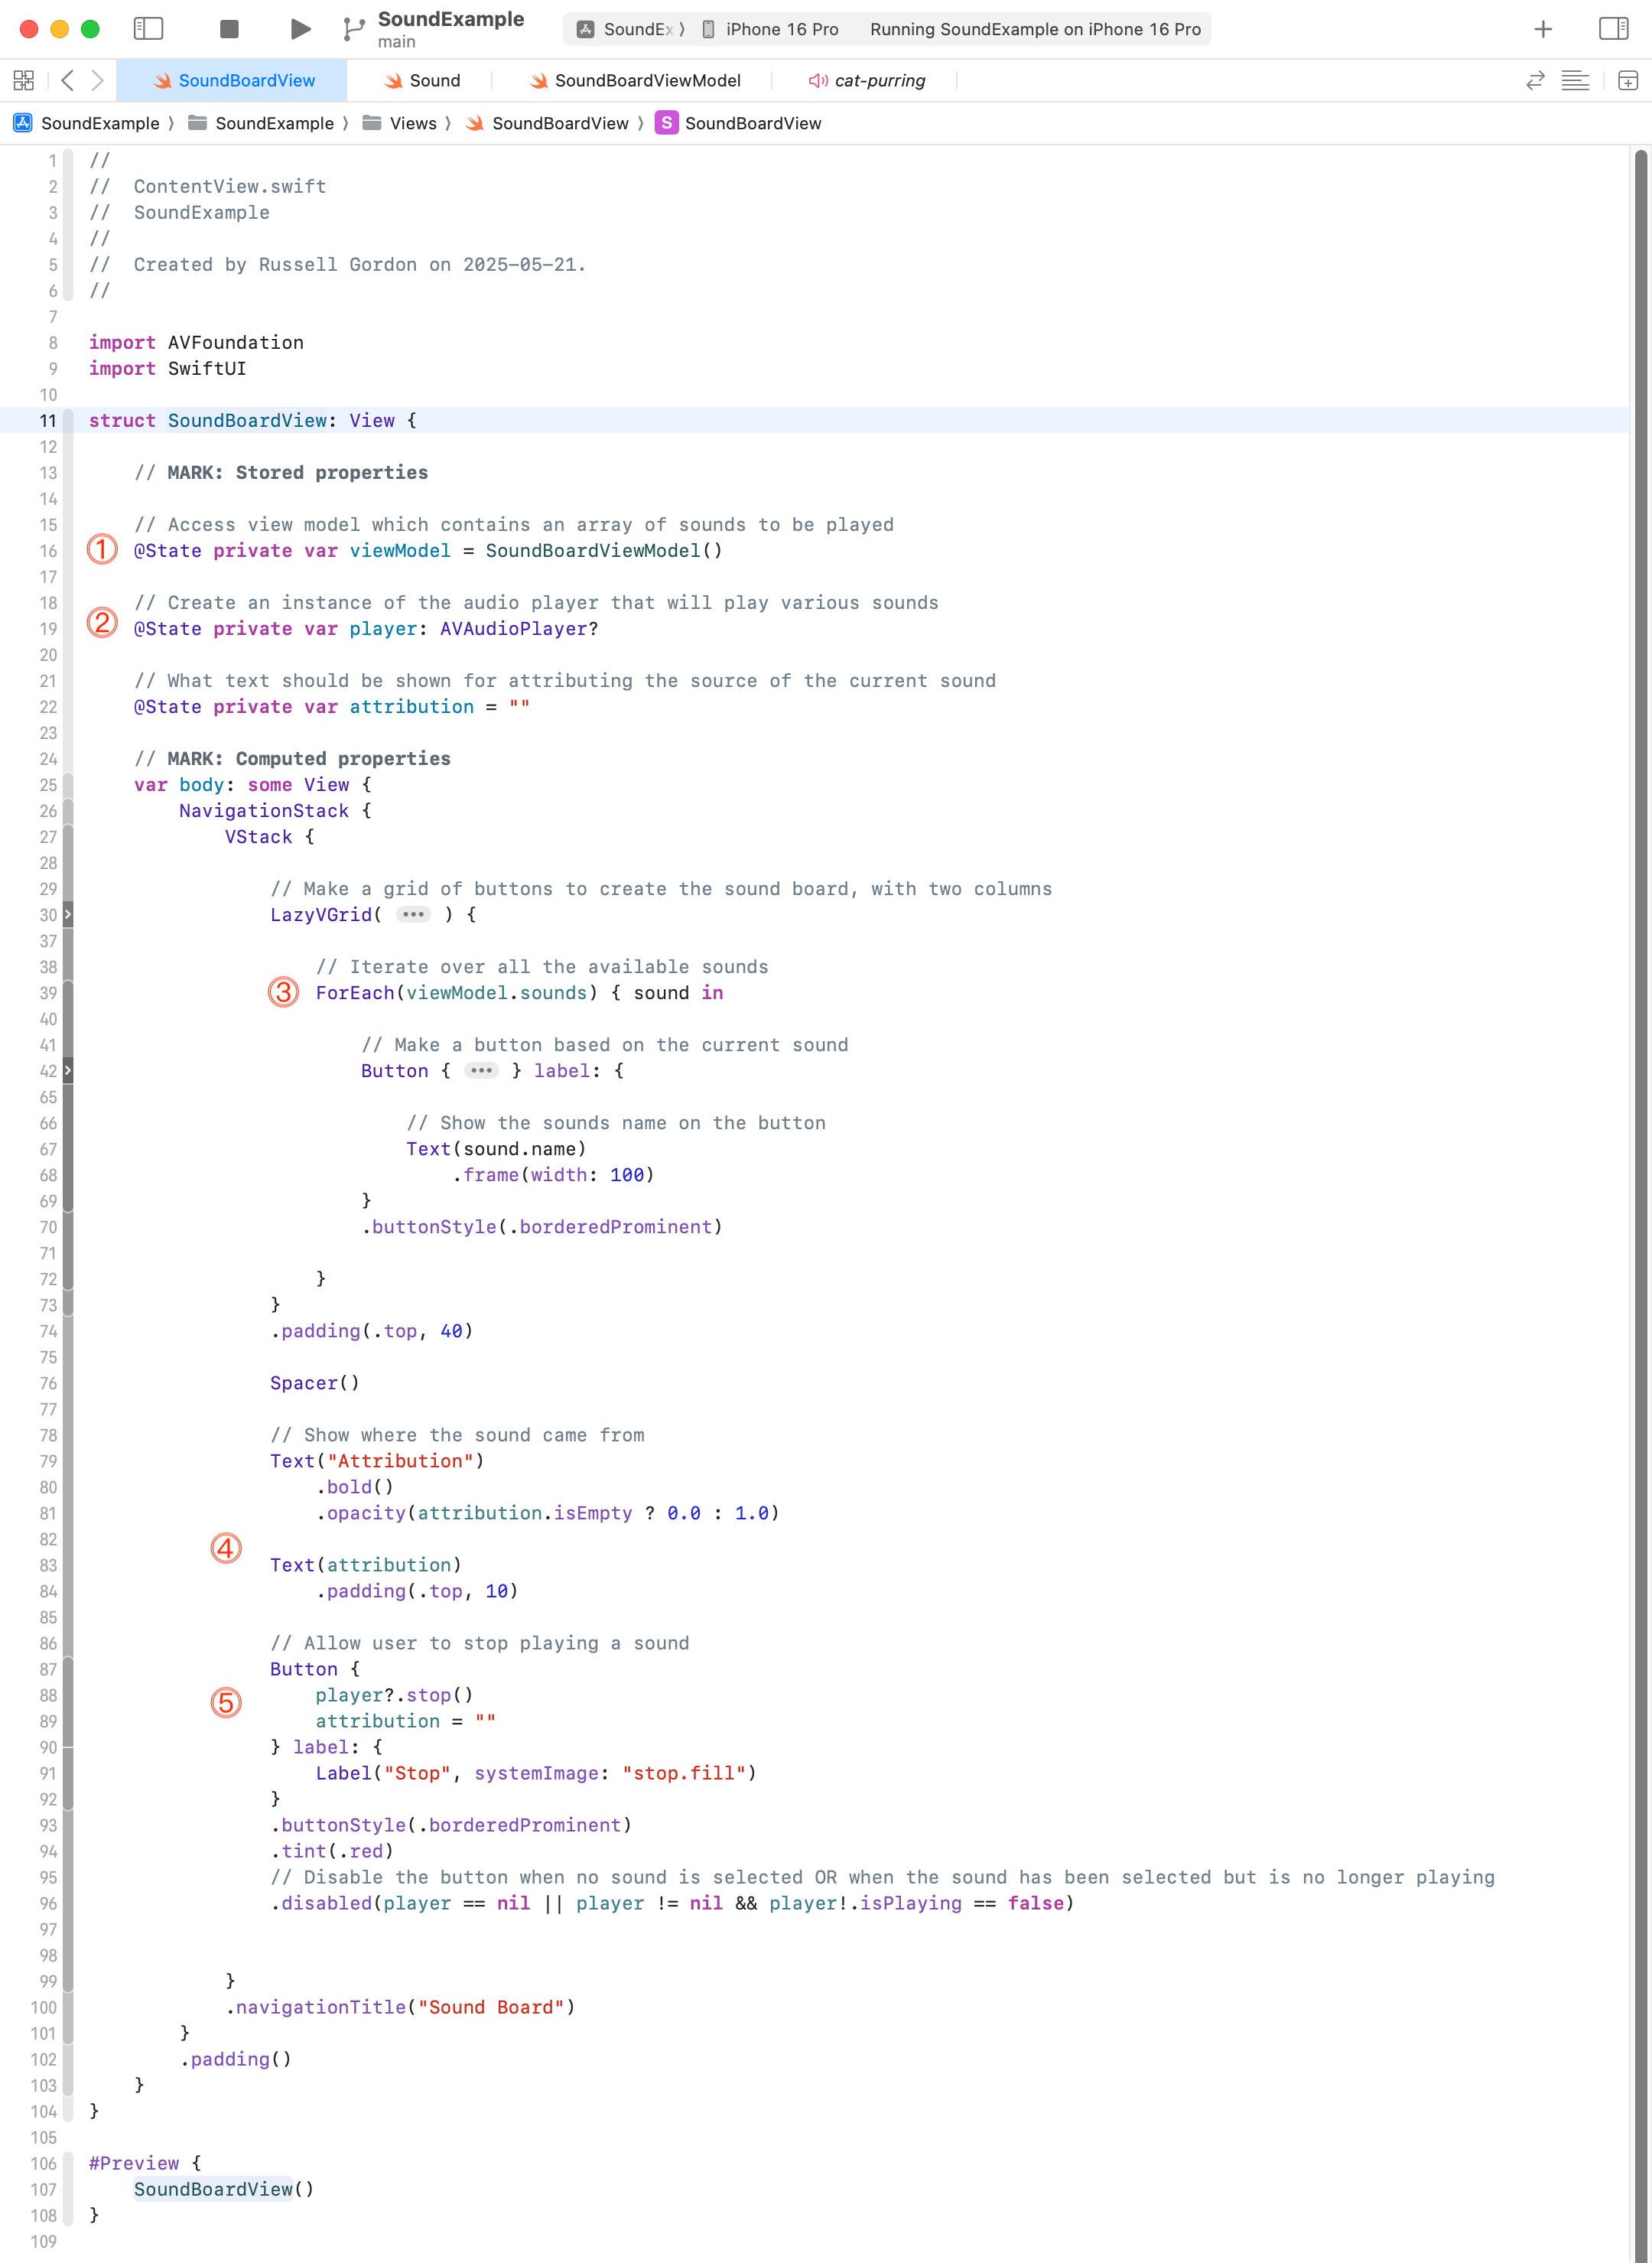
Here is a breakdown of those items:
DISCUSSION
- Here is where we establish a connection to the view model.
- This stored property holds a reference to an instance of
AVAudioPlayer– when there is a sound selected. There will not always be a selected sound – so this stored property is an optional, which means it can contain anilvalue.- We iterate over the array of sounds provided by the view model, inside of a
LazyVGridstructure. This way, instead of getting a list with one column of buttons, we get a grid with two columns. More on howLazyVGridworks in a moment…- When a sound has been selected to be played, this text view shows attribution information (who recorded the sound file, where it was obtained, and so on).
- Provide a button (with a red tint) allowing the user to stop whatever audio file might be playing.
Now let’s examine the two hidden parts of the code. First, let’s review the LazyVGrid.
How to use the LazyVGrid structure is described in detail in SwiftUI Views Mastery:
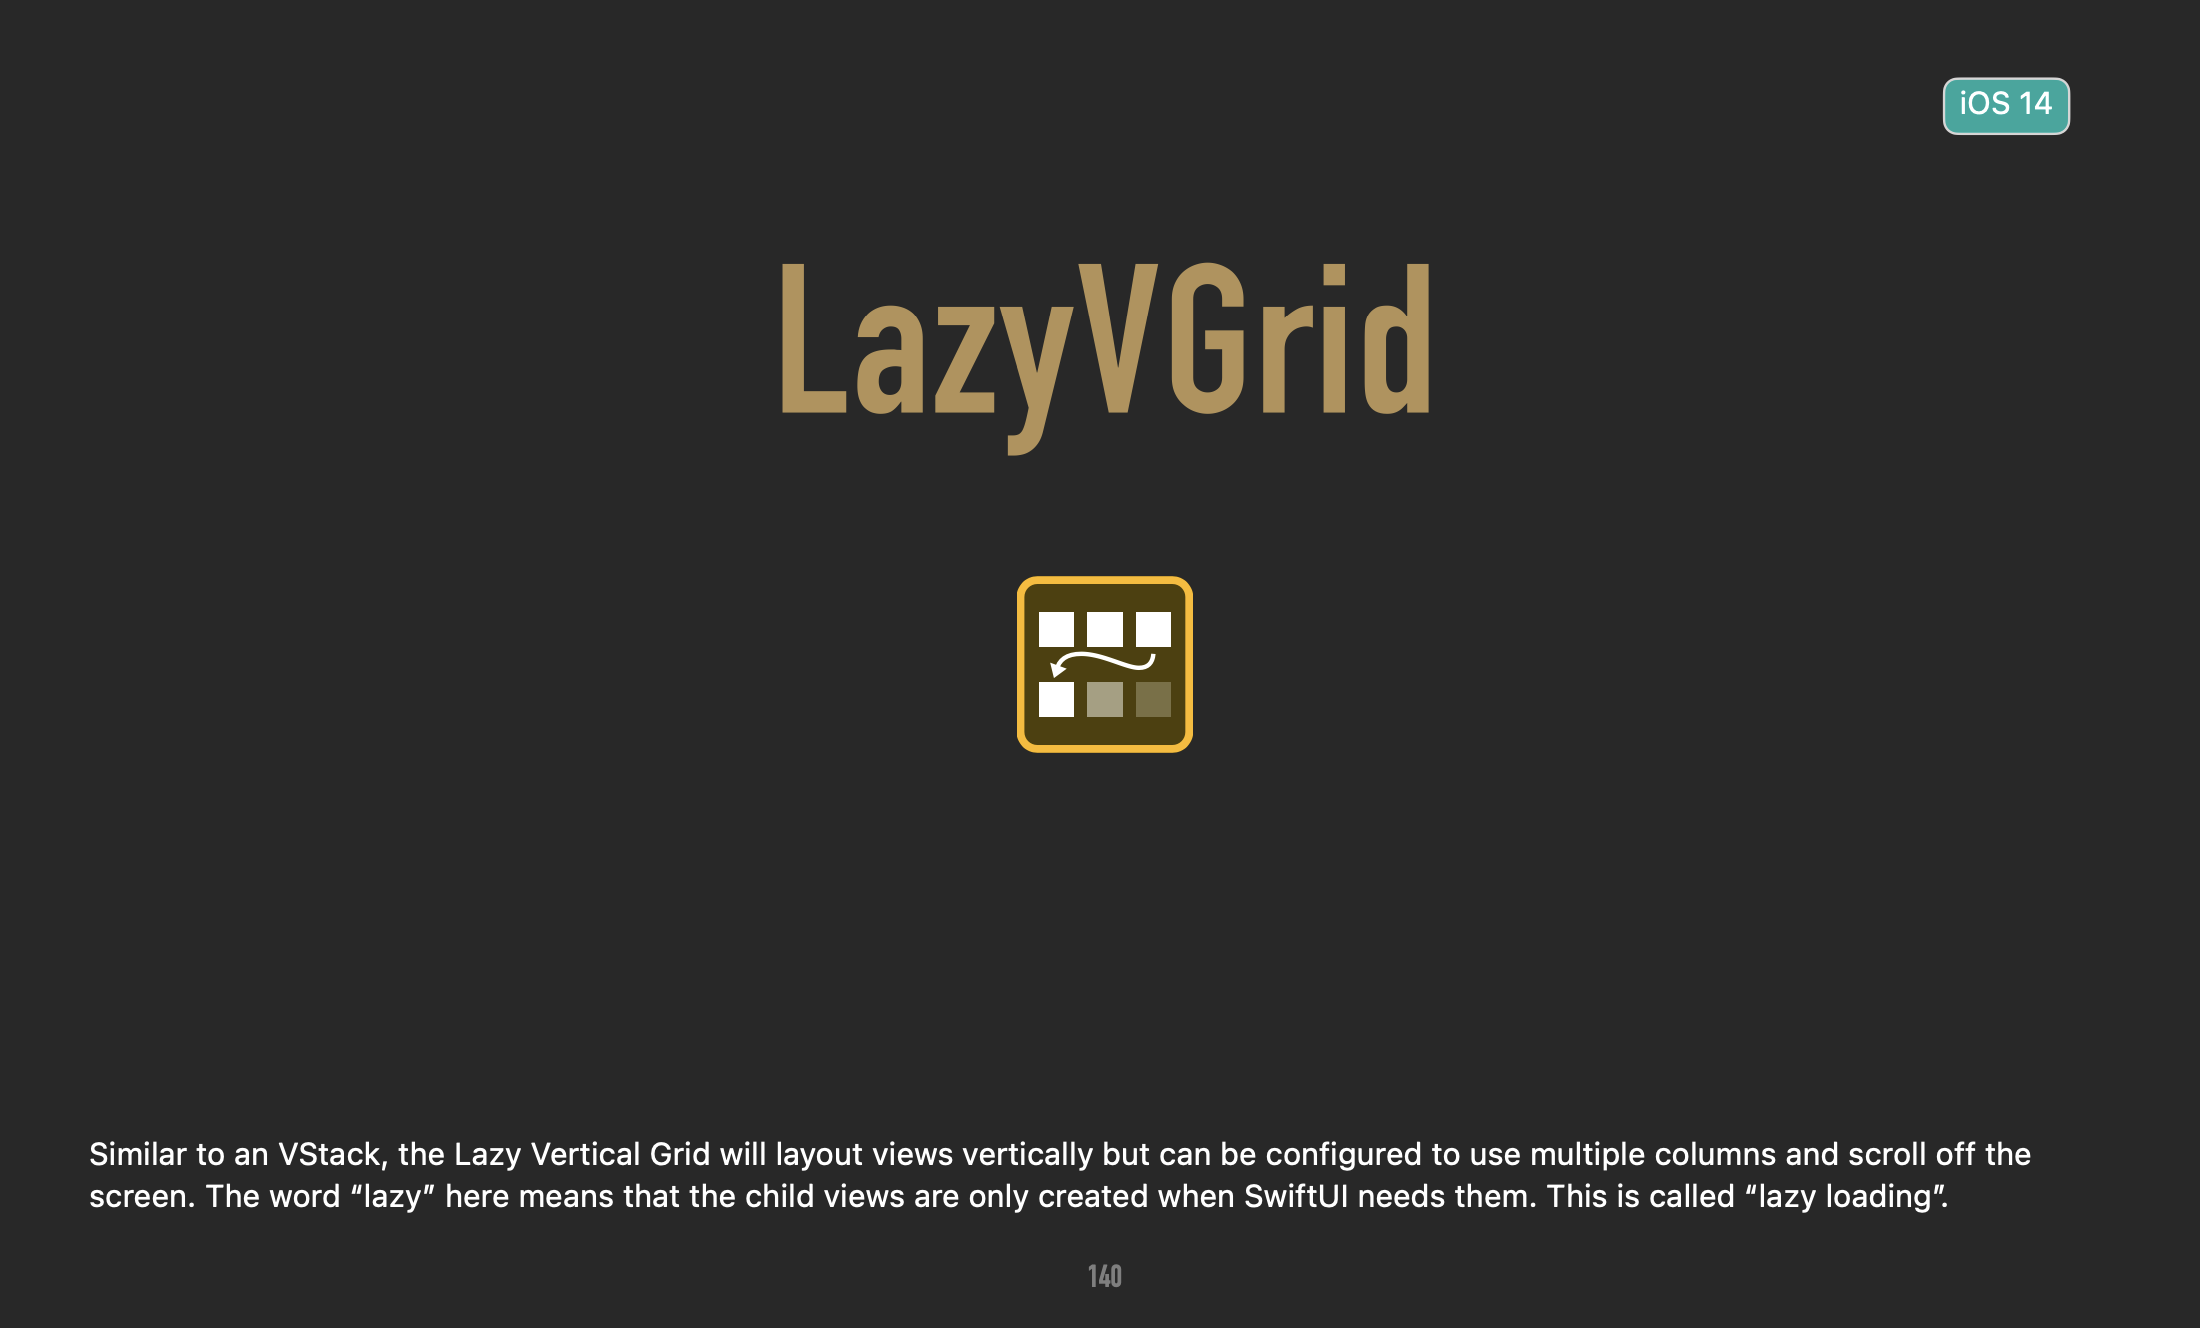
… but here are the basics of the simple usage of LazyVGrid in this app:
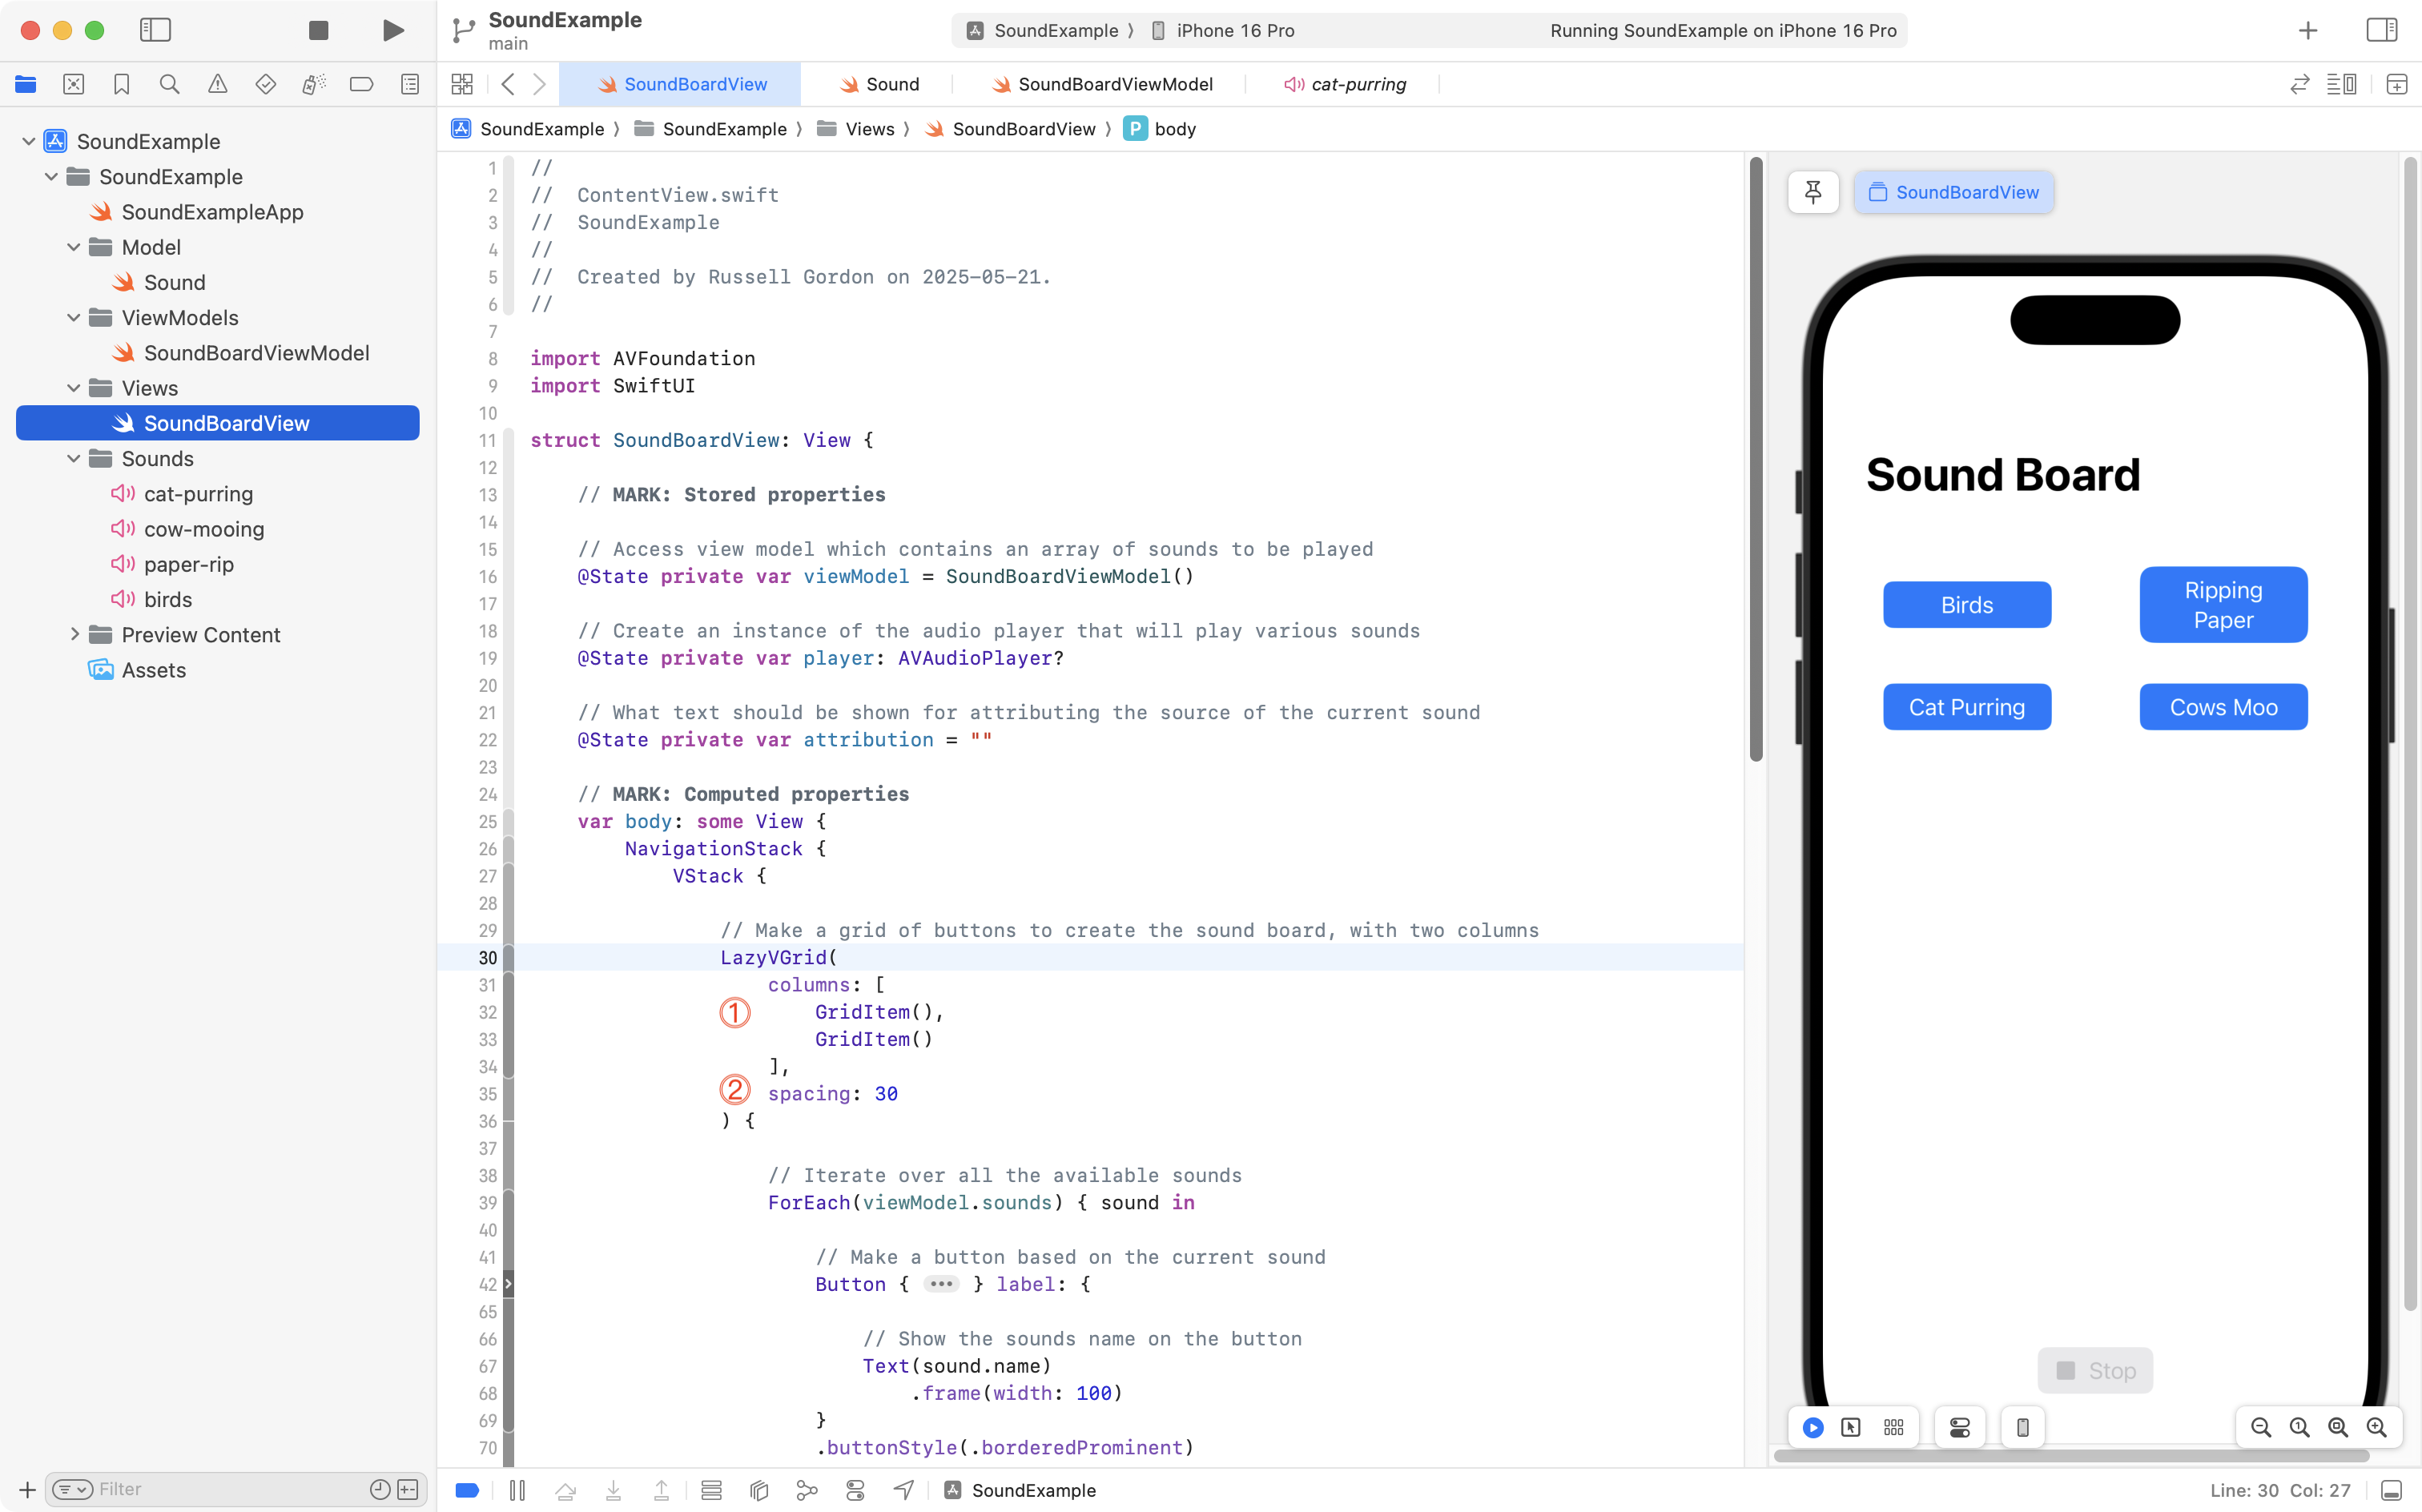
Let’s review:
DISCUSSION
- For the
columnsparameter we must provide an array ofGridIteminstances. In this case, we provide an array containing two instances ofGridItem, so our grid will have two columns. If we provided three instances ofGridItemwithin the array instead, we would get three columns of buttons.- We set some minimum spacing between elements in the grid. In this case, 30 points of screen space.
Now let’s examine the code within the Button structure, which exists inside the ForEach:
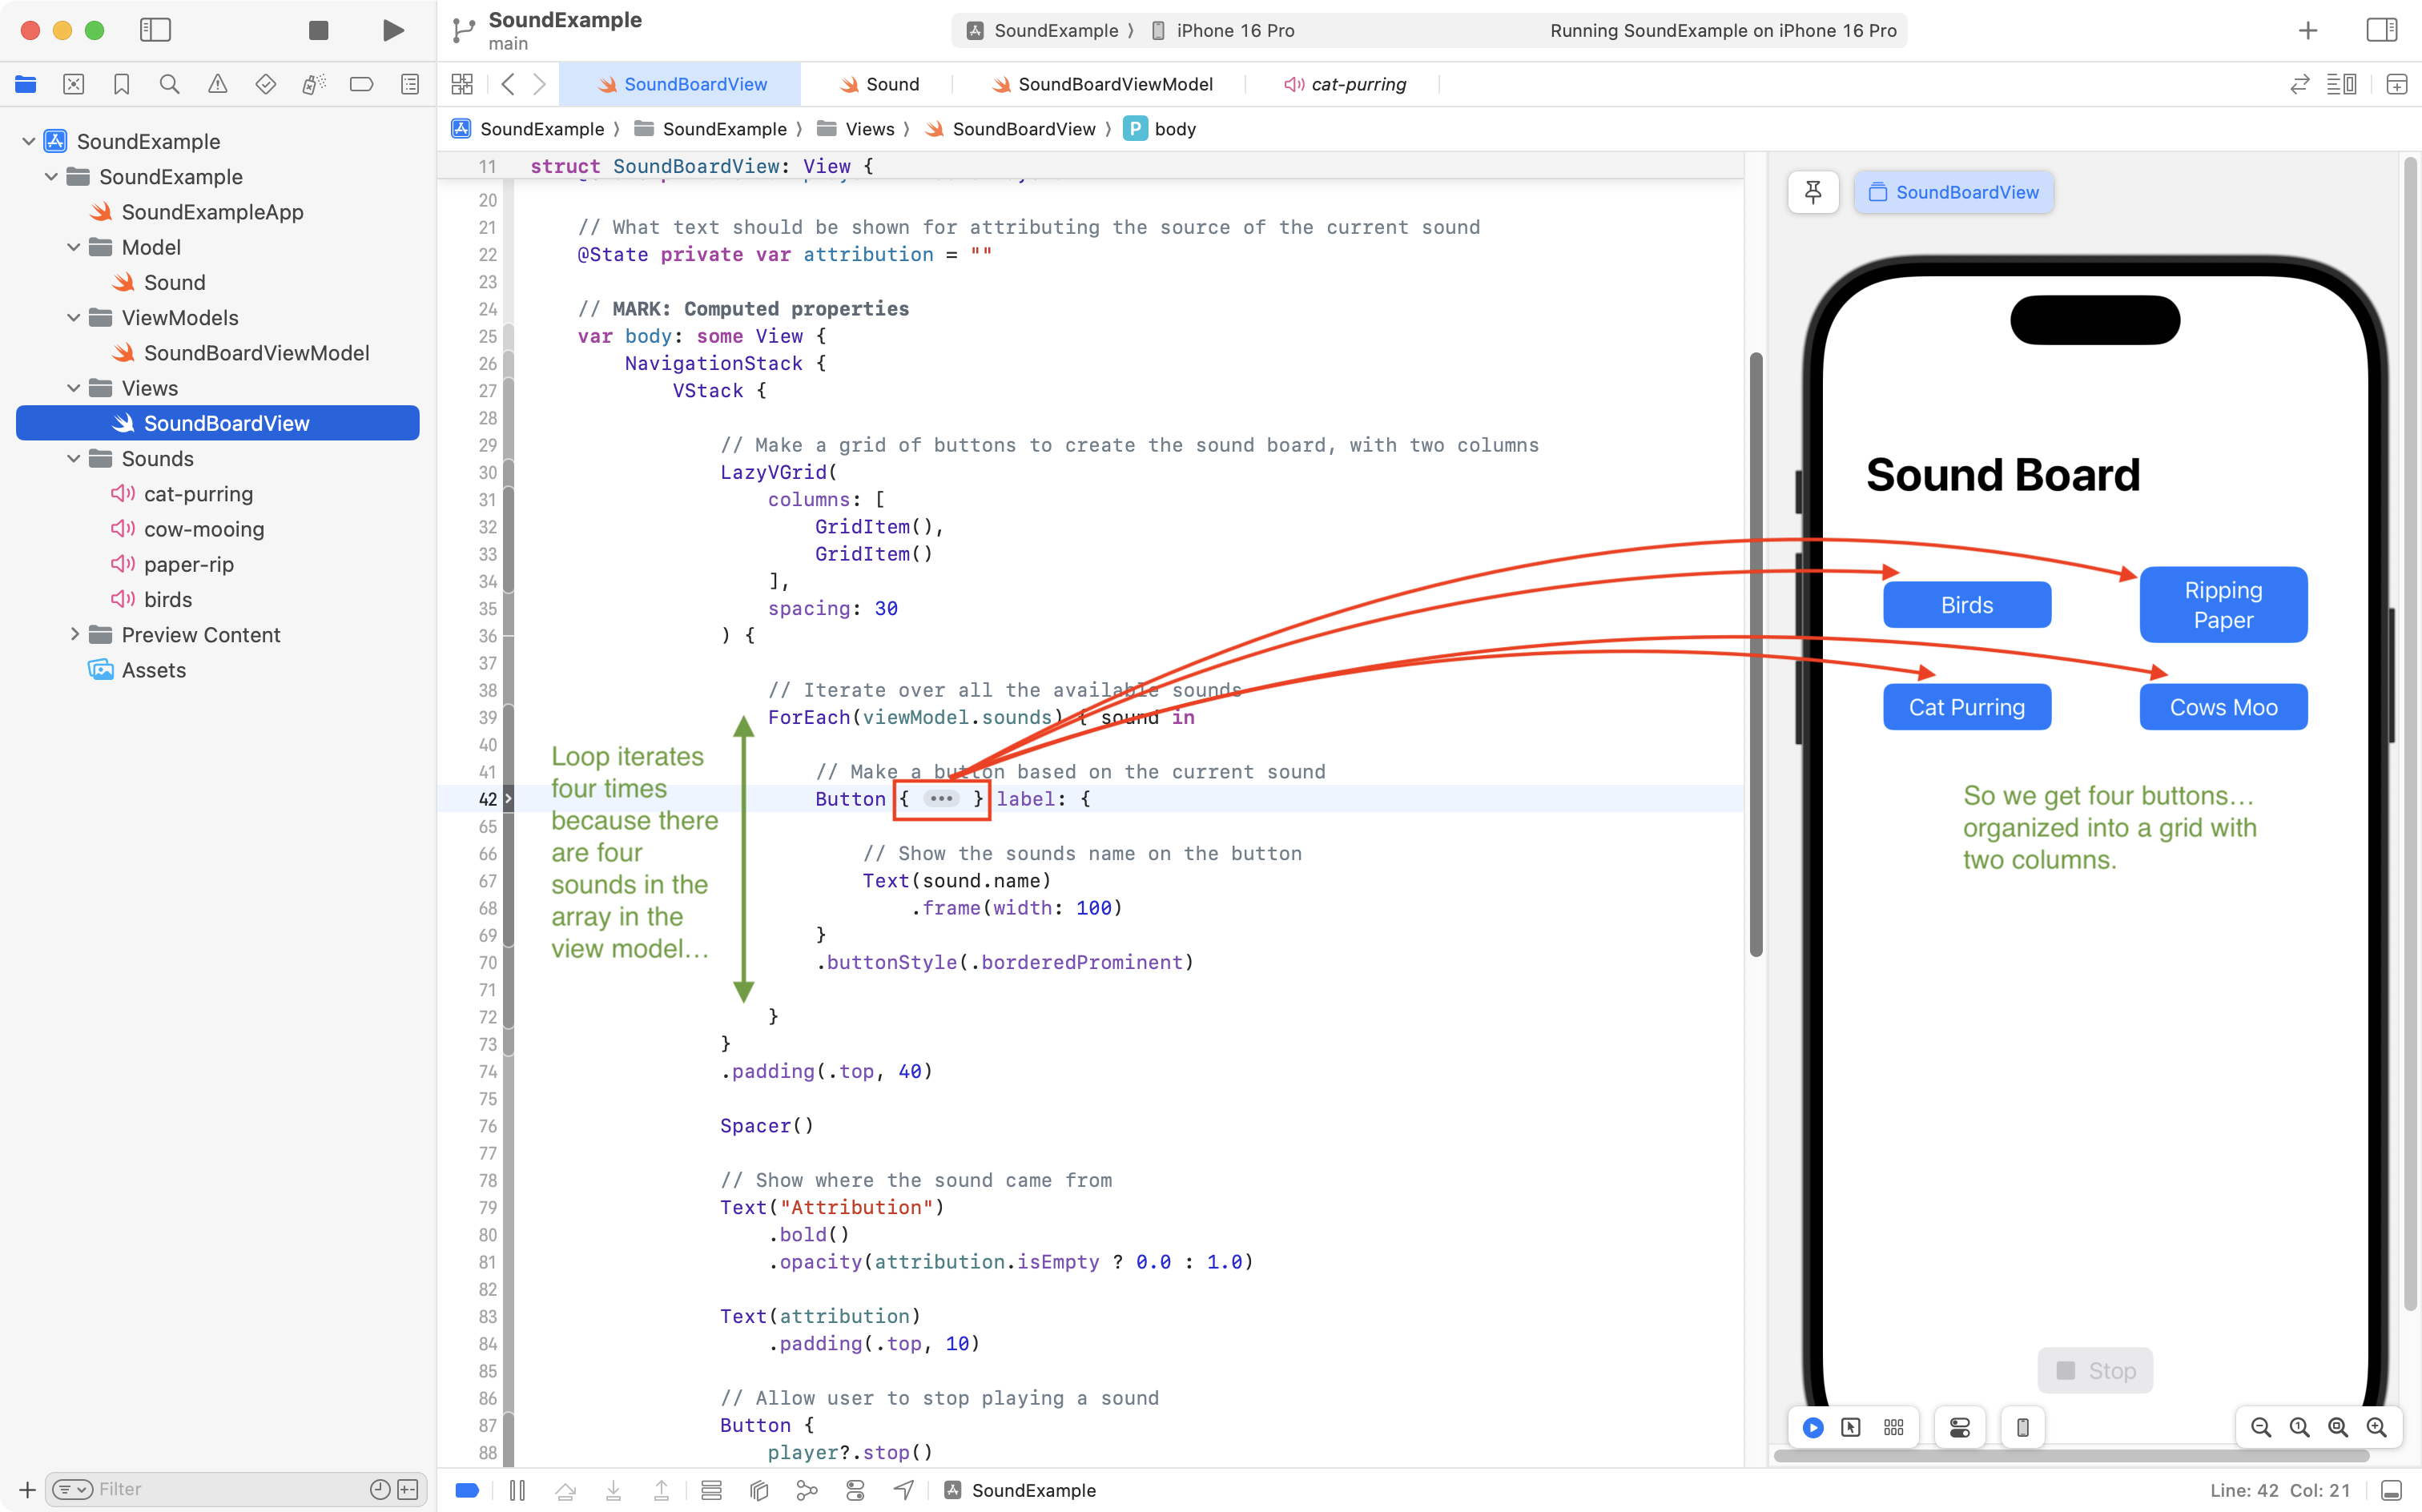
This is the code that is run each time a button is pressed:
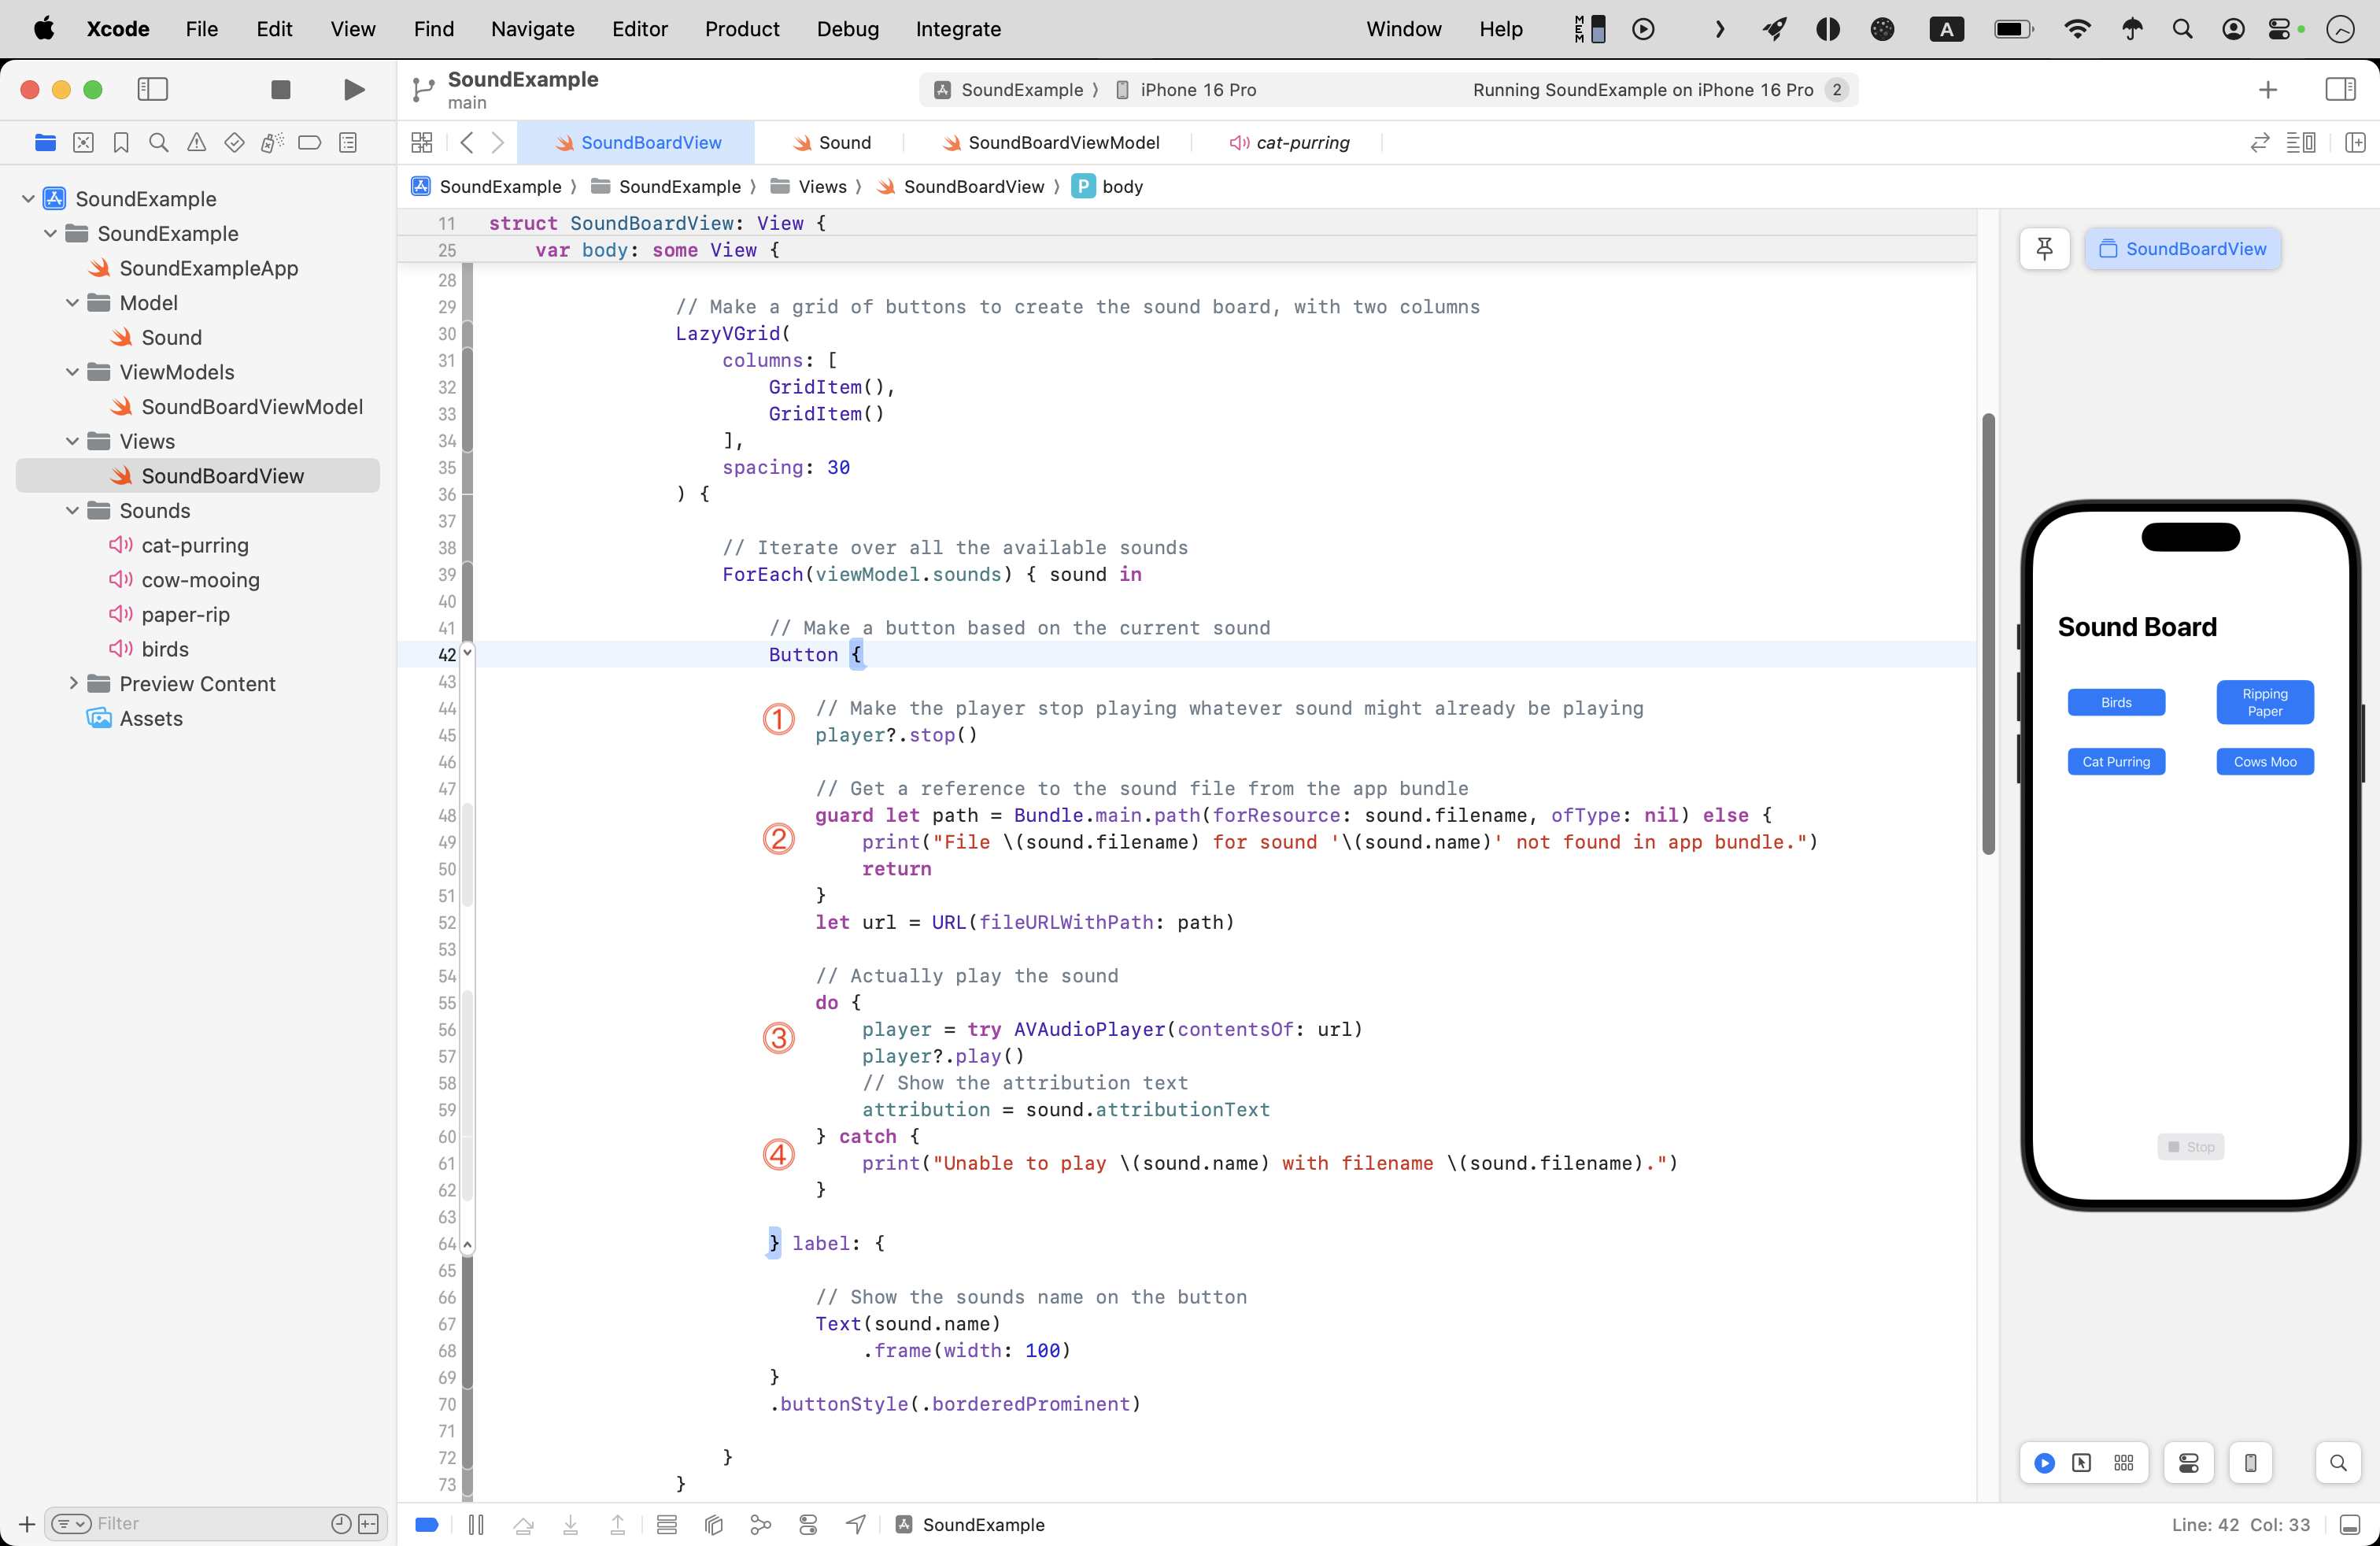
Let’s review that code.
DISCUSSION
- Think of the fact that these buttons will, potentially, be pressed more than once. Before we start playing a new sound, we should stop playing any sound that might already have been playing.
player?.stop()means “If there was an active player, stop whatever sound was playing, otherwise, do nothing.”- This is where we use code to find the path (URL) to where the sound file exists in the app bundle. As programmers, we drag files into our Xcode project, but when the app is compiled, the sound files are copied into a folder that exists on the actual phone (or simulated phone). This code finds the location of the sound file we want, on the user’s actual device. If the file can’t be found, the
guardstatement stops any further code from running, and shows an error message.- On line 56, we attempt to create an instance of
AVAudioPlayerusing the URL that should point to a sound file on the user’s device. Assuming this works, then the instance ofAVAudioPlayeris assigned to the stored property namedplayerthat is created insideSoundBoardView. Then, on line 57, the sound file actually starts being played.- If anything went wrong on any line between 55 and 60, the program will immediately jump to this section of the code and print an error message.
As you can see, there is a lot going on in this view.
So how might we add more sound effects that could be played to this project?
Keep reading to find out.
Adding a new sound
Adding a new sound is as simple as:
- Dragging the audio file (.wav or .mp3 format) into the Sounds group.
- Creating an instance of the
Sounddata type, and then adding that instance to the array ofsoundsinSoundBoardViewModelortracksinBackgroundAudioProvider(see next section for more on background audio).
Background music
Playing sound effects, or short audio files, on a single view is one thing.
What if we wanted to play background music in our app?
How could loop an audio file?
What would we do to change the background audio file that was playing?
NOTE
Mr. Gordon has the code written for this, but needs a bit of time later today to do the writeup. If you really need to see how you might add background audio to your app, you are welcome to browse his source code or download a copy of the completed app to try it out.