Objective
The objective of this exercise is to activate your prior knowledge of these topics from earlier in the course:
- data types
- structures
- operators and computed properties (as from the Geometric Figures task)
- user interface design / layouts using stacks
- arrays (a.k.a. lists) and abstraction
- navigation
Context
Let’s review these concepts by imagining that we have been hired to author an app to complement the weekly flyer that is produced by a chain of grocery stores to advertise on-sale items:
The client who has hired you and your partner gave very little direction regarding how the app should work, other than the following:
Users should be able to scroll through a list of departments that have items for sale, just like they can flip through our flyer now. They should be able to navigate down to the on-sale items within each department. Make sure they can see the pictures and price of each on-sale item clearly.
Getting started
TIP
If you prefer, rather than reading the next section to get the project set up, you can follow along with this video – it also explains in further detail why the data model is set up the way that it is:
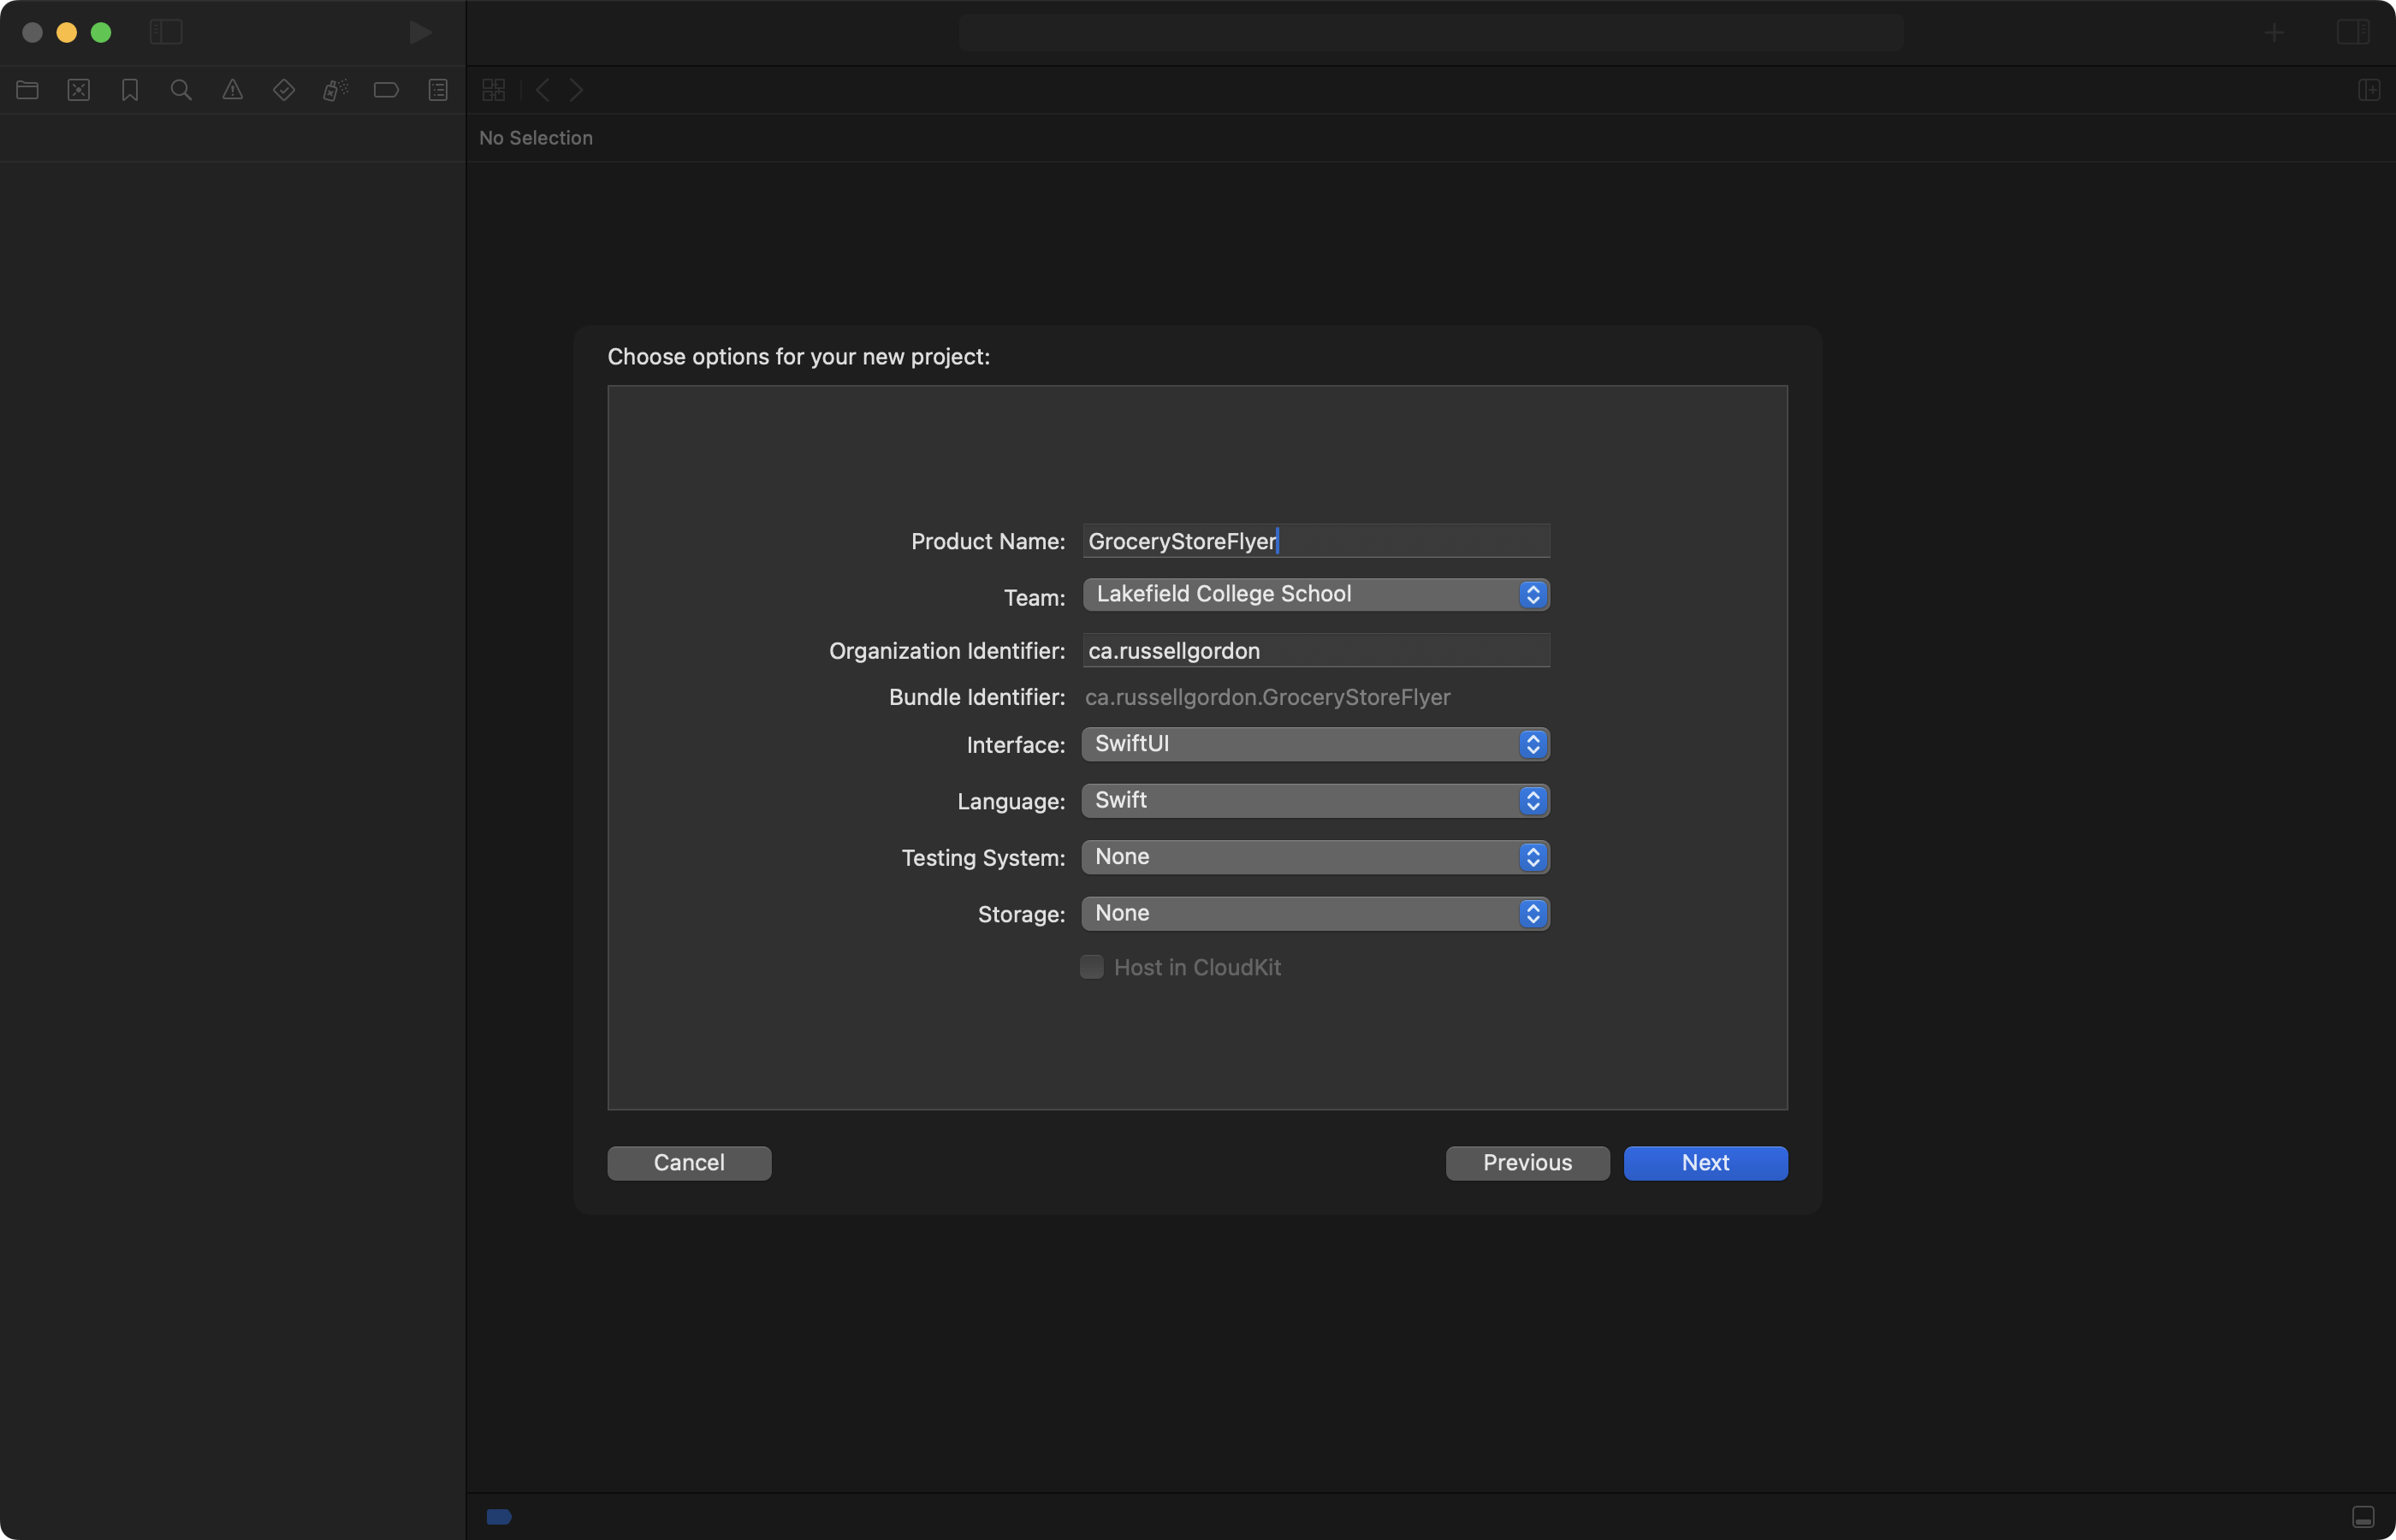
Make a new iOS project in Xcode named GroceryStoreFlyer:
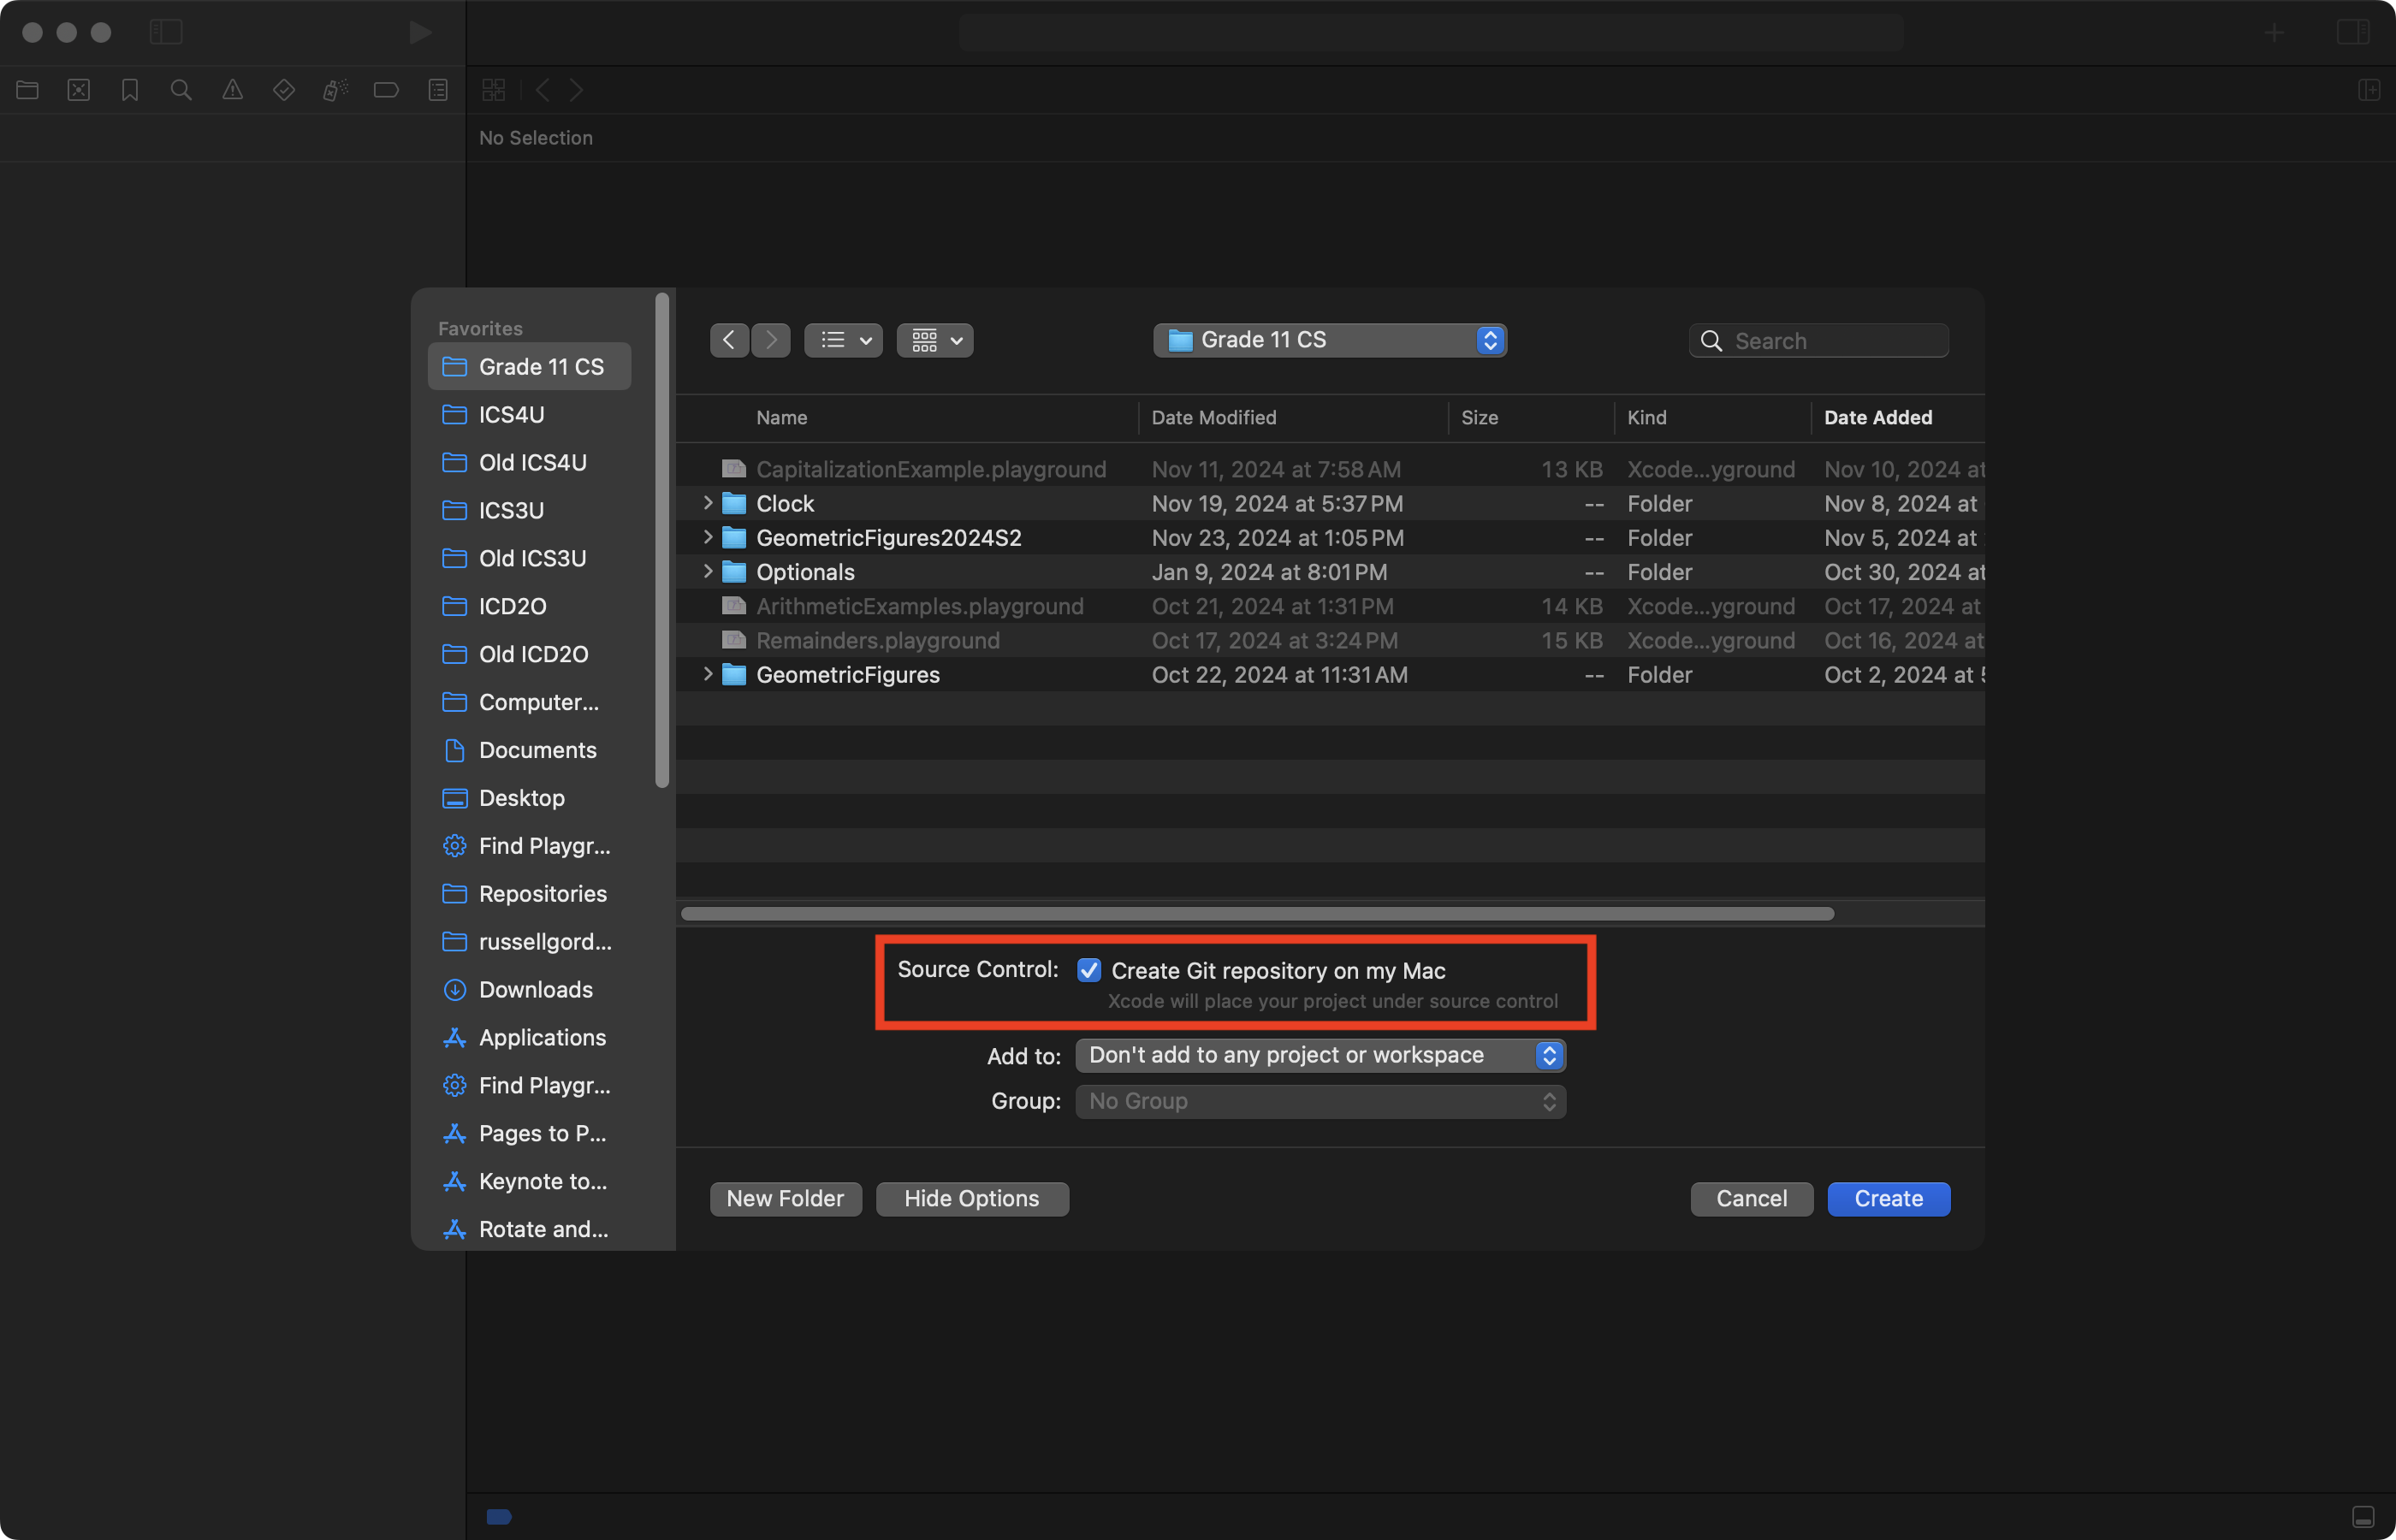
Be sure that source control is enabled:
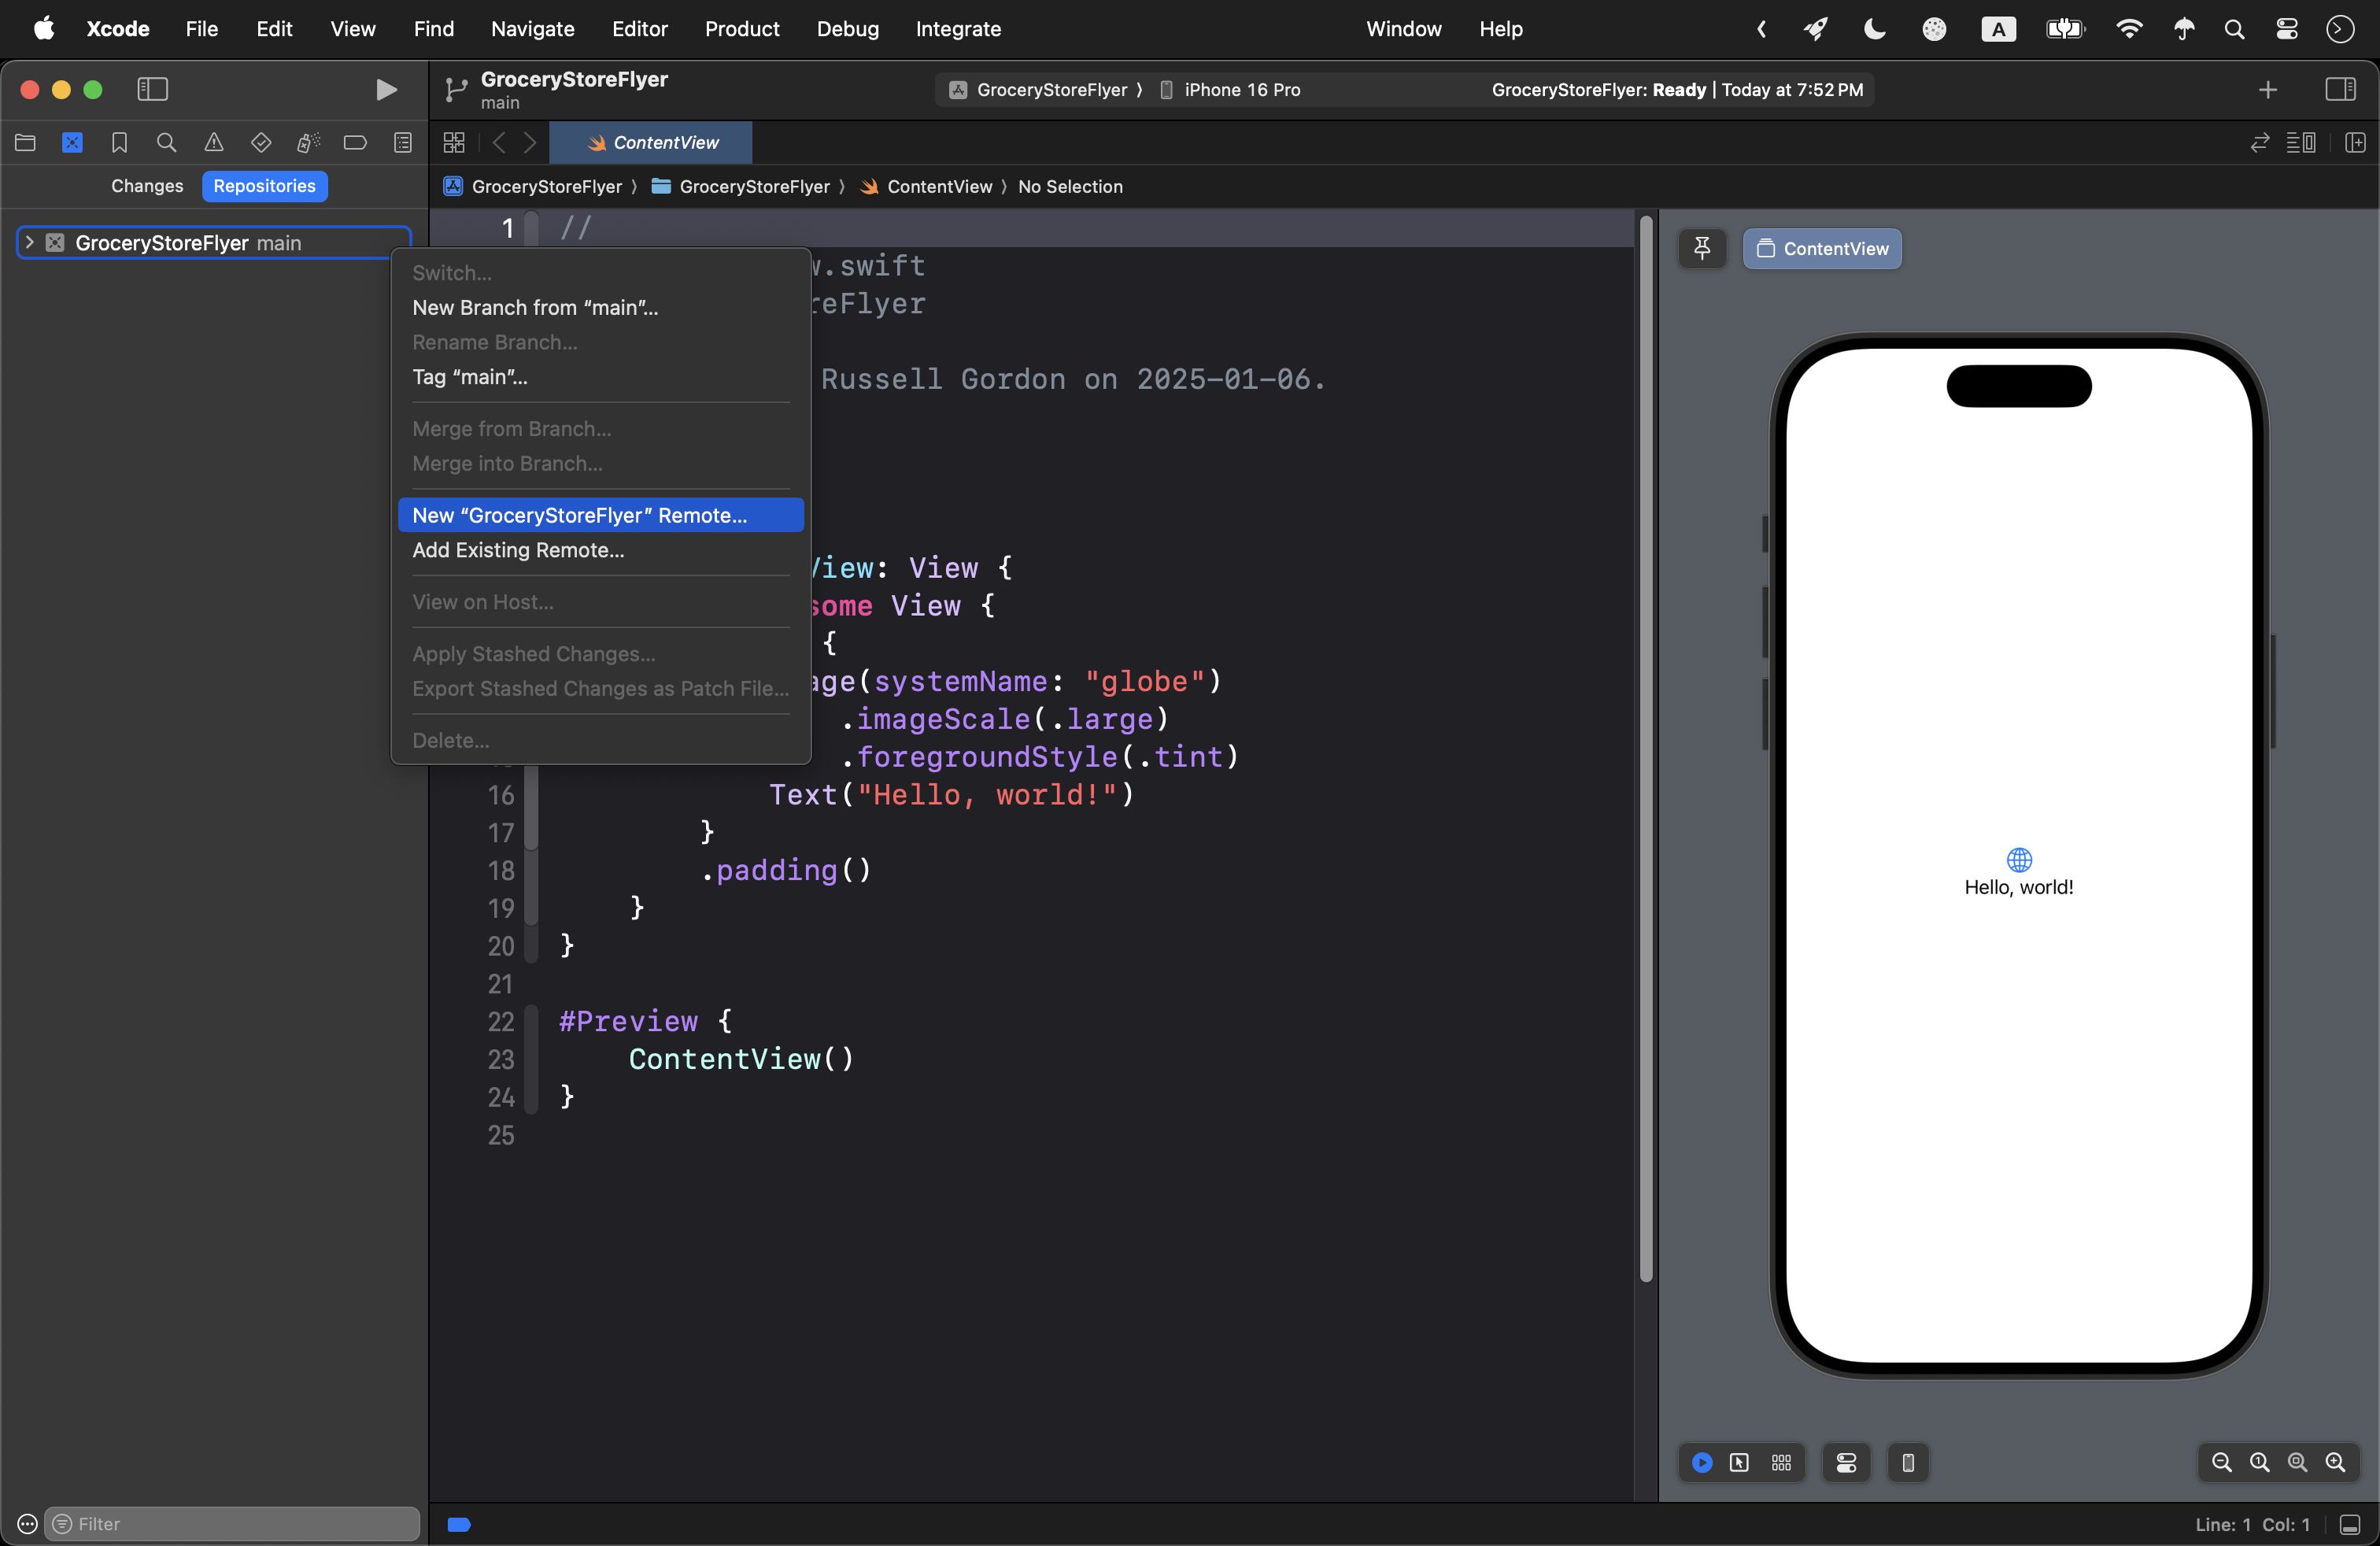
Then switch to the Source Control navigator using Command-2 and create a remote:
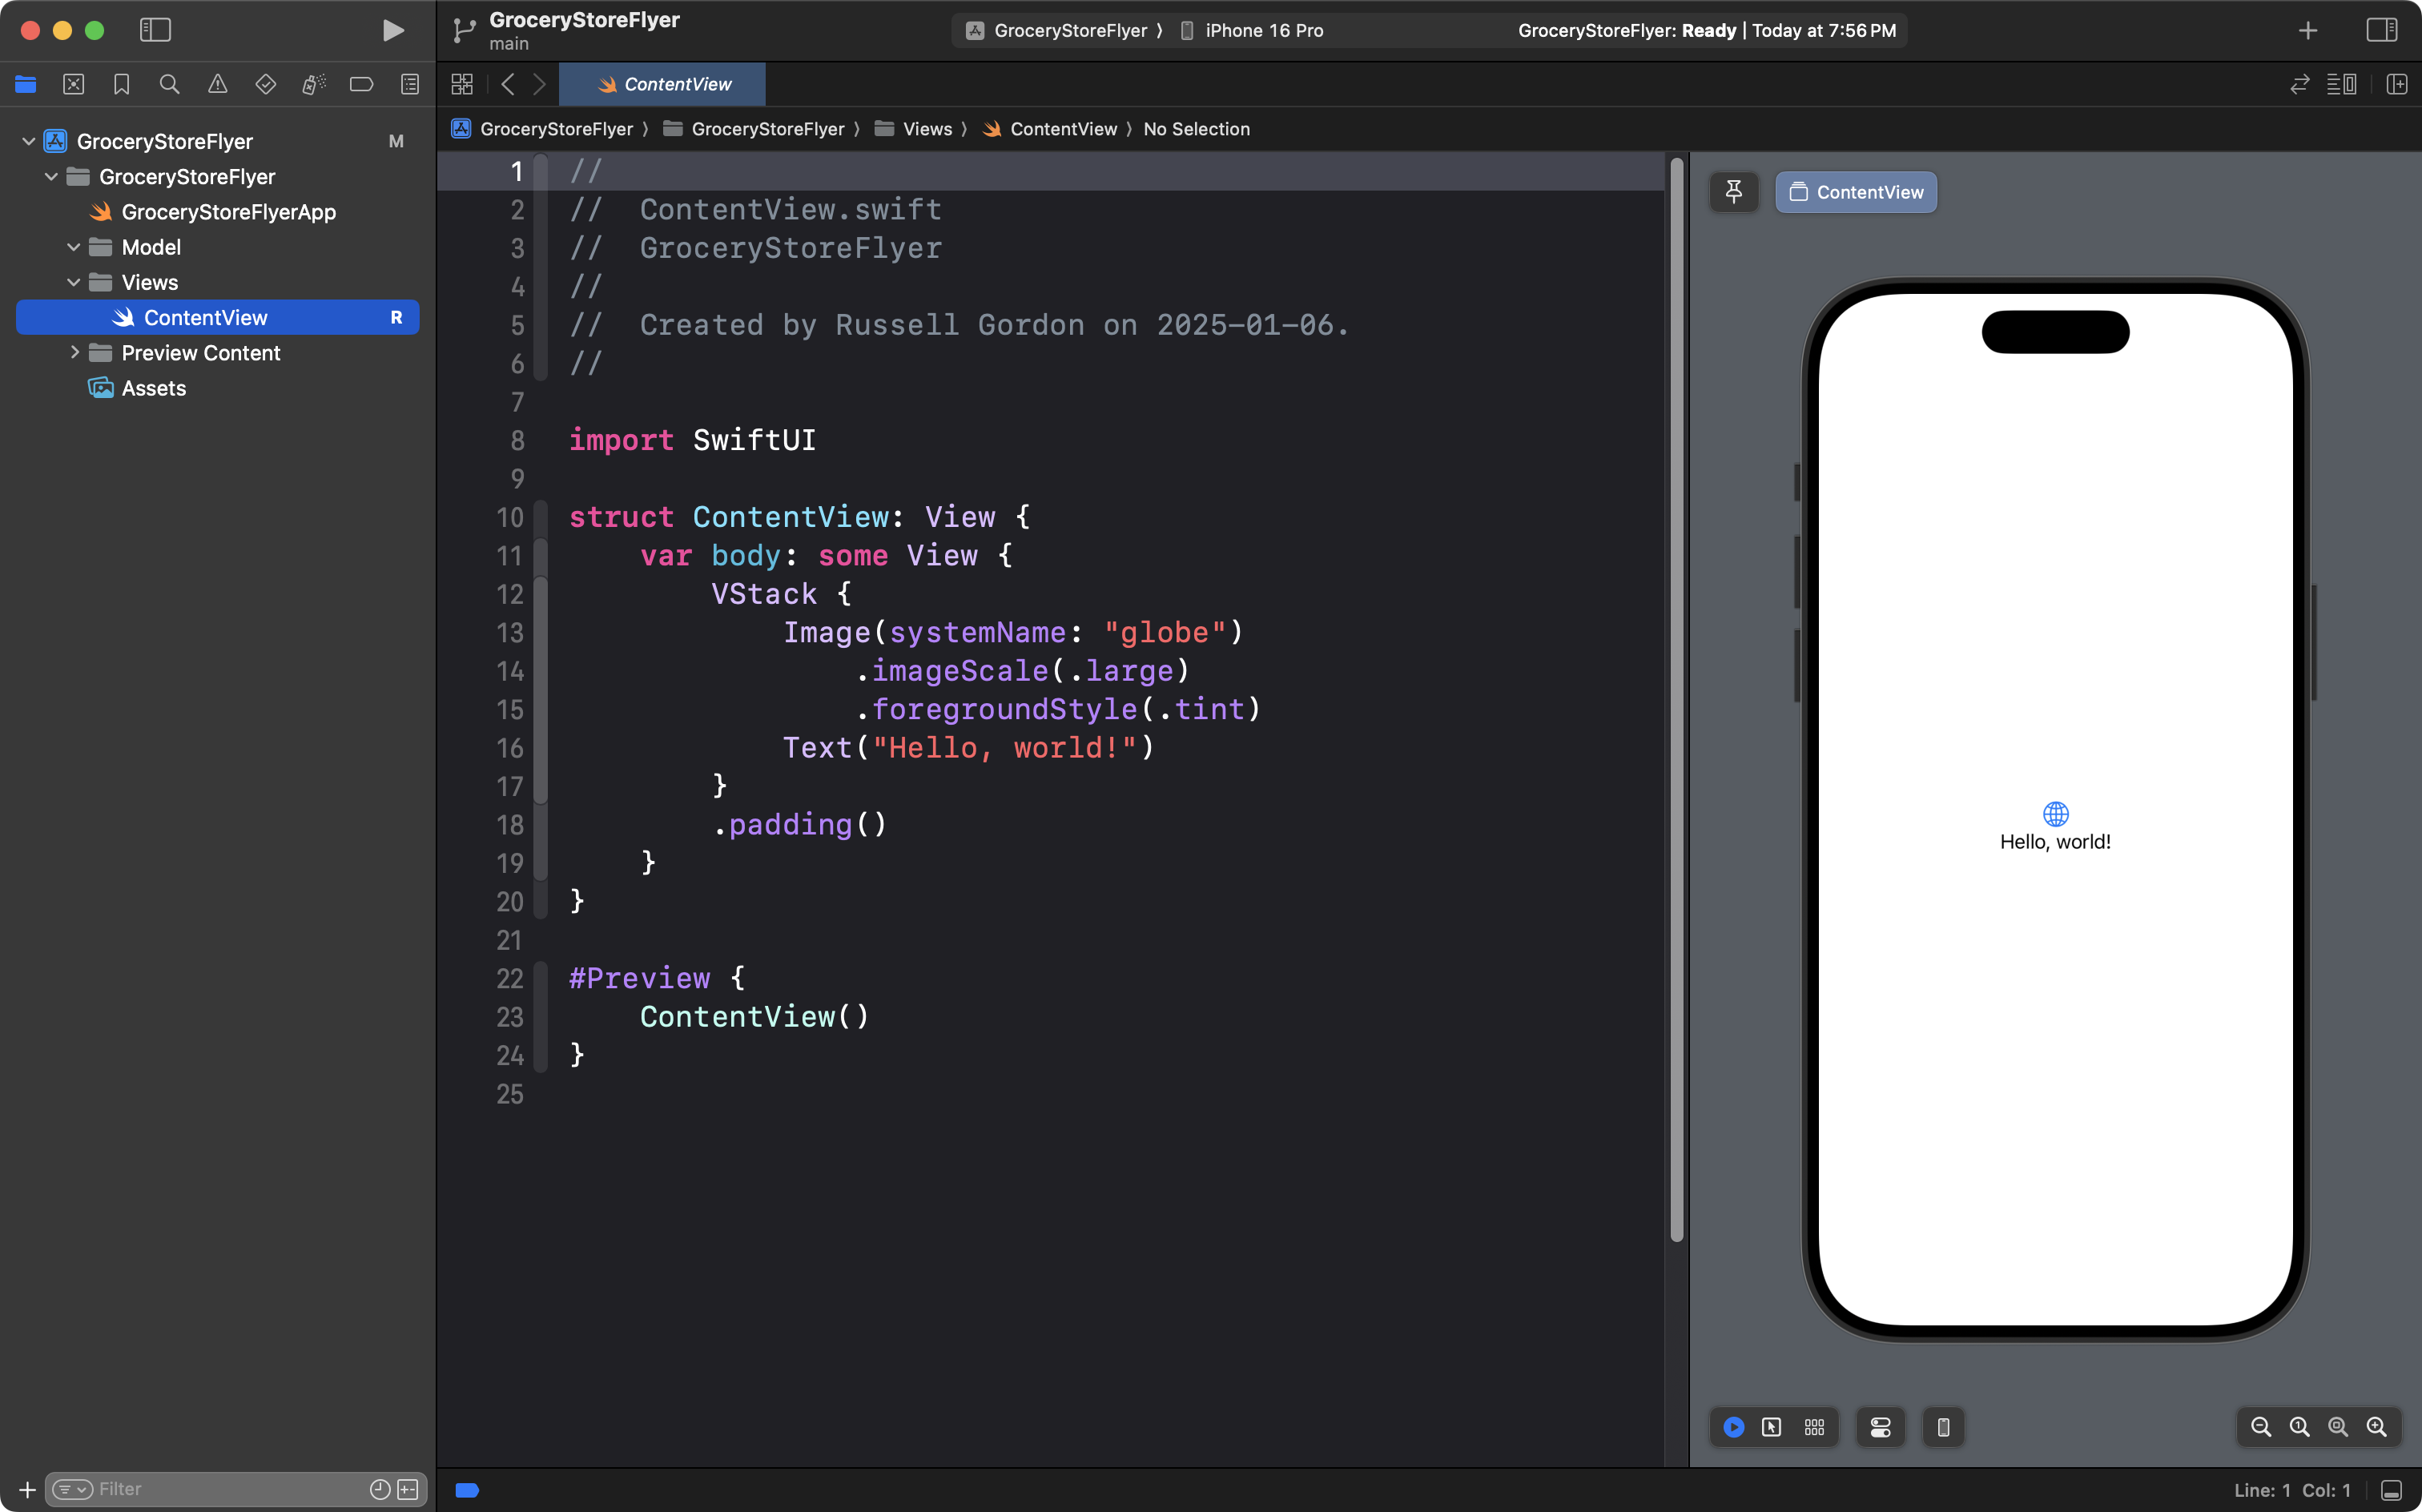
Then switch the Project navigator, right-click on the top-most blue folder, choose Convert to Group, and finally create new groups named Views and Model, arranging your project to look like this:
Now commit and push your work using this message:
Initial project organization and creation of groups for views and the data model.
Create a data model
You know that most apps simply provide a convenient way for their users to interact with data – to see data – and to create new data.
You might begin by designing the following structures – recall we can nest structures:
struct Flyer {
    let departments: [Department]
}

struct Department: Identifiable {
    let id = UUID()
    let name: String
    let items: [FoodItem]
}

struct FoodItem: Identifiable {
    let id = UUID()
    let name: String
    let image: String
}
Here, you are saying that:
- a given flyer will contain multiple departments (a list or array of departments)
- each department has:
- a unique identifier
- a name
- multiple food items (a list or array of food items)
- each food item has:
- a unique identifier
- a name
- a reference to the file name of an image stored in the
Assetsfolder of your Xcode project
- each department has:
Create example data
Studying the flyer provided earlier, you might then begin to create instances of your structures:
let thisWeeksFlyer = Flyer(

    departments: [

        Department(
            name: "Butcher's Best",
            items: [
                FoodItem(
                    name: "Sirloin Tip Oven Roasts",
                    image: "sirloin-tips"
                ),
                FoodItem(
                    name: "Porkloin Back Ribs",
                    image: "porkloin-back-ribs"
                ),
            ]
        ),

        Department(
            name: "Seafood",
            items: [
                FoodItem(
                    name: "Wild Pacific Halibut Fillets",
                    image: "wild-pacific-halibut-fillets"
                ),
                FoodItem(
                    name: "Wild Sockeye Salmon Fillets",
                    image: "wild-sockeye-salmon-fillets"
                ),
                FoodItem(
                    name: "Clam Chowder",
                    image: "clam-chowder"
                ),
            ]
        ),


    ]
)
Exercises
REMINDER
Be sure that you commit and push your work frequently as you make progress on this exercise with your partner.
Basic navigation
To begin with, by working with your partner, referring to any prior lesson, or your own previously written code, see if you can extend your project so that it is organized to have files and folders along these lines:

The app itself should work something like this:
TIP
At first, don’t worry about adding images. Just get the scrollable lists and navigation working.
Later, search the web and find images for the food items you choose to include in your example data. The images found do not need to exactly match those shown in the flyer above.
It is recommended that you search for images using the DuckDuckGo search engine in the Safari web browser – this usually ensures files you find are in the JPEG file format (.jpg) which is one of the supported image file types in an Xcode project. Please note that the WebP image format (.webp) is not supported by Xcode.
Example Solution
Here is a 20-minute video that explains one approach to completing this first exercise. As desired, use this video to refresh your memory of how to do navigation using arrays.
Extend the model
Reconsider the data model.
Currently, the app does not capture all of the information a customer would find useful, such as prices or other additional information.
Extend the data model to include that missing information, then show that information in your app’s user interface.
Improve the user interface
After improving the data model, aim to better reproduce the look and feel of the grocery store flyer, but in digital form.
HINT
Use stacks or overlays to make the price appear over top of the image of a food item, for example. Change the font to better match the example flyer.
Use computed properties
How might you use computed properties?
For example – what is a common method by which customers will comparison shop to find the lowest prices? Can your app help customers to do that?
Make necessary changes to your app’s data model and views to show this information.